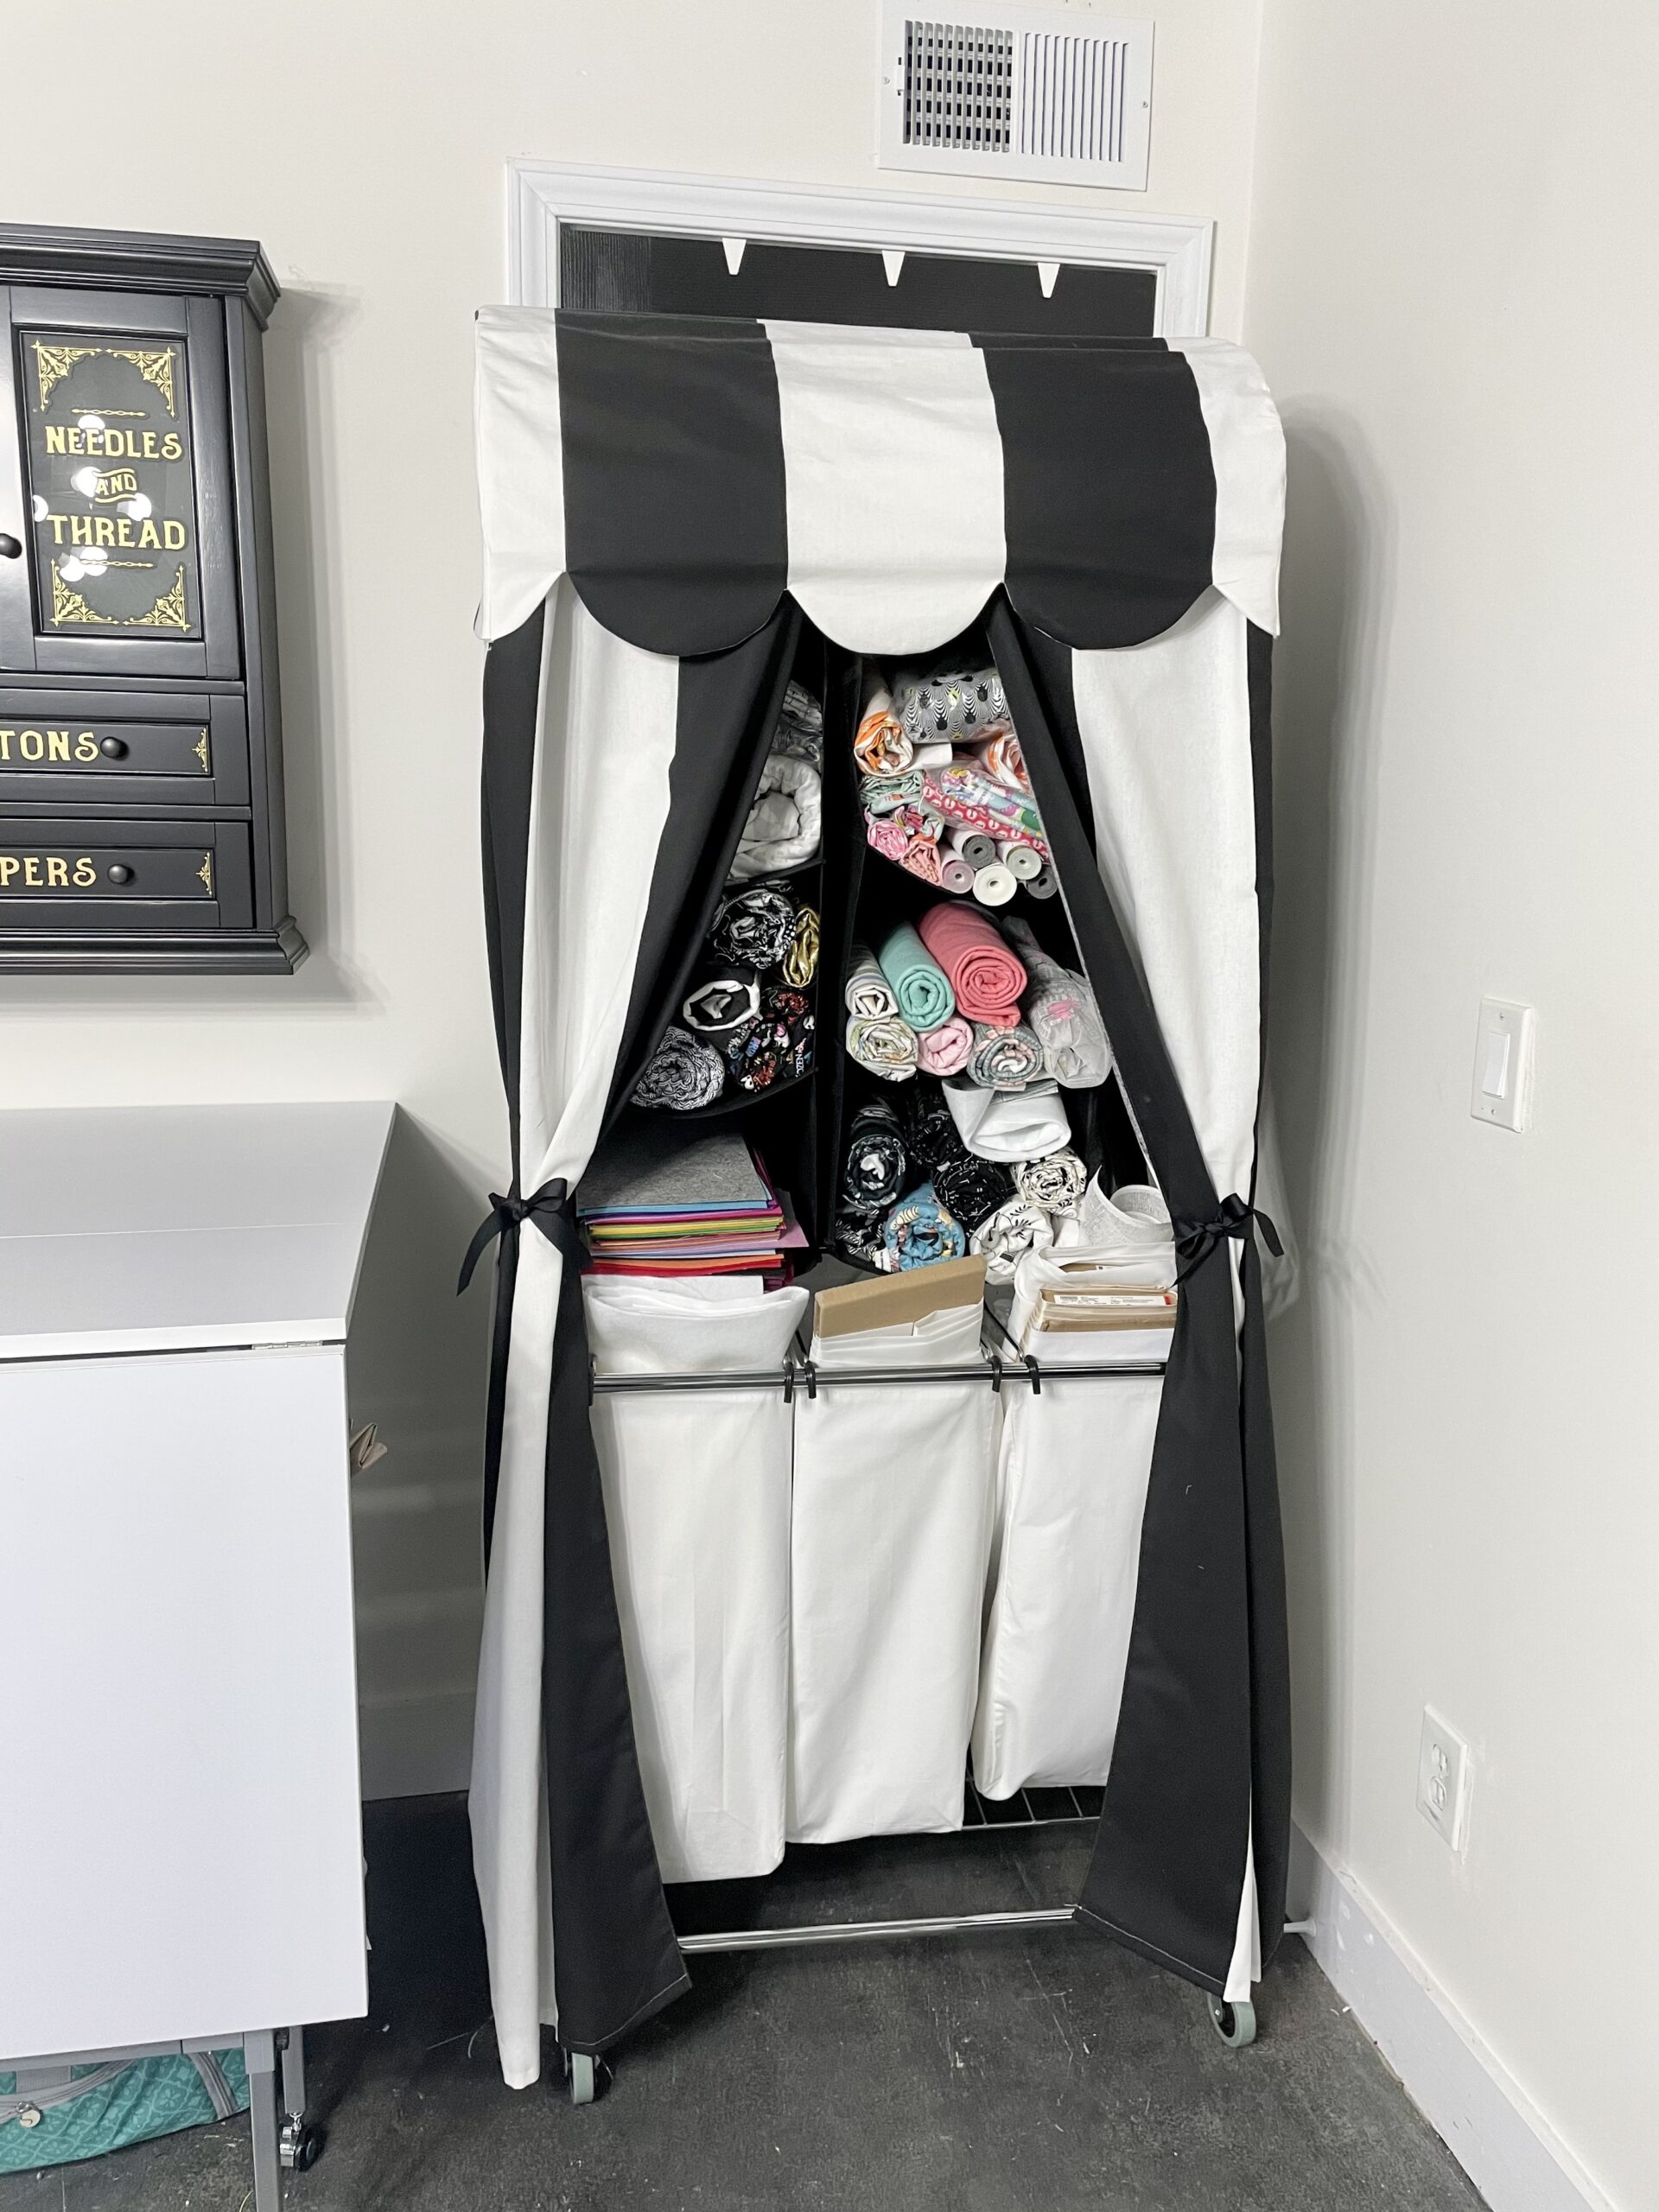
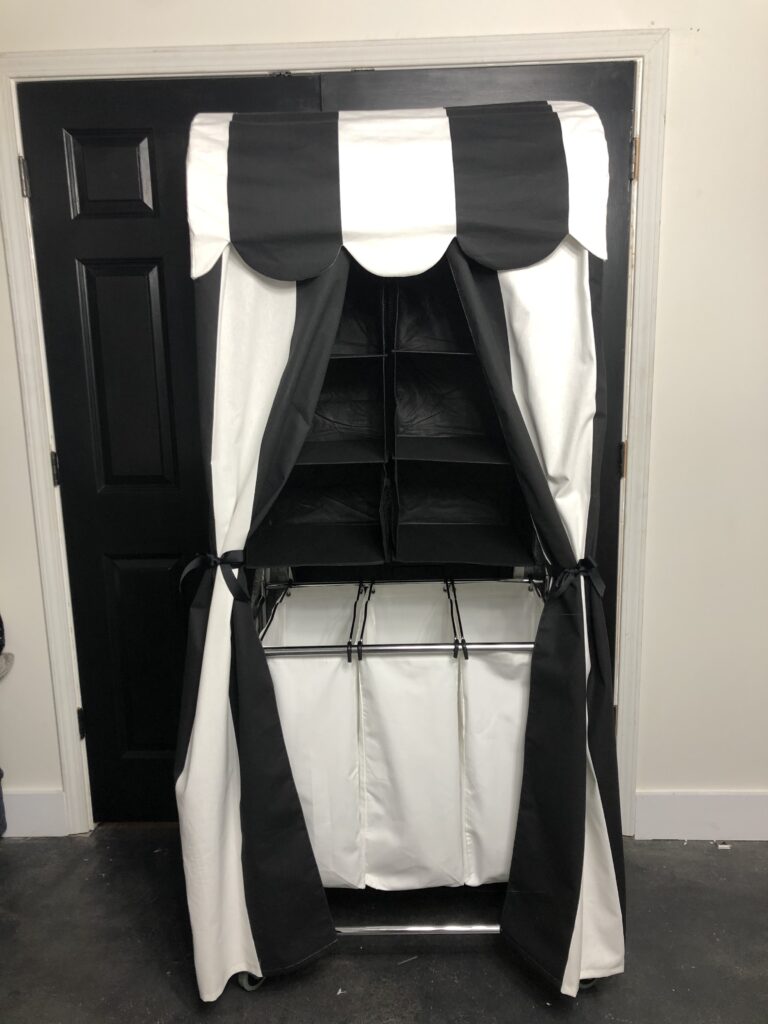
I wanted to create a fabric storage cabana. I needed a way to store folds of fabric along with bolts in my sewing room. I imagined a pool towel cabana like this but for fabric:
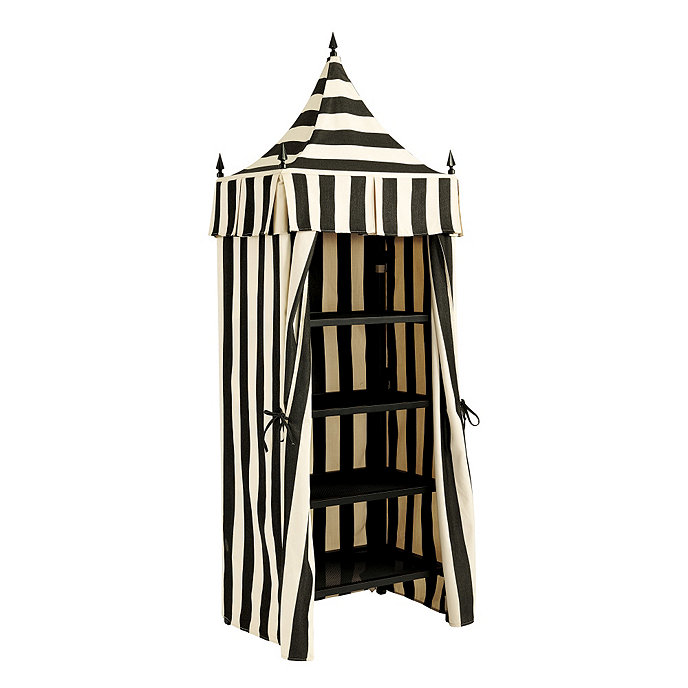
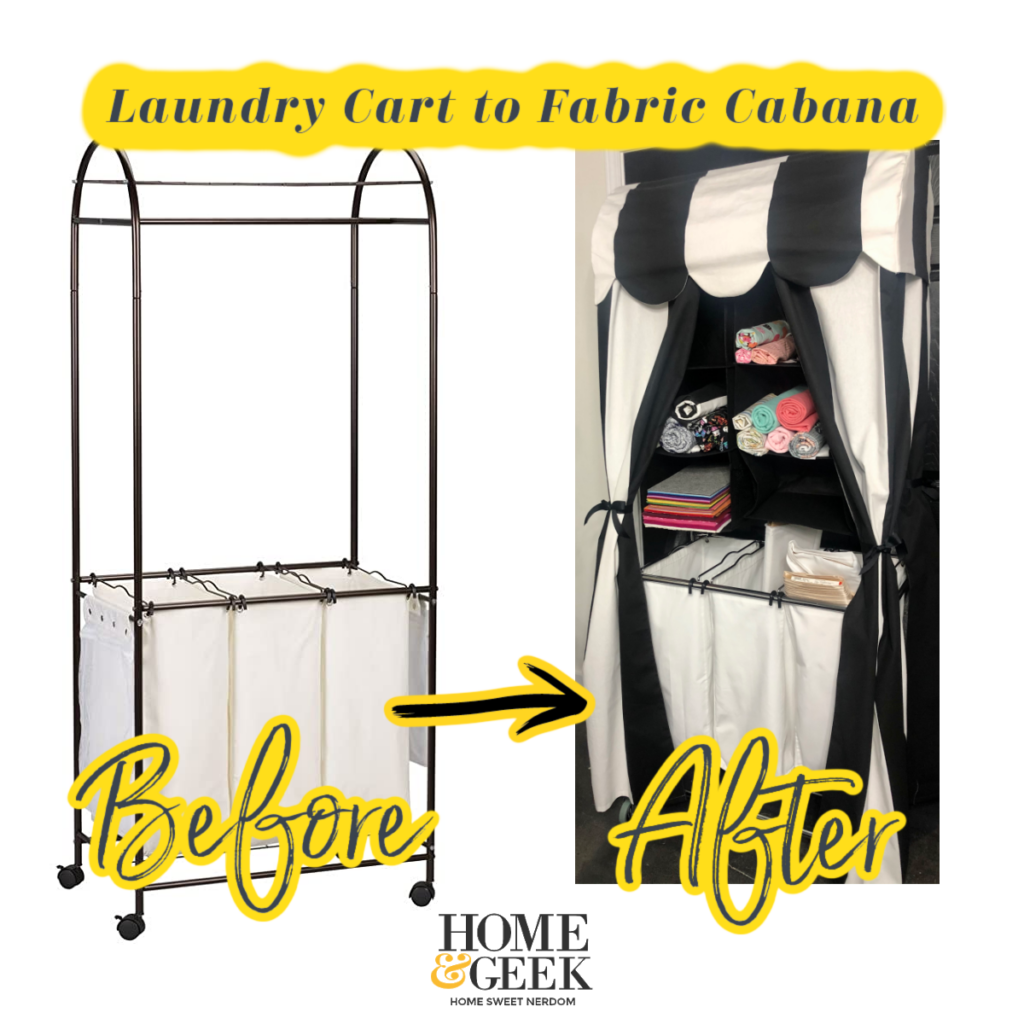
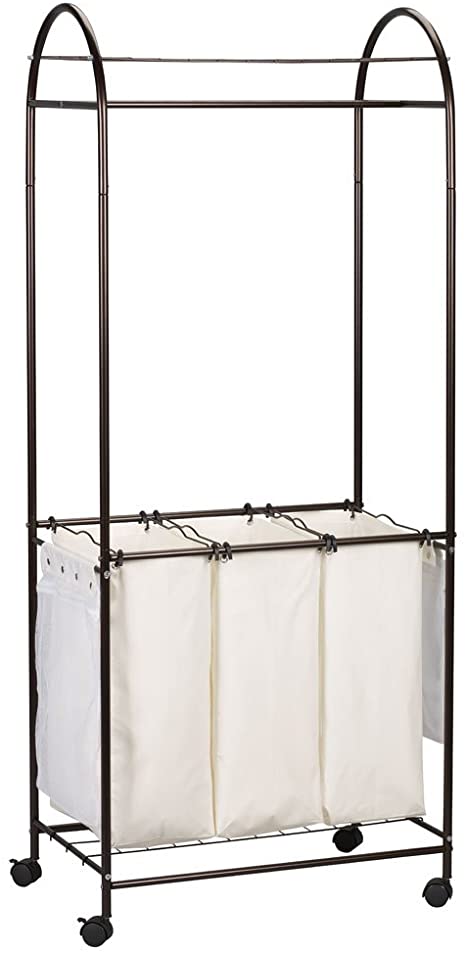
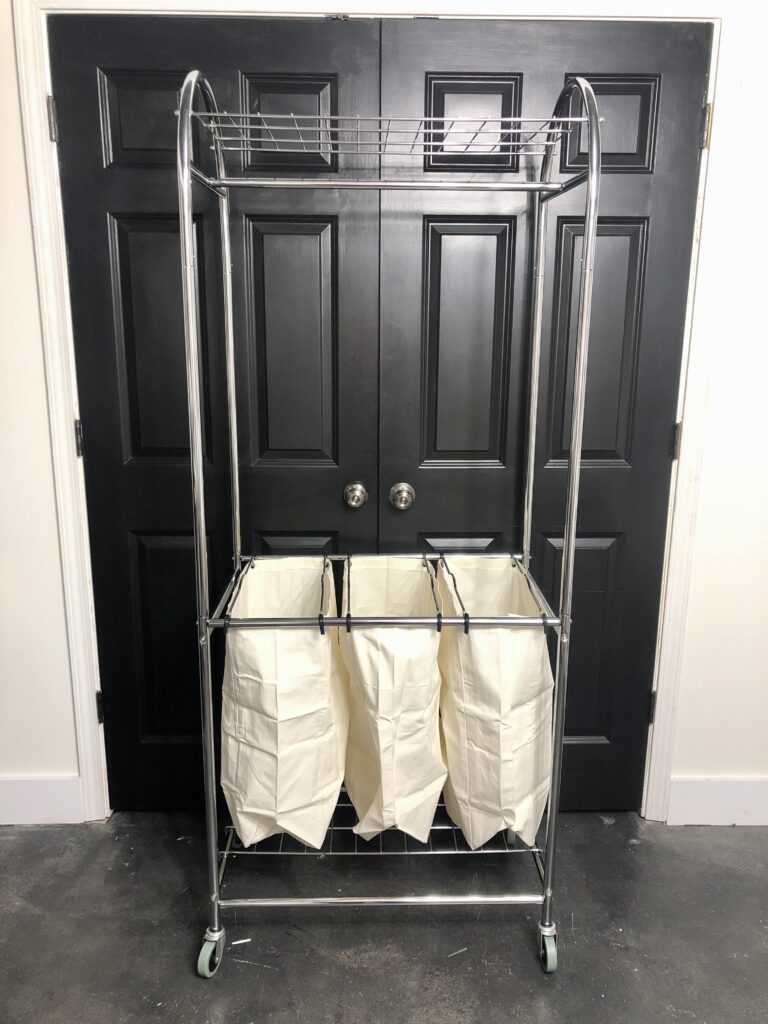
I was shocked to see the $1,300 price tag. I decided to build my own fabric cabana with a laundry hamper base. I found this Household Essentials Laundry Center 7024 on eBay for $80. I wanted a curved top so this model was perfect.
Materials needed for fabric cabana:
- Laundry cart with wheels. I found Household Essentials Laundry Center 7024 on eBay.
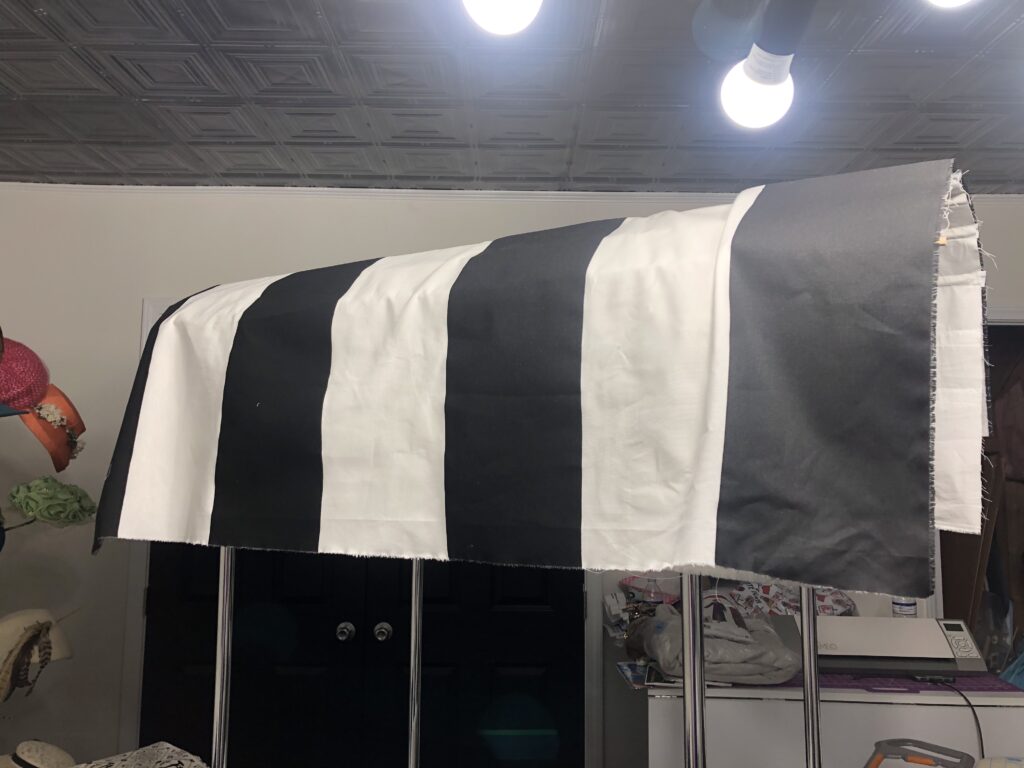
- 6 yards of exterior fabric. I used this 8 inch wide stripe of 54in cotton duck canvas.
- 3 yards of lining fabric. I used white canvas which was already in my stash.
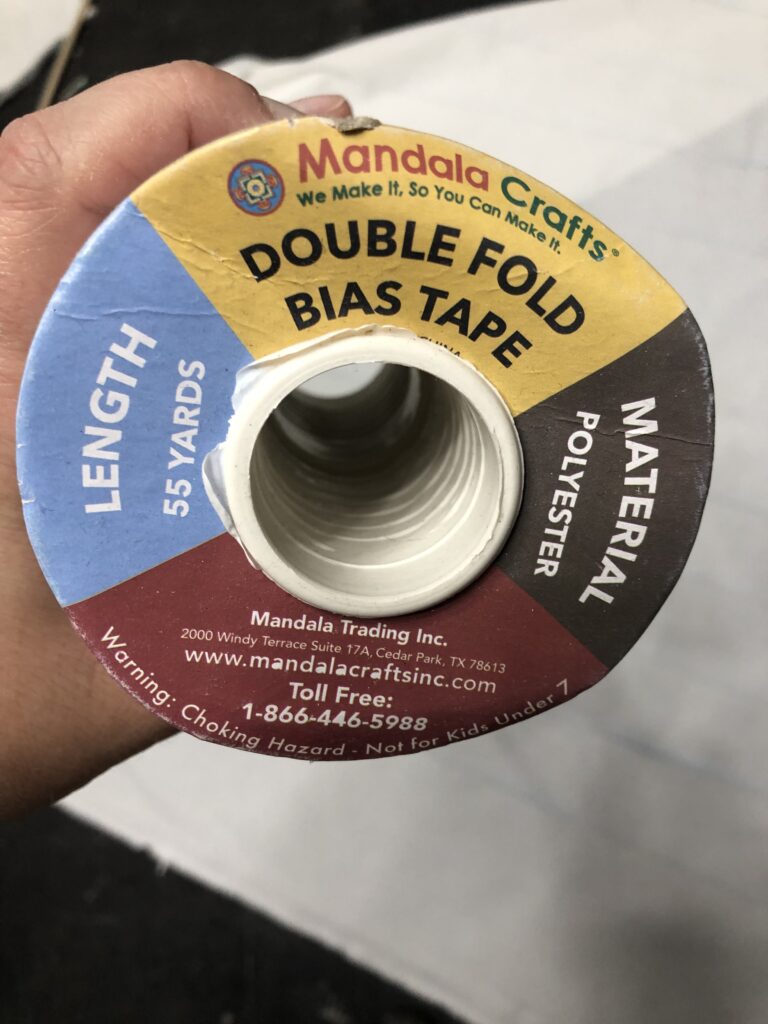
- Roll of 1/2 inch double-fold bias tape. I really like this brand from since I needed lots of yardage.
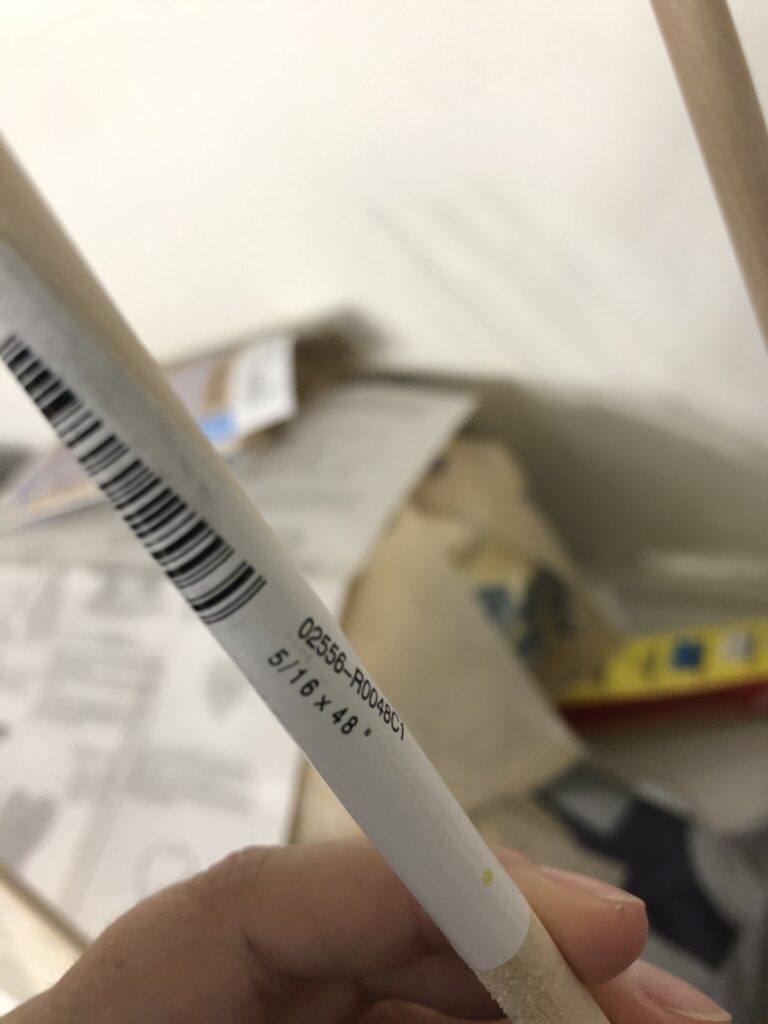
- 11 wooden dowel rods to help hold the fabric along the curve of the top. I used size 5/16 x48 from Ace Hardware and cut to size.
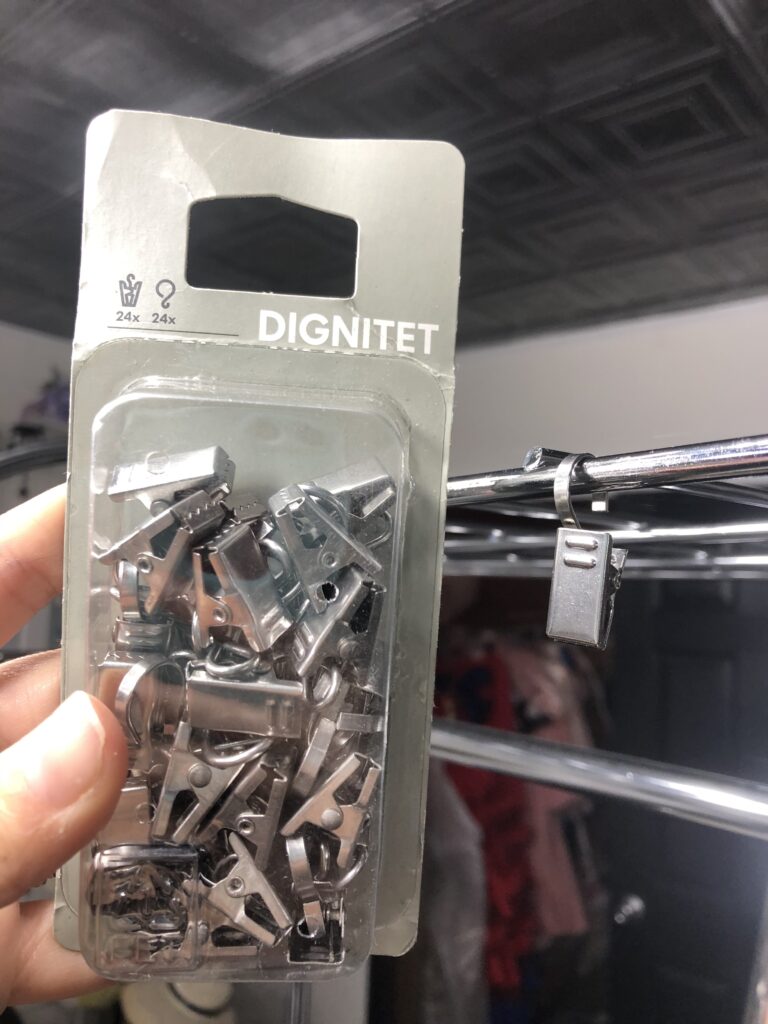
- Dignetet clips from Ikea or similar ones on Amazon to hold up the side curtains.
- Chalk to mark seamlines and curves on your fabric.
- Thread and needles that can handle your chosen fabrics.
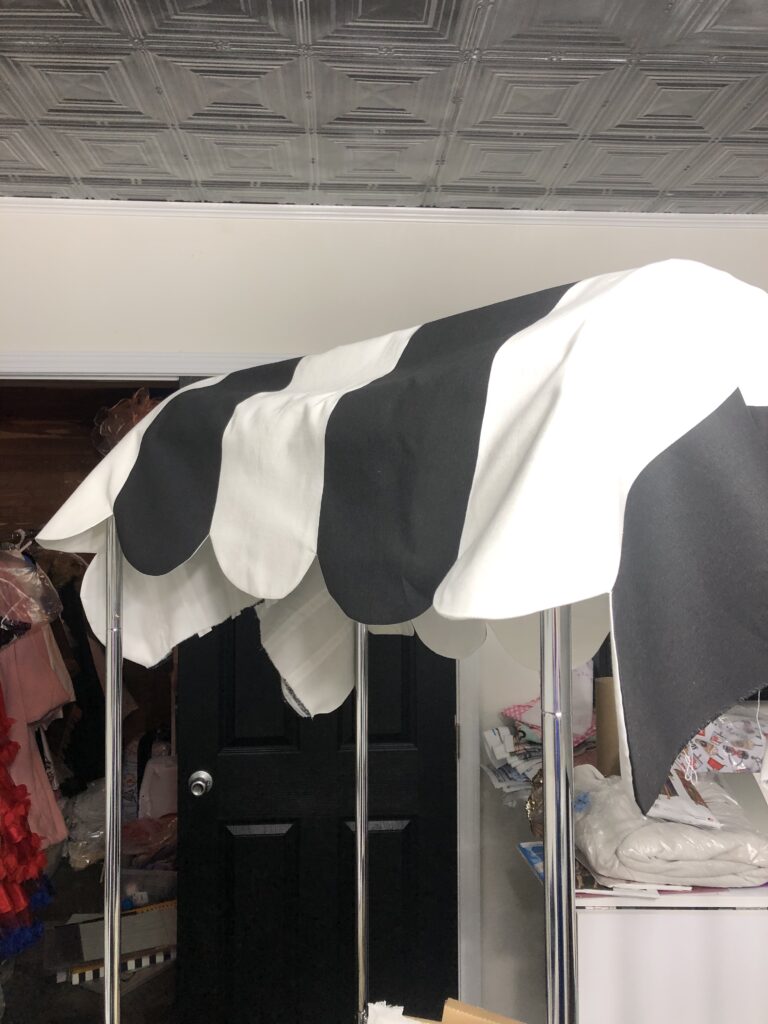
Once I got the cart assembled, I started my plan to cover the cart. I envisioned it in three pieces. A canopy top around the curved top section, curtains held back with a tie to hide fabric, and hanging shelves to hold fabric. I’ve never attempted a project quite like this before and didn’t have a pattern, so it was lots of trial and error.
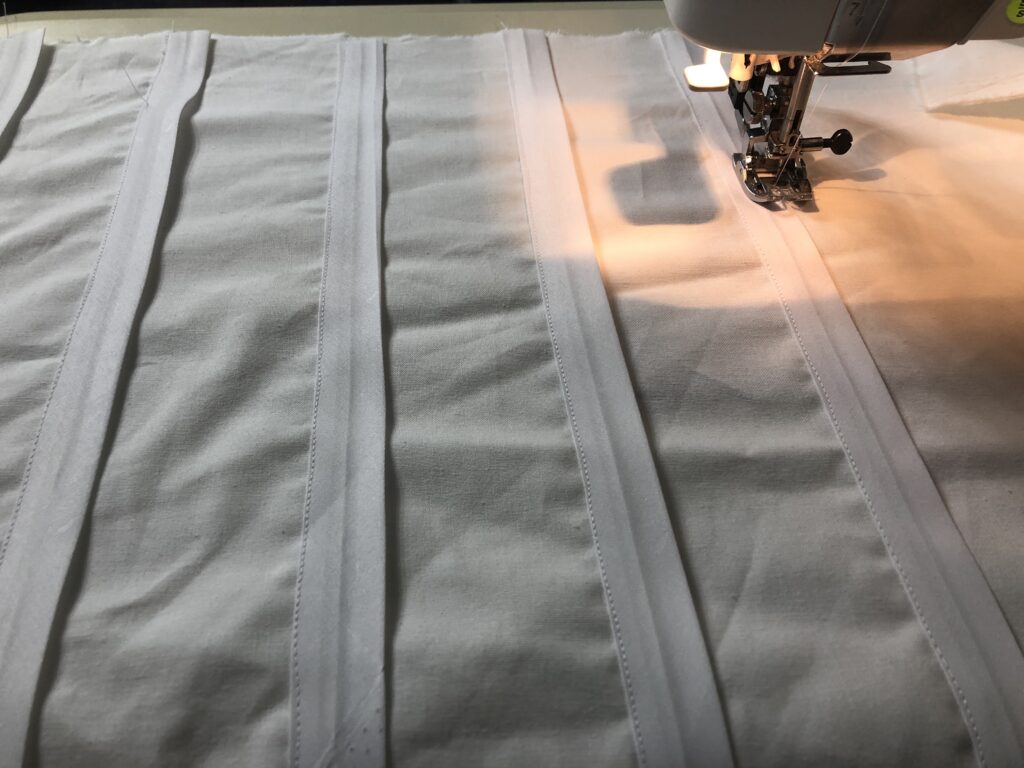
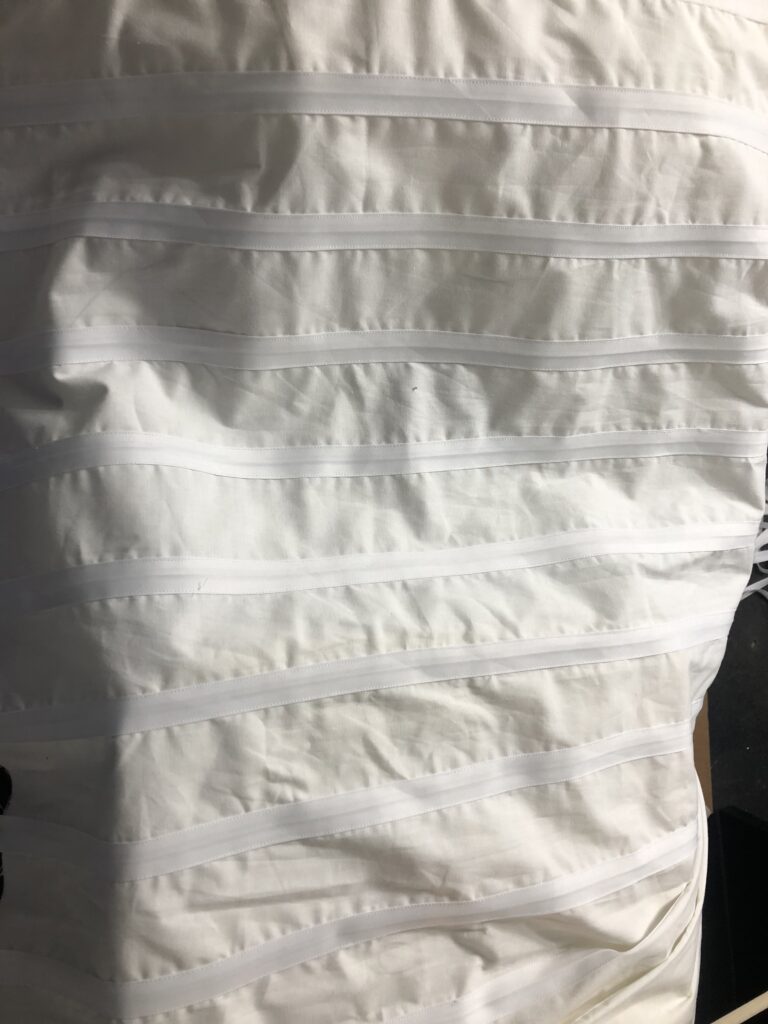
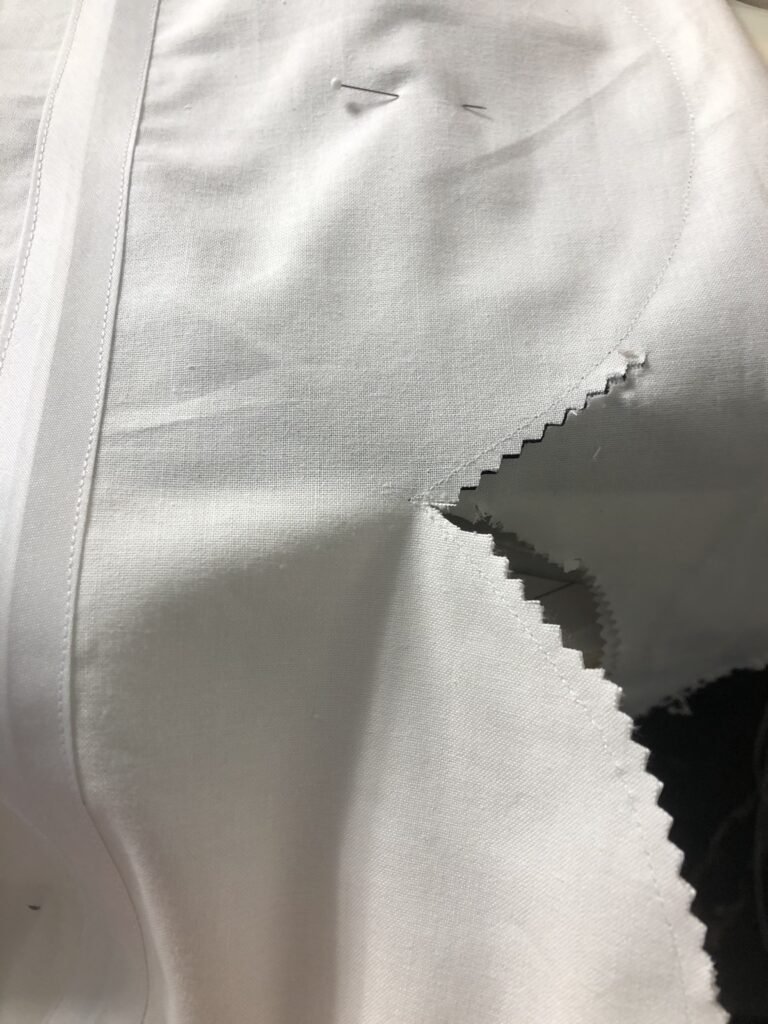
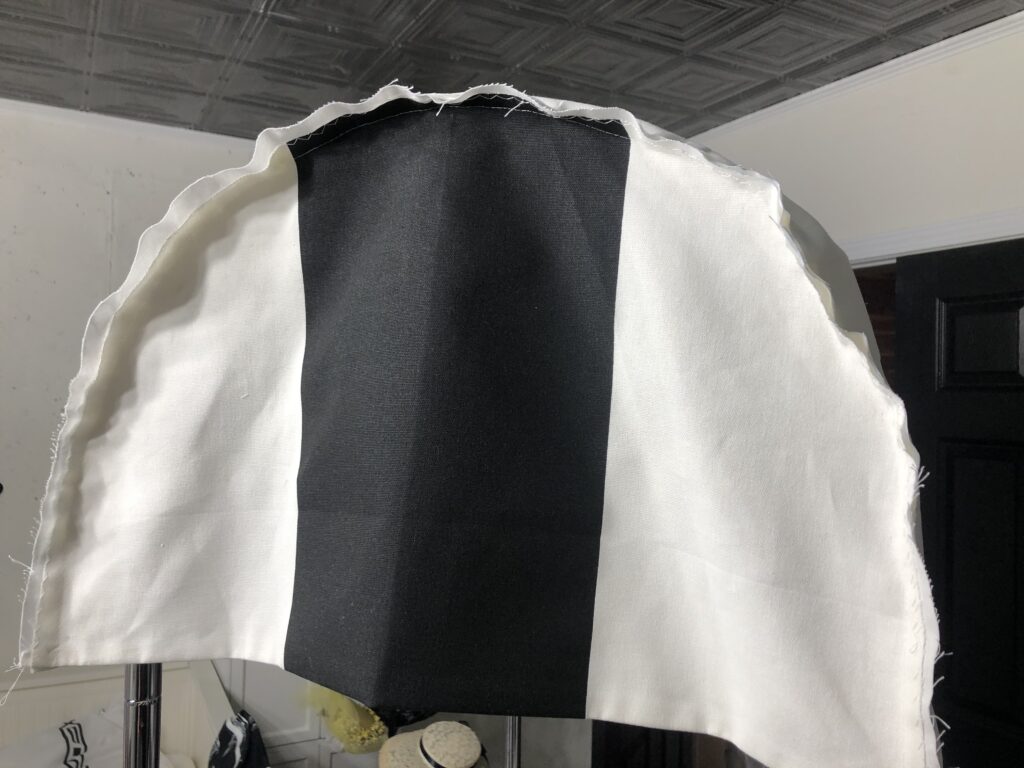
I measured the top and cut out a lining first. Once I had the general shape for the front, I sewed channels of bias tape every few inches being sure to leave the center of the bias strips unsewn so I could insert dowel rods.
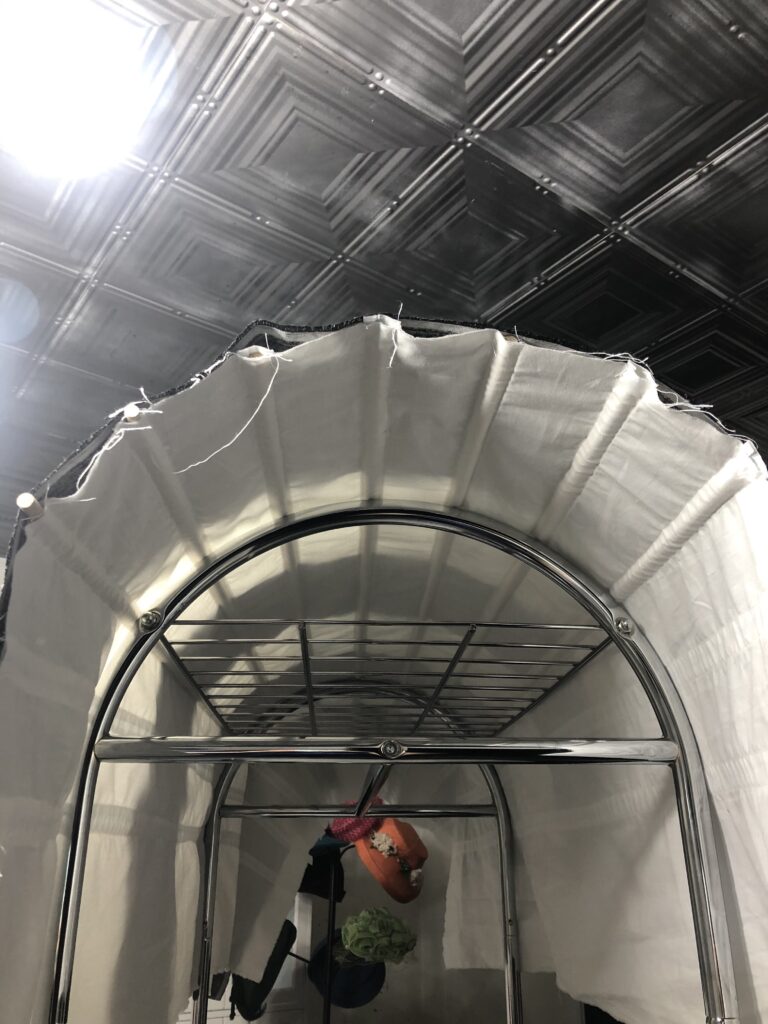
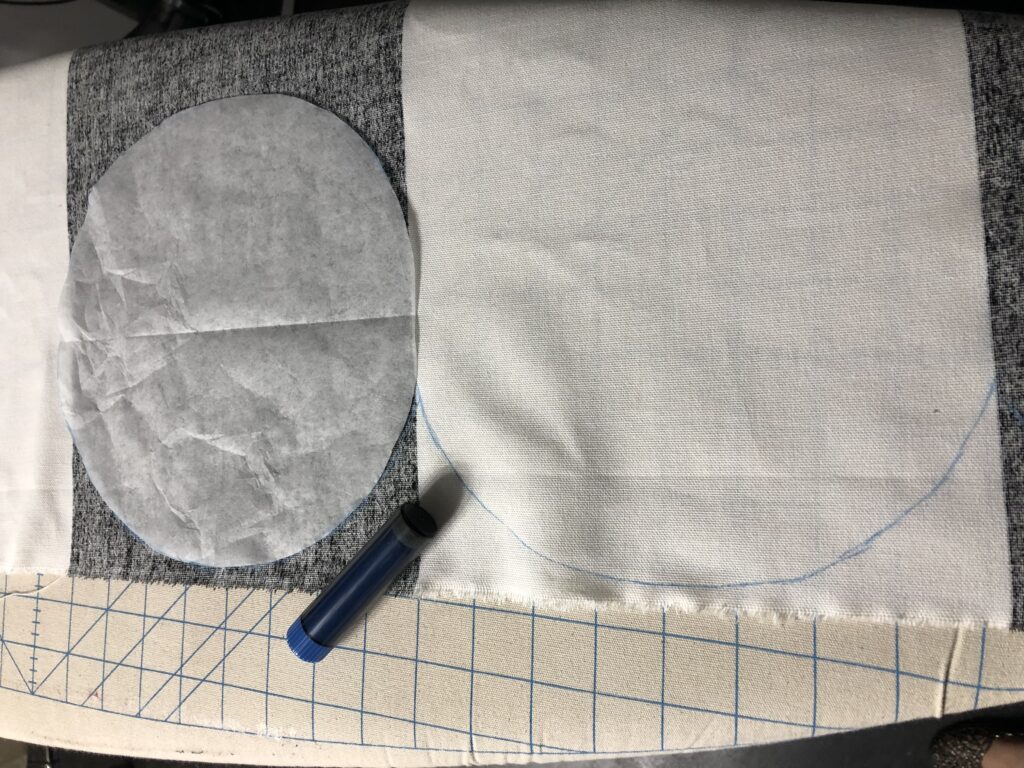
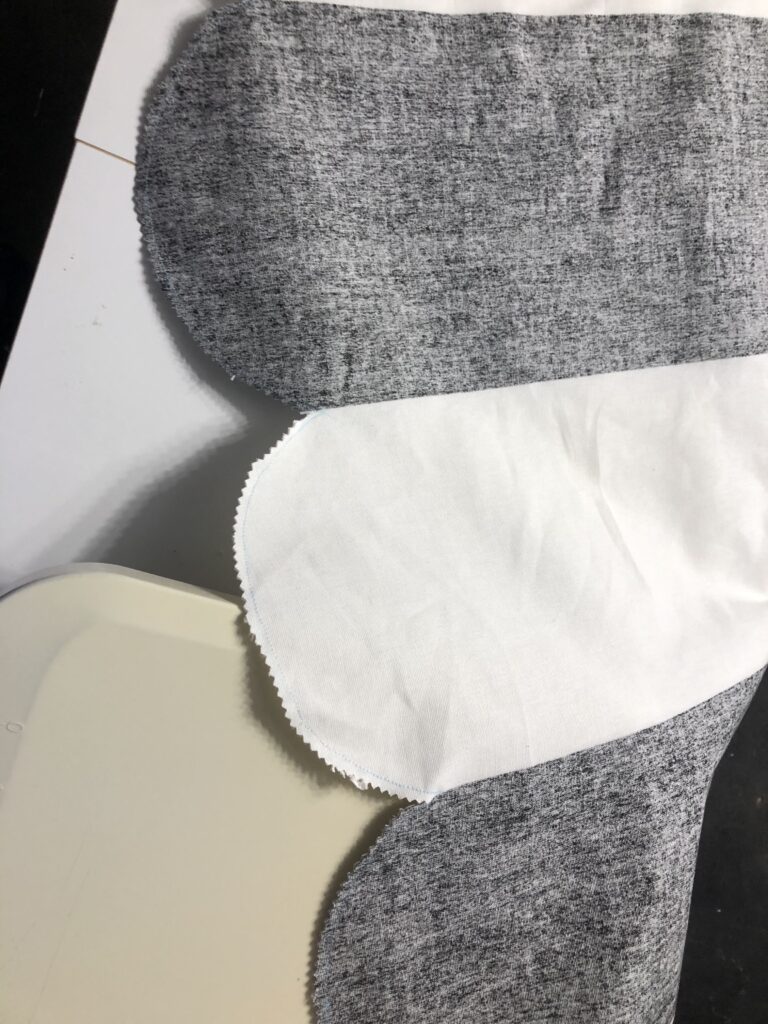
Once the lining channels were finished and cut to size, I cut out the main exterior canopy fabric using the lining as a guide. I also added scalloping around the hem. I used a plate to draw my scallop pattern with chalk.
On to the curtains! The curtains around each corner were the easiest part of the fabric cabana! They are just 4 rectangles with all 4 sides hemmed. I made sure that they overlapped a tiny bit when closed. I used these clips from Ikea but I found similar ones on Amazon.
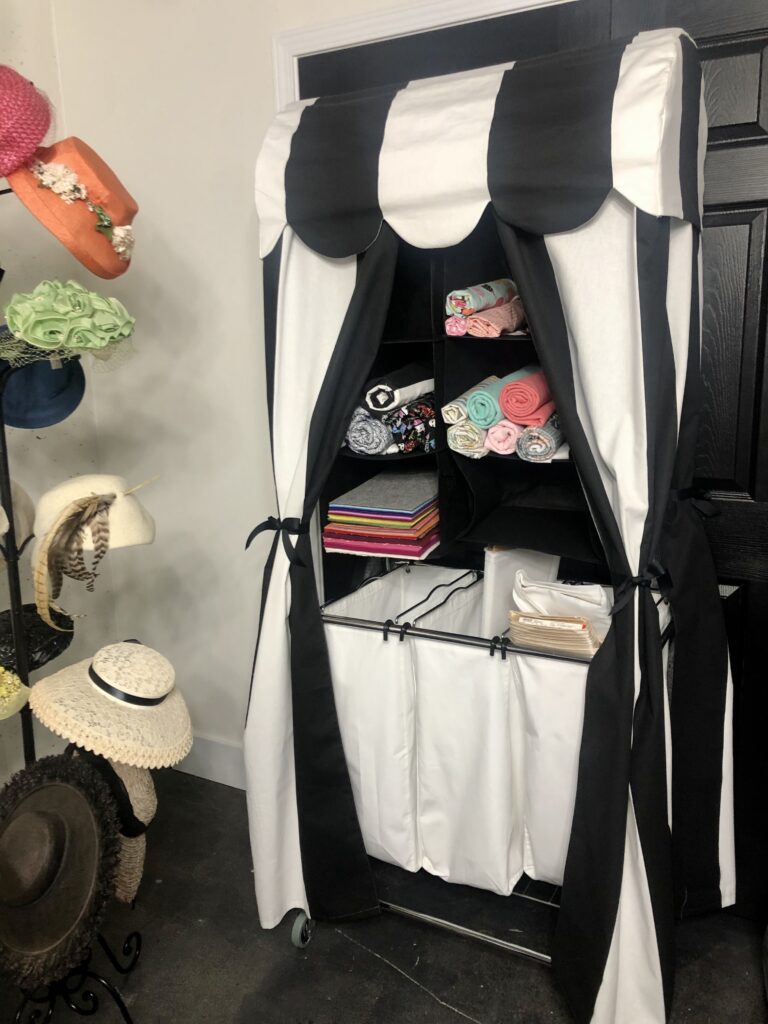
Add some ribbon to the corners to hold the curtains back. For the shelves, they were hanging closet shelves from Amazon. Two of these worked perfectly and hangs with velcro from one of the top bars. As a side note, I wasn’t happy that the canvas hamper bins were off-white and looked dingey, so I washed them with about a half-gallon of bleach and now they look sparkling white!
If you attempt this fabric cabana project or a similar project, let me know at Home and Geek on Facebook! Covering a giant cart was a first for me and I’m happy to offer help and guidance.
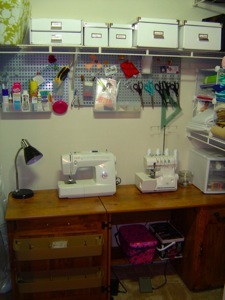
Be sure to check out my other sewing room projects.


No Comments