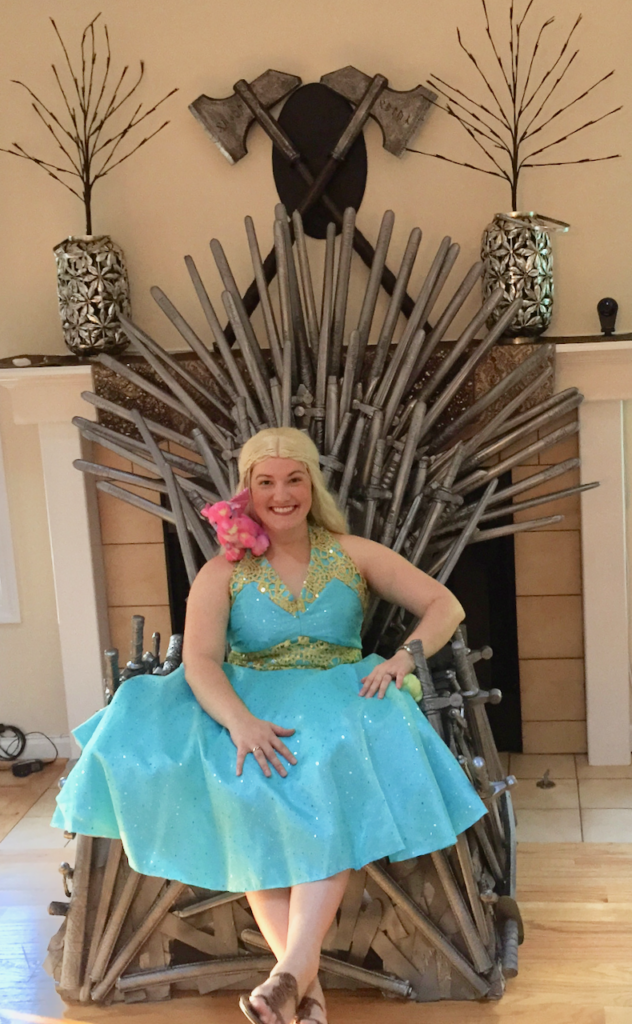
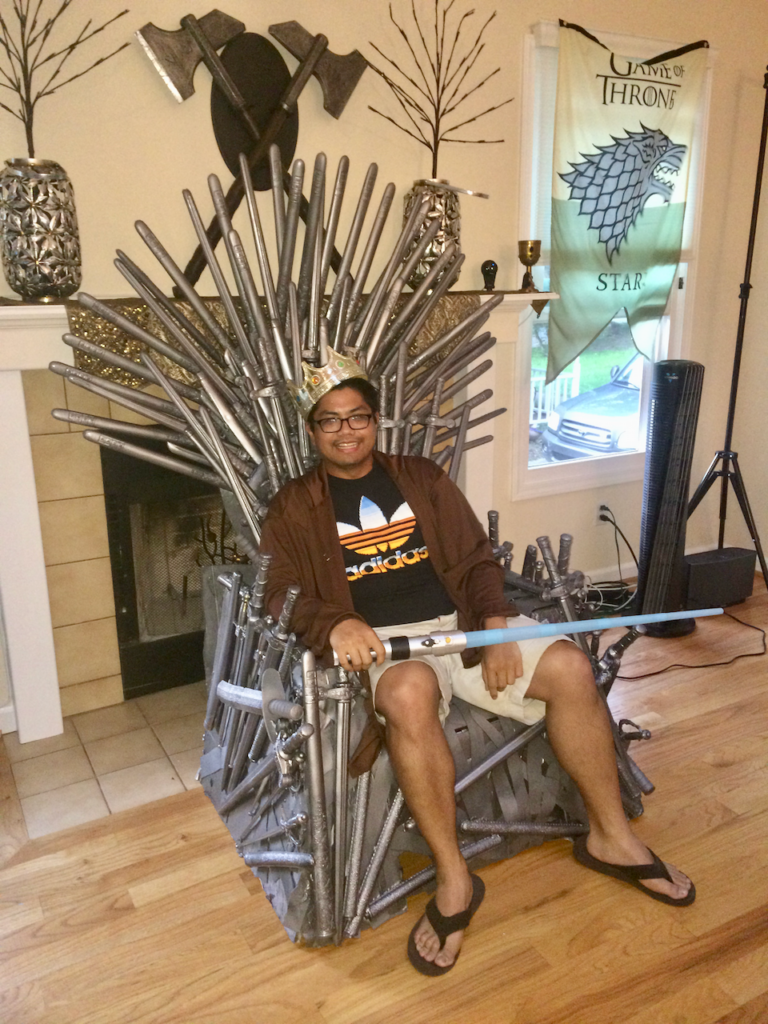
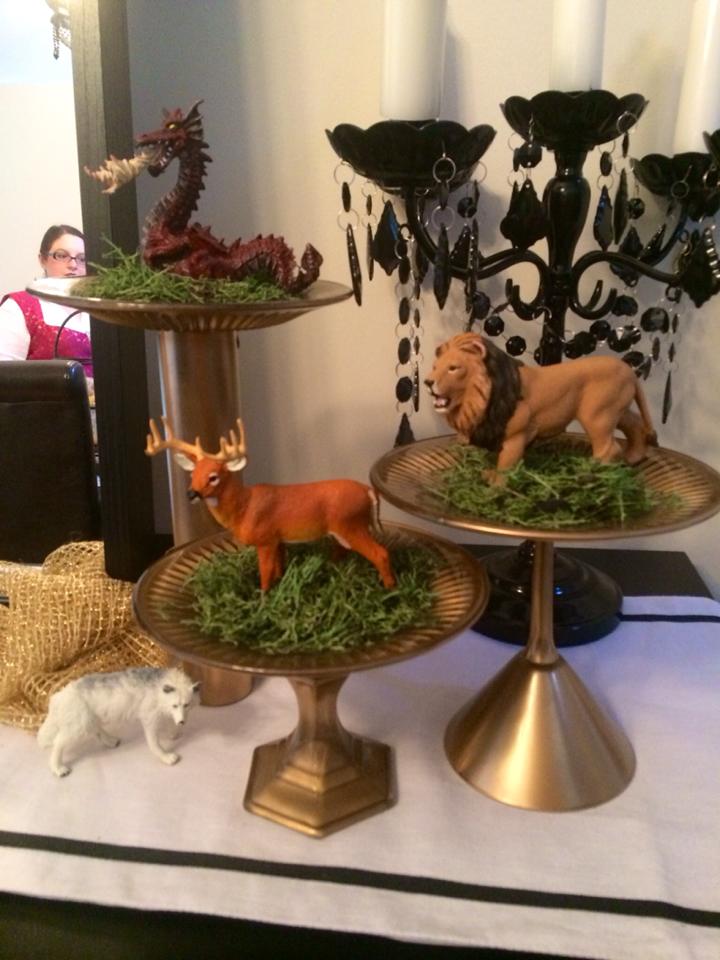
This throne was created for a season 5 finale party. It was the perfect centerpiece for the occasion! It was constructed over the course of a week after work.
Supplies:
- Plastic Adirondack chair or any chair with a high back and arms. I got mine from Lowes but they have several on Amazon.
- Assortment of plastic swords. The more the better. I purchased 2 dozen of these fancy swords and 7 dozen of these plastic neon ninja swords.
- Foam board insulation sheet 4ft by 8ft. Found at Lowes.
- Thin foam sheet by the roll.
- Yard sticks
- 4 cans of silver metal spray paint. Aged metallic weathered steel by Rust-Oleum is my favorite.
- Duct tape
- E6000 Glue. This is my favorite glue for all plastic to plastic applications.
- Hot Glue
Steps:
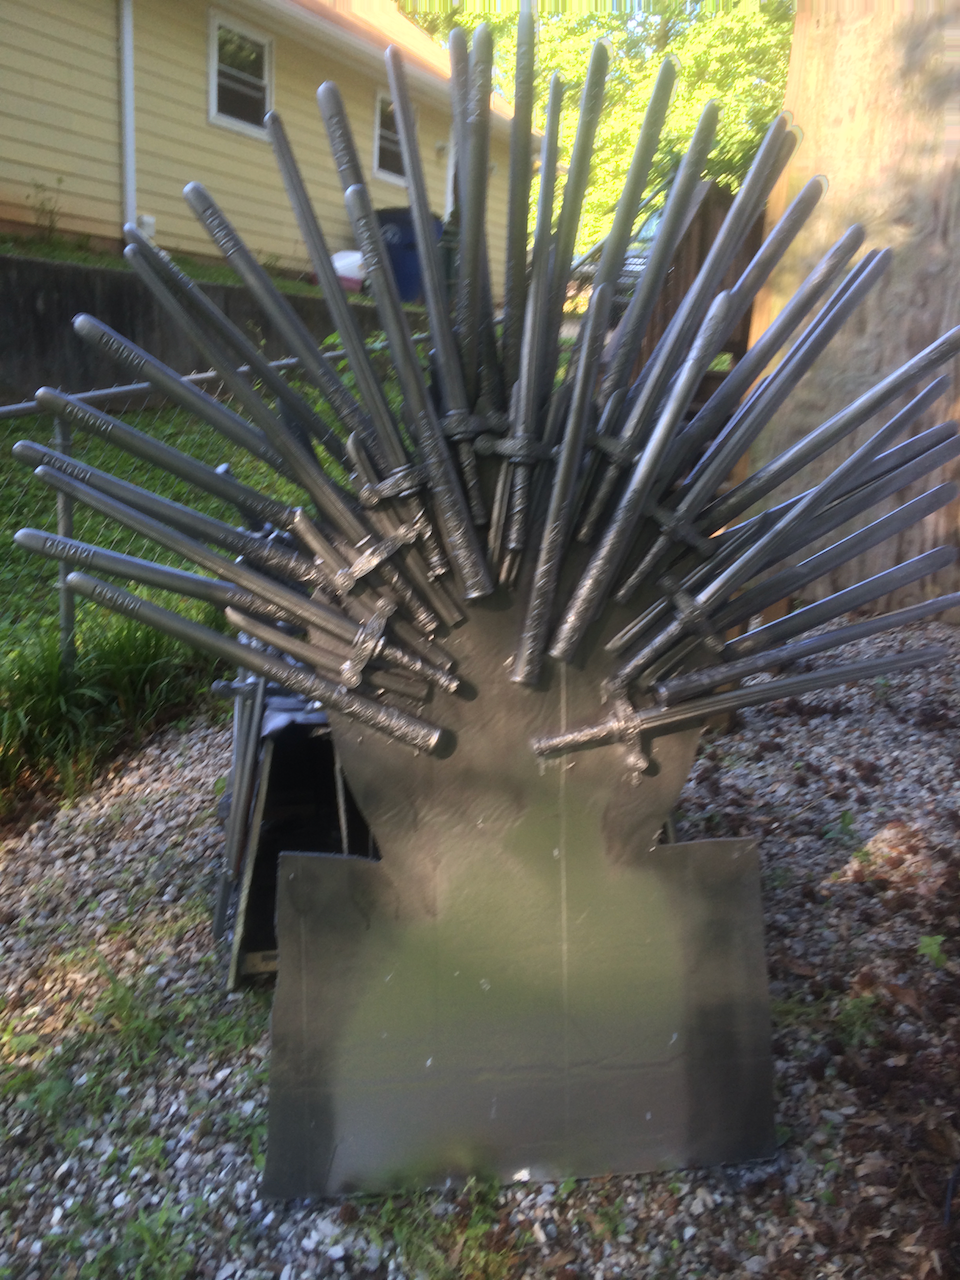
- My throne is in two pieces in order to transport and get it inside the house. The chair is separate from the tall backing board. Start shaping your foam insulation to create a circle on top of a rectangle. My piece resembled a key hole. This is a picture of the general shape and is the background of my throne. This piece is propped behind the chair when in use for photos.
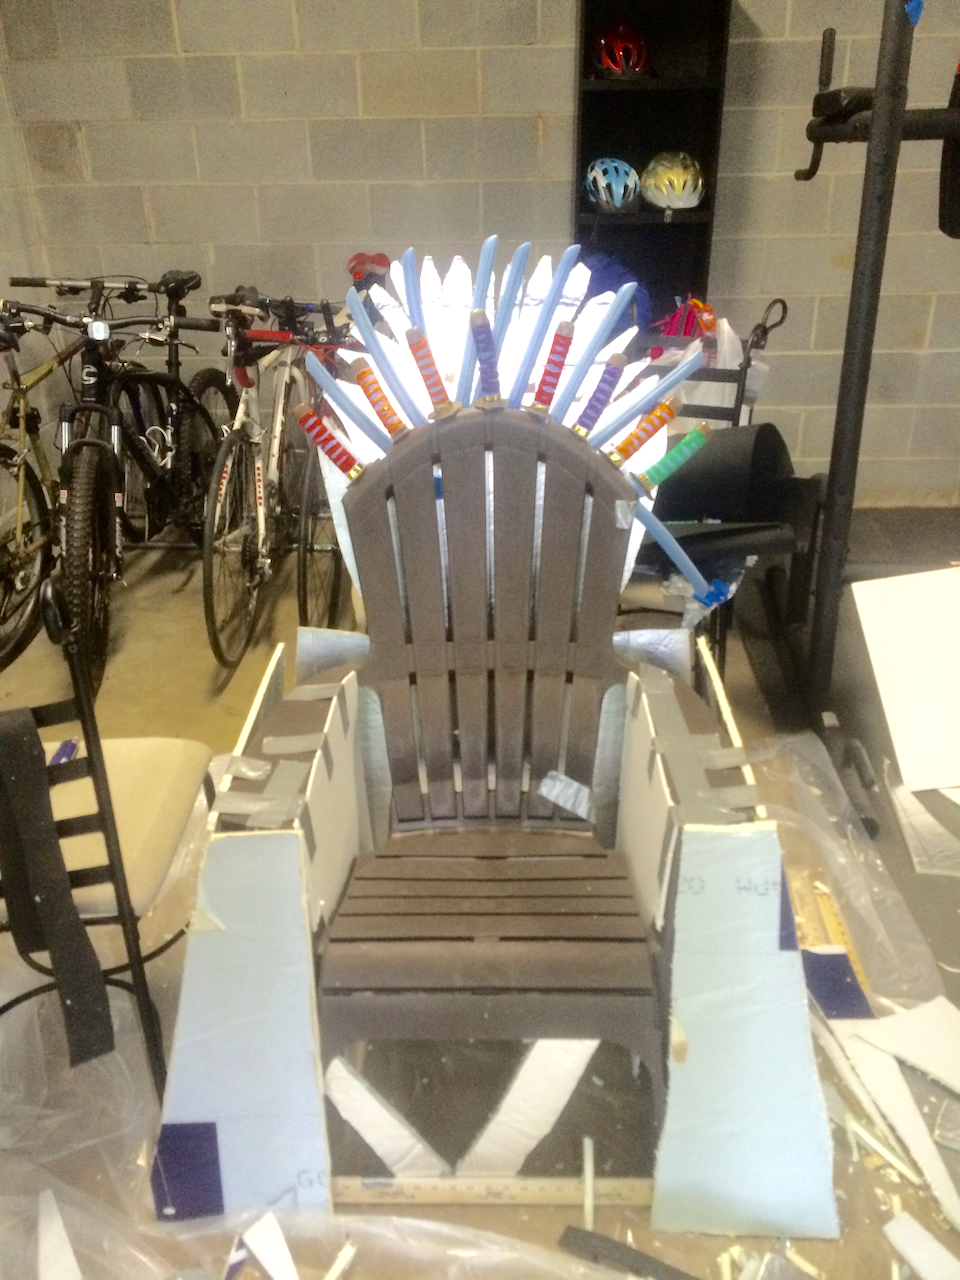
- I also used the insulation to beef up the arms and encase them. I cut the insulation to start at the arms and end at the floor. I attached these pieces with e6000 and duct tape as seen in the photo below. It doesn’t have to be pretty since it will be covered with swords.
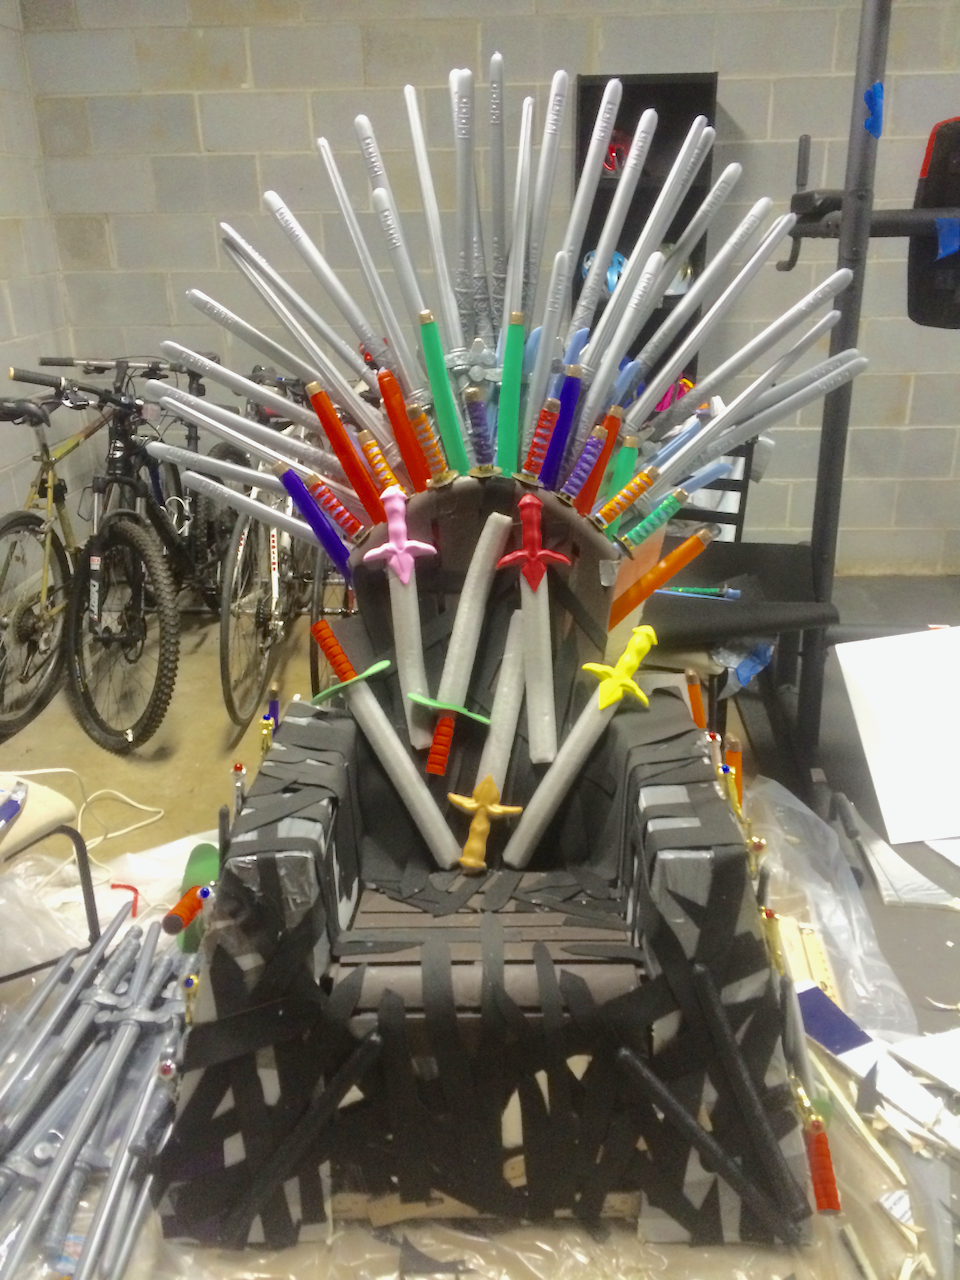
- Next is the first layer of “flat” swords. For chair and arms, I cut pieces of the thin foam (just like the craft store sheets) into long rectangles that resembled swords and glued them down with a combination of hot glue (for temporary placement) and E600 (for final placement). The black foam “flat” swords are shown in the picture below.
- Continue to add foam swords until you are happy with the look. I also added wooden yard sticks and paint sticks to add more interest and depth. Next is the addition of the plastic swords. The plastic swords are attached to the insulation board in a fan pattern for height. They are also attached to the chair back, seat and along the sides of the arms. Basically, go crazy with the swords. I developed a system of using hot glue and duct tape to hold the swords while my e6000 glue dried. E600 is perfect for plastic to plastic applications such as this and you will not be able to remove it without major force.
- Once I was happy with the placement of the swords on the chair and the background sword board. I moved on to spray paint. This aged metallic weathered steel by Rust-Oleum was perfect. No primer was needed but it did take a few coats to cover up the bright neon swords and to get all of the nooks and crannies.
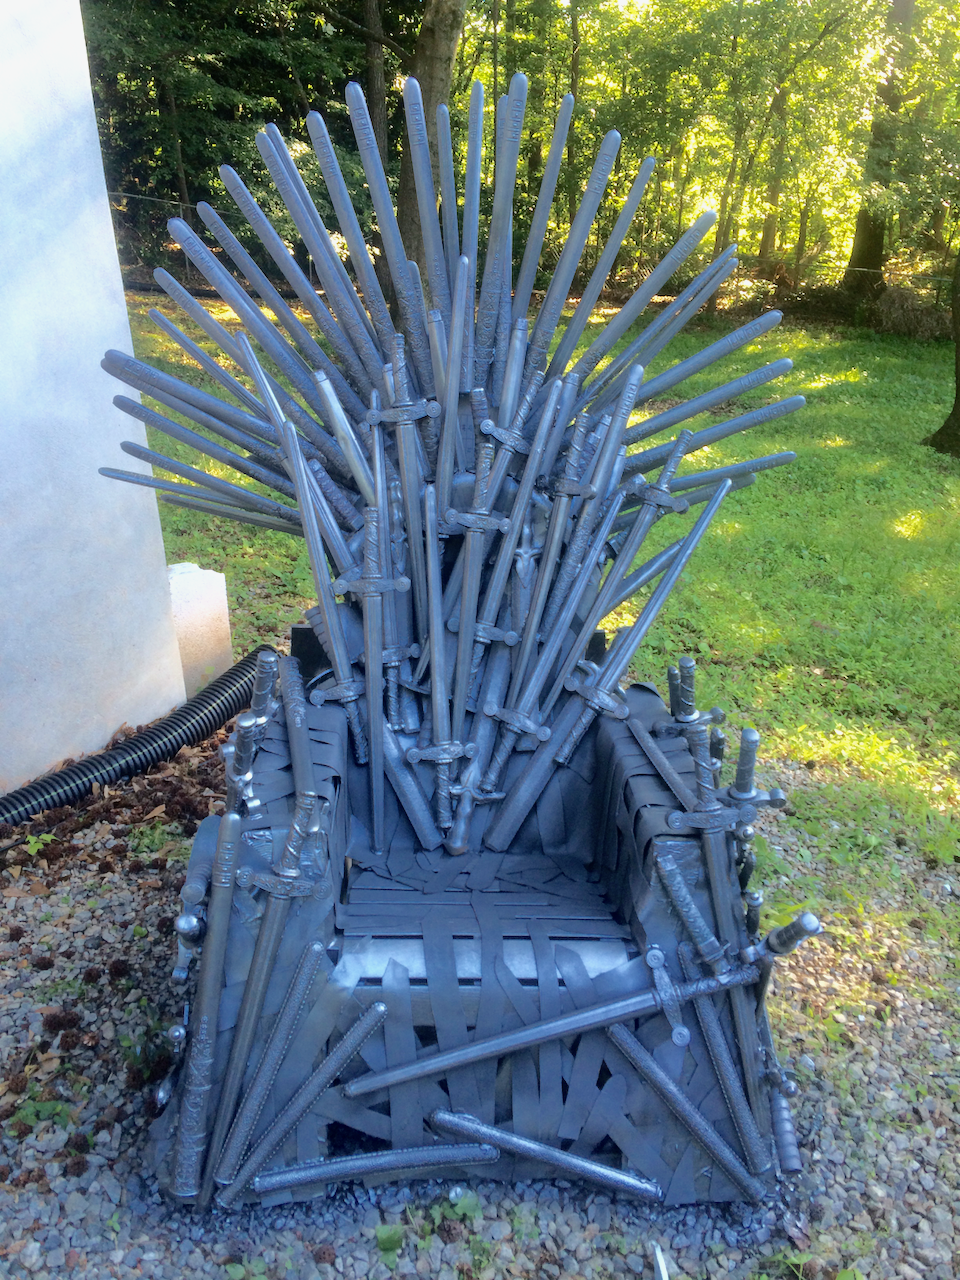
- Enjoy your throne!



No Comments