
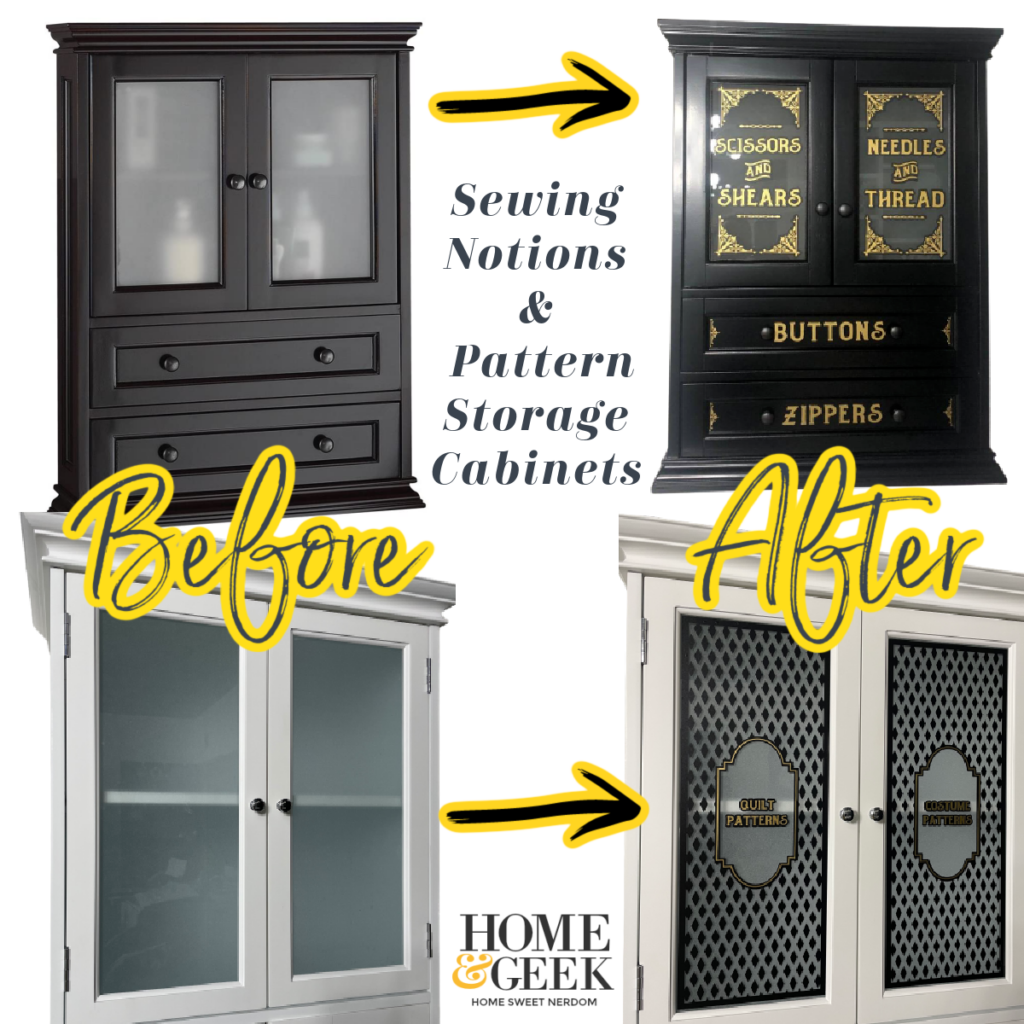
I have three cabinets in my sewing room that were originally bathroom or linen cabinets. Let’s jazz them up with some vinyl to make them look a little more vintage-inspired!
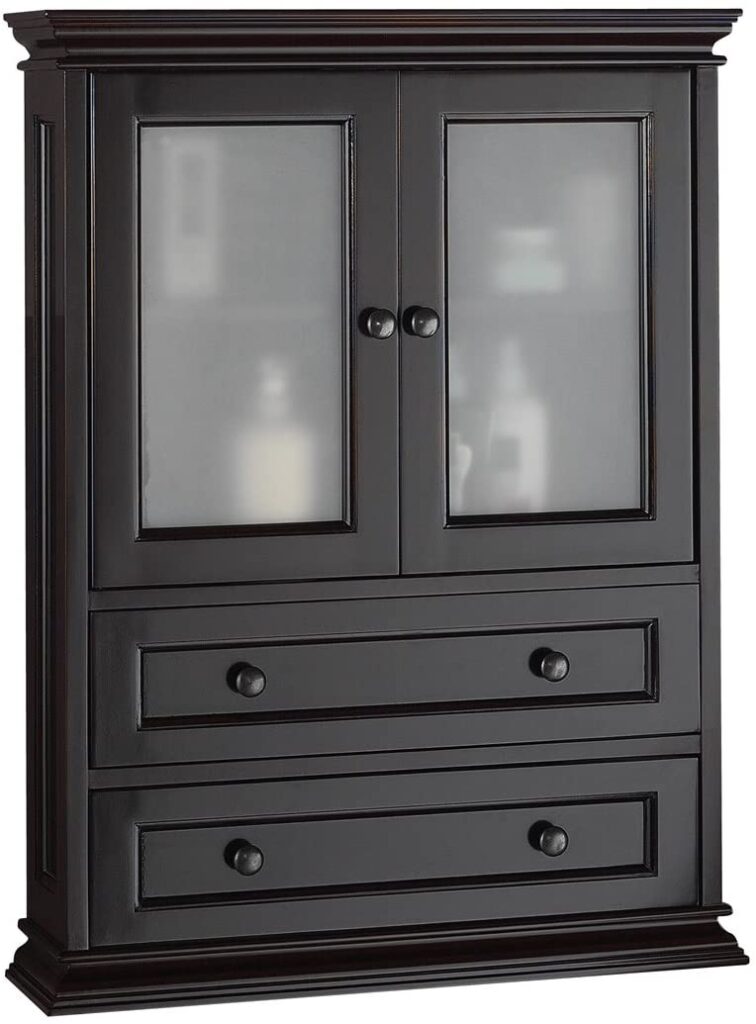
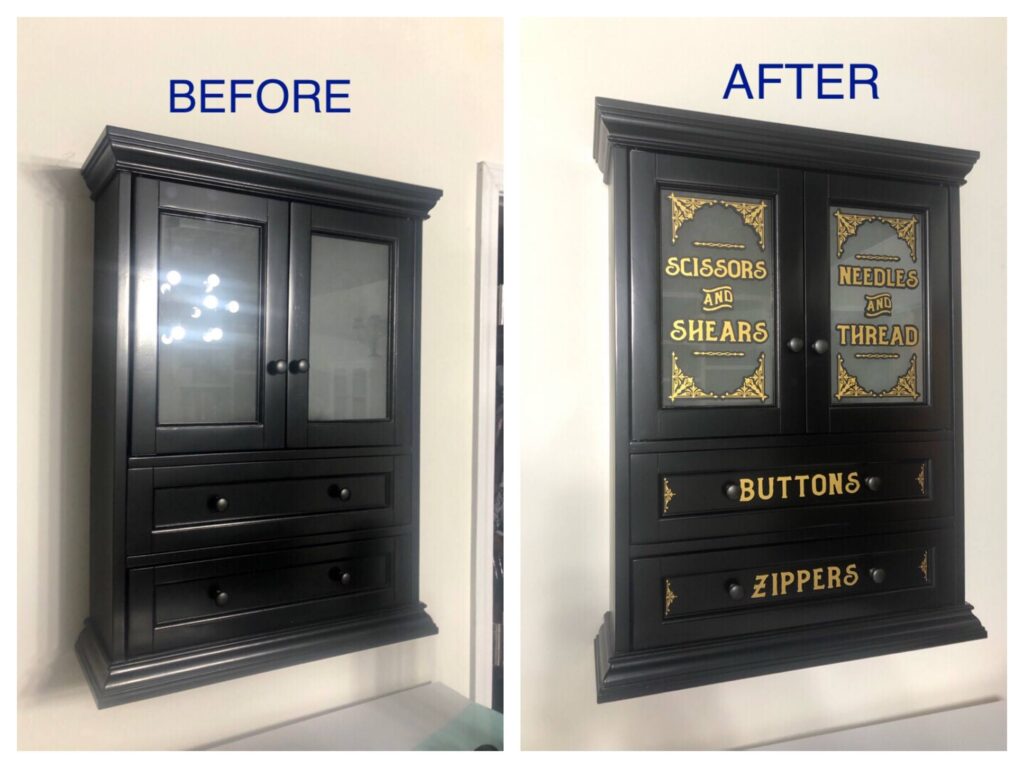
The first cabinet was a wall mounted bathroom cabinet which was supposed to go above a toilet. It can be purchased from Amazon here. I loved that it had drawers!
The Black Bathroom Cabinet
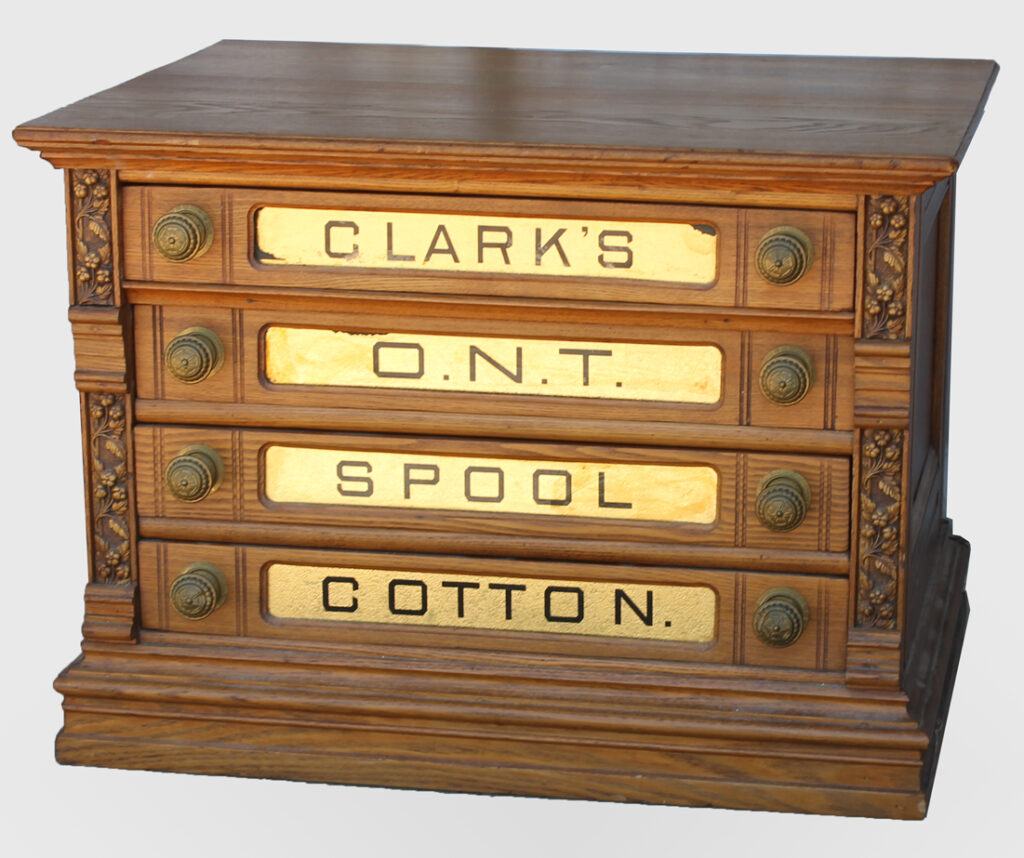
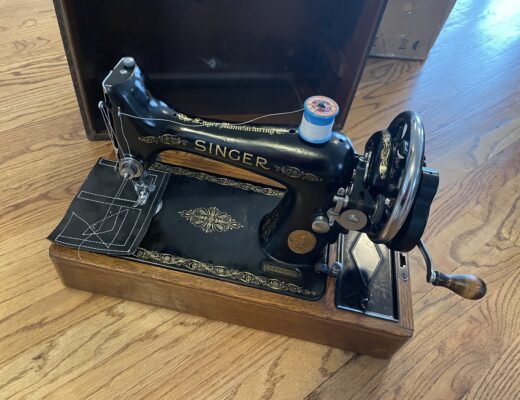
Measure each door and drawer and use the free silhouette software to design mockups of the design. I used permanent adhesive vinyl (Orcal 631 in gold and black) cut on my silhouette machine and adhered with grid transfer paper for the exact placement that I wanted. The black is adhered first and the gold is layered over the black. I was inspired by the black and gold art deco graphics from the old Singer Featherweight sewing machines. I’m pretty pleased how they turned out!

The White Bathroom/linen Cabinet
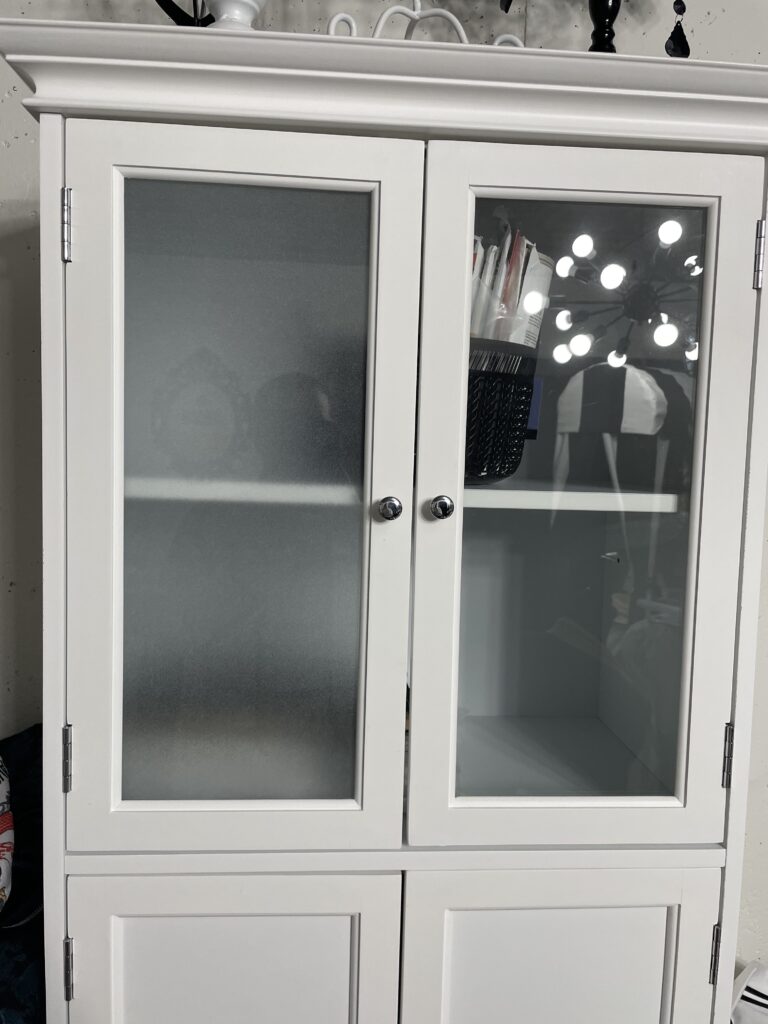
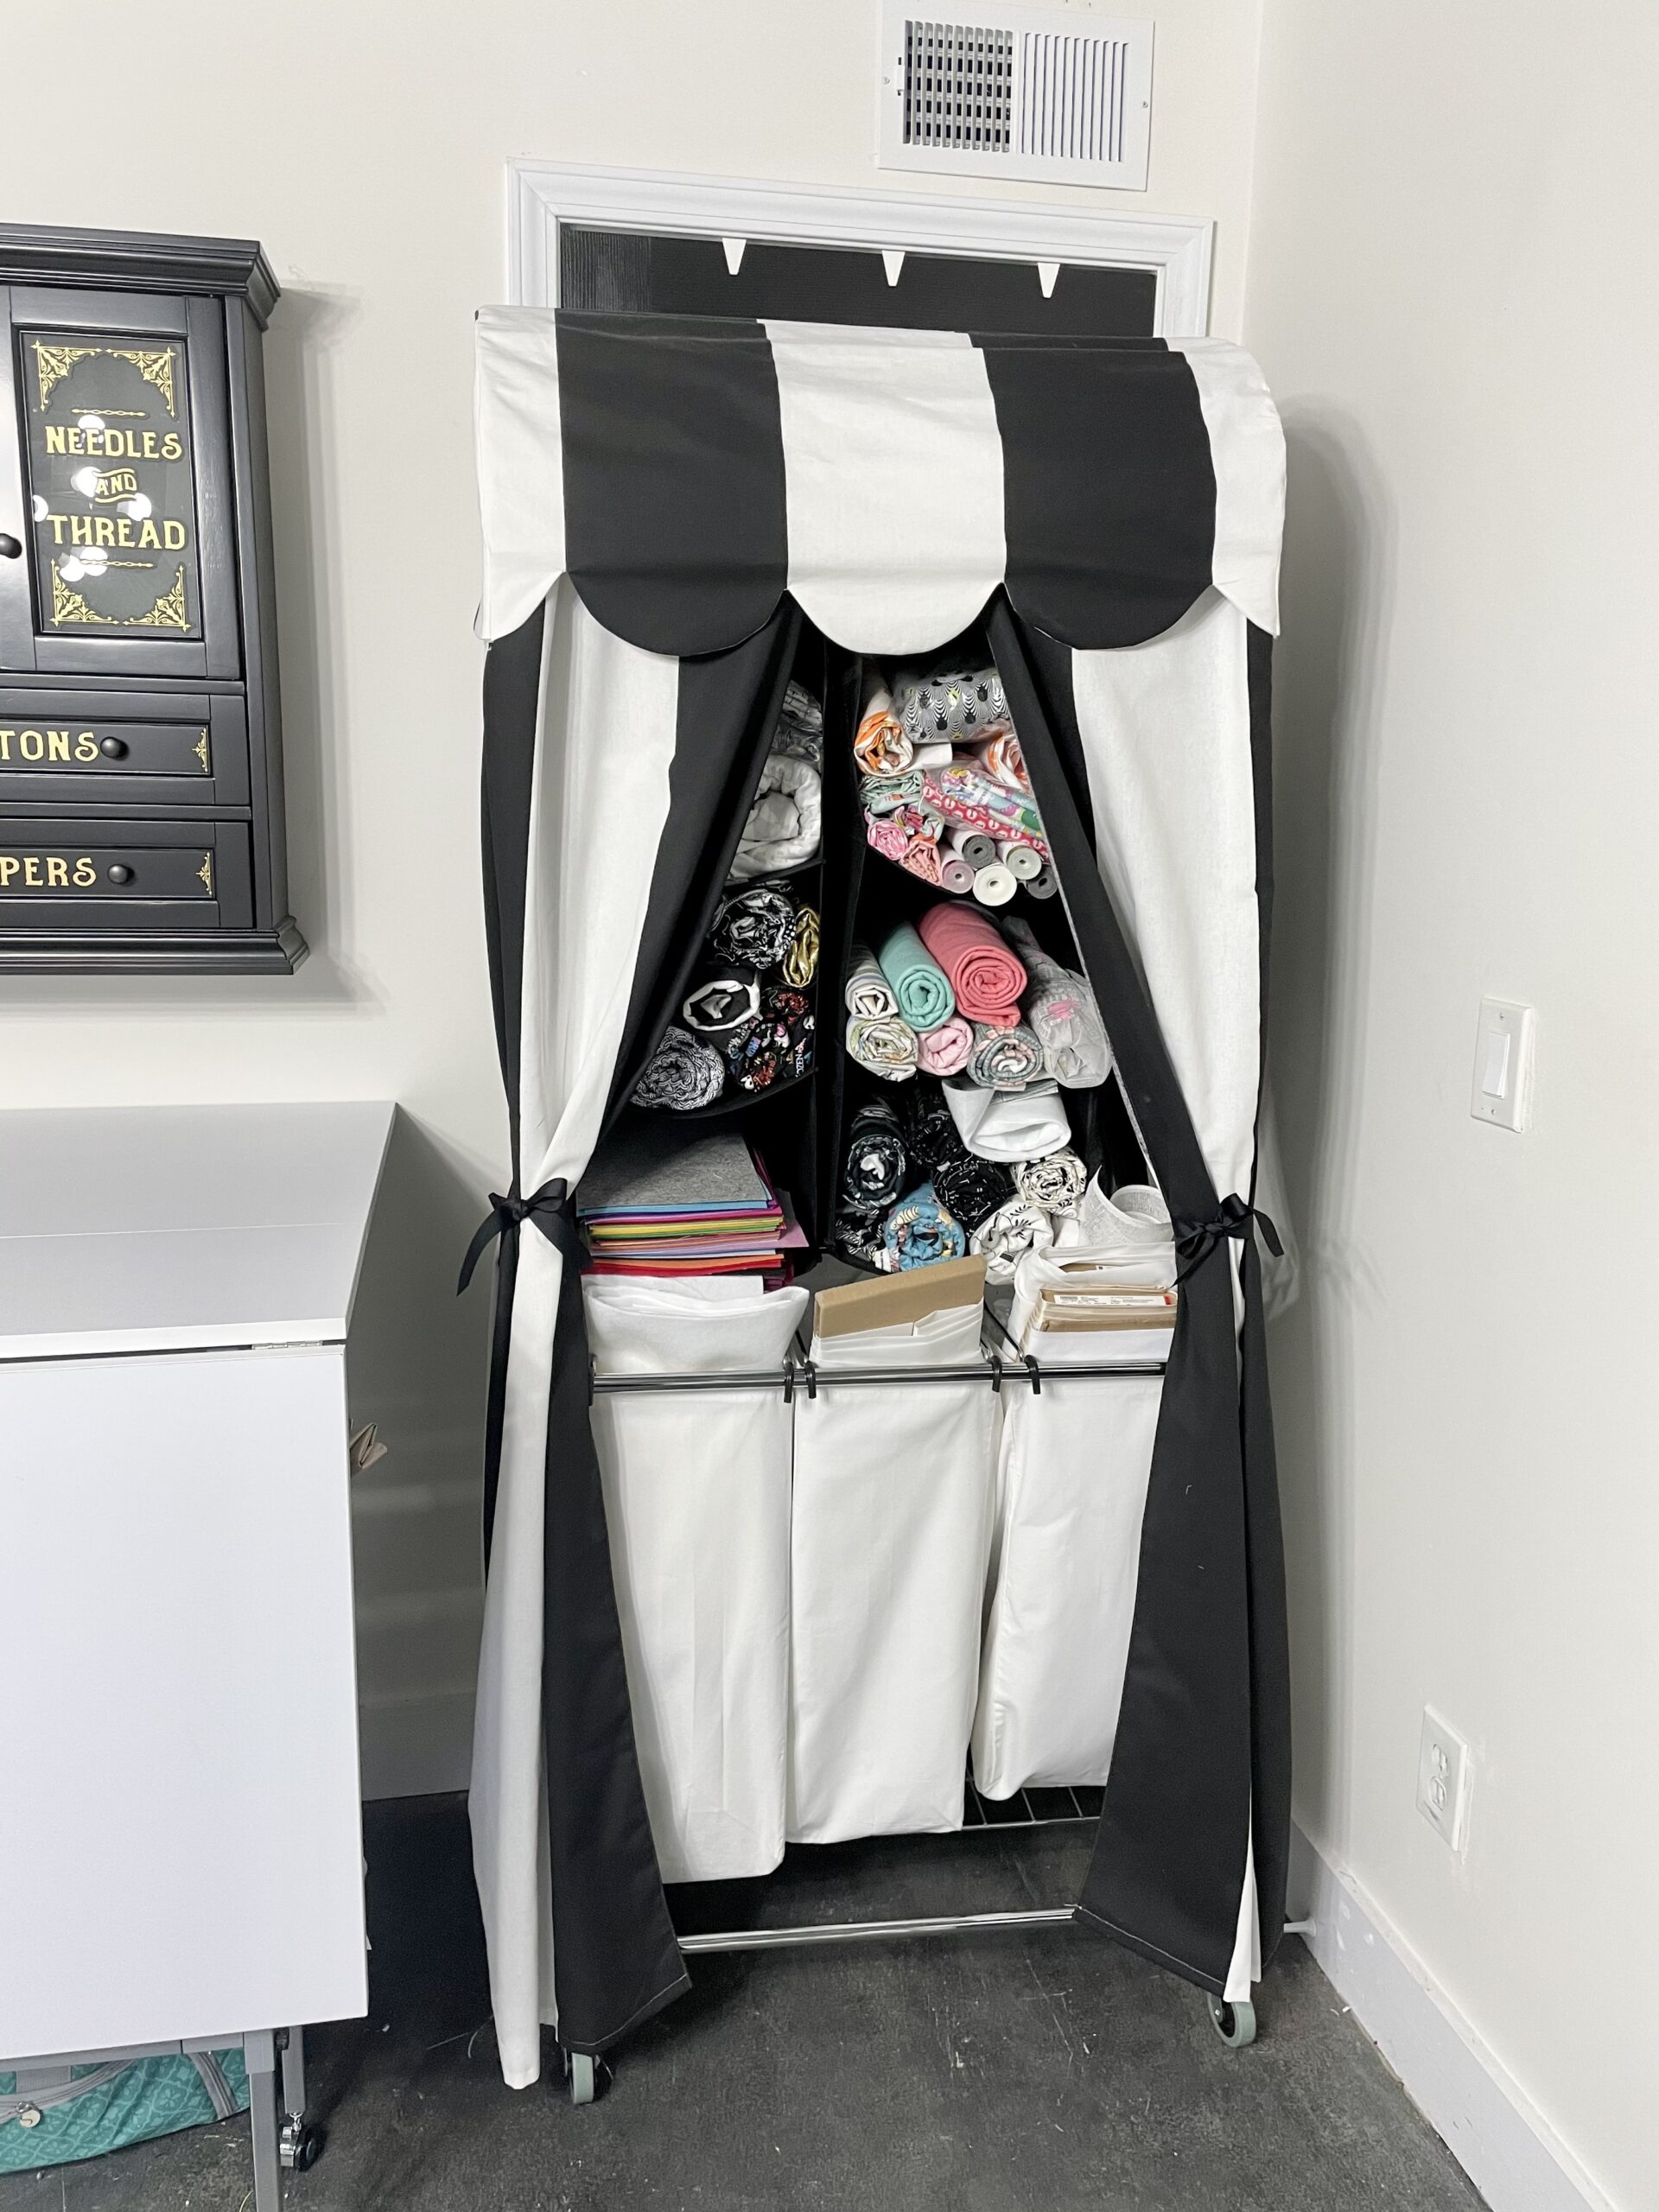
Next up is two old white linen cabinets used for fabric and pattern storage. I’ve had these for several years but I wasn’t a fan of the glass doors since I rarely kept the inside “pretty”. The first step was to make the glass more opaque, like the black cabinet, before I added vinyl. A fantastic product on Amazon which is basically a sheet of static cling was applied to the inside of the door using a squeegee and water. It was really easy!
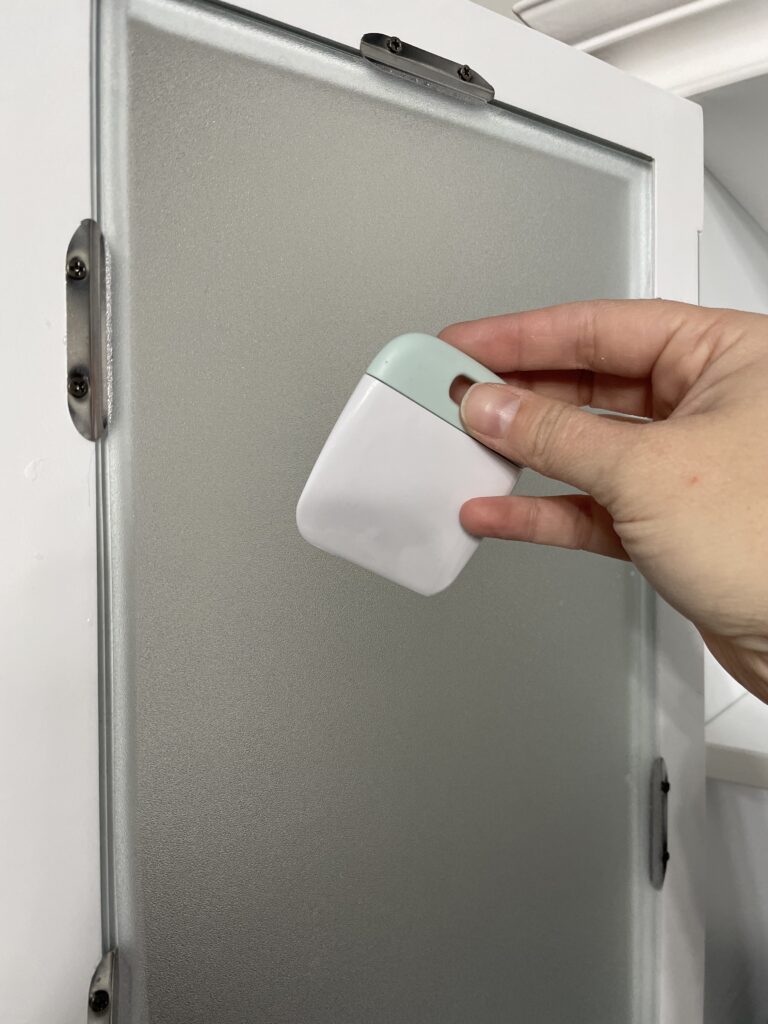
For the black/gold details, I once again used (Orcal 631 in gold and black) cut on my silhouette machine and adhered with grid transfer paper for the exact placement that I wanted. The black adhered first and the gold was layered over the black. Here are some construction photos of the process.
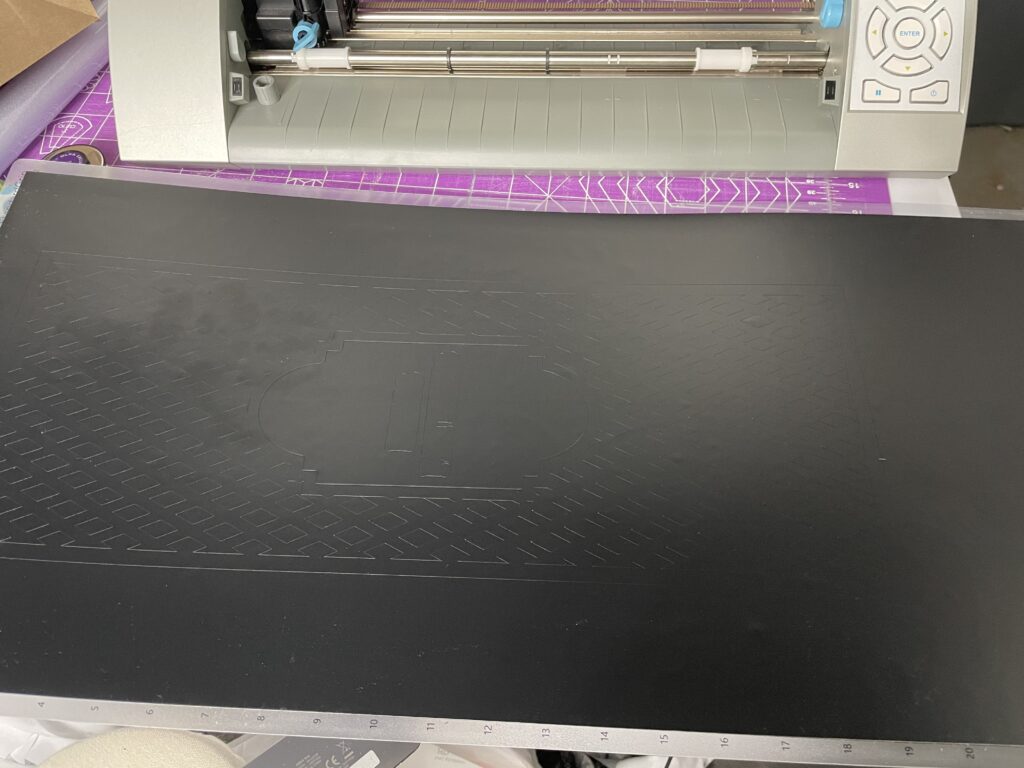
Cutting the vinyl on the Silhouette machine 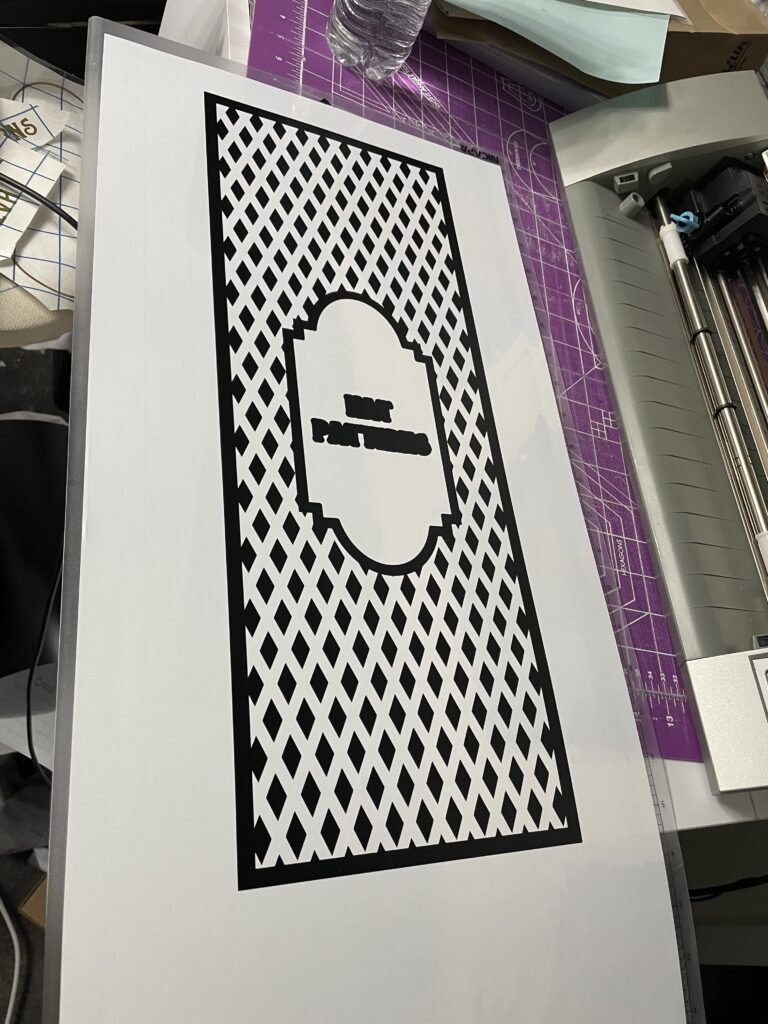
After wedding the design 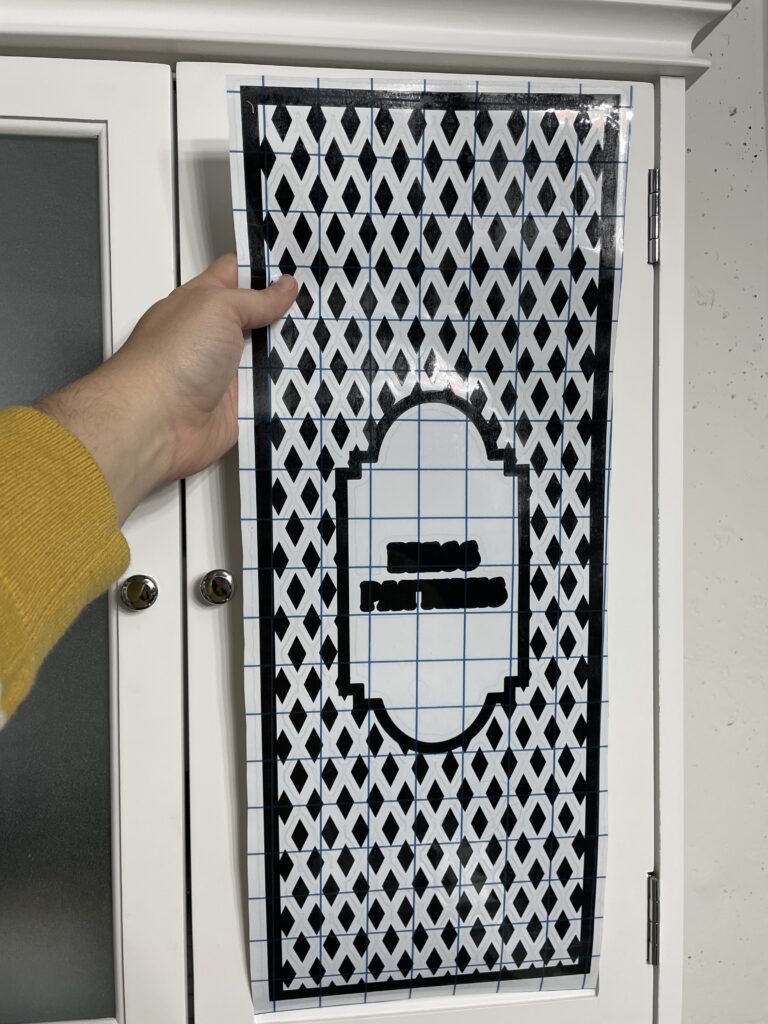
Vinyl is removed from carrier sheet with a transfer paper grid. 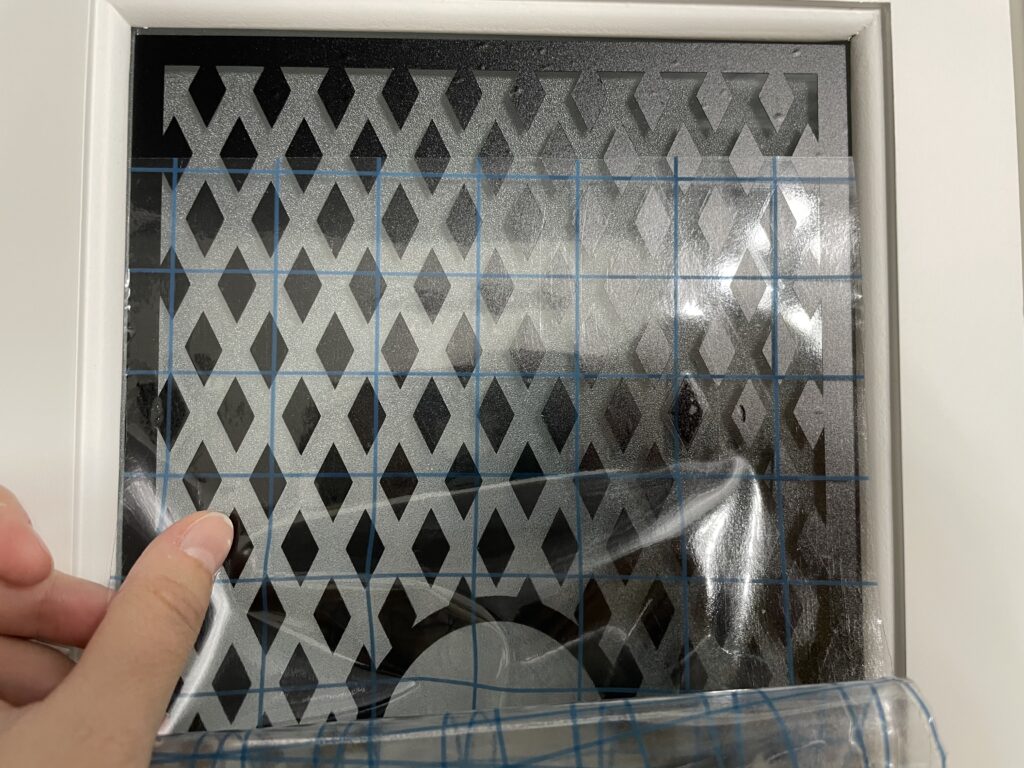
Press down the transfer paper and then remove leaving the design on the glass 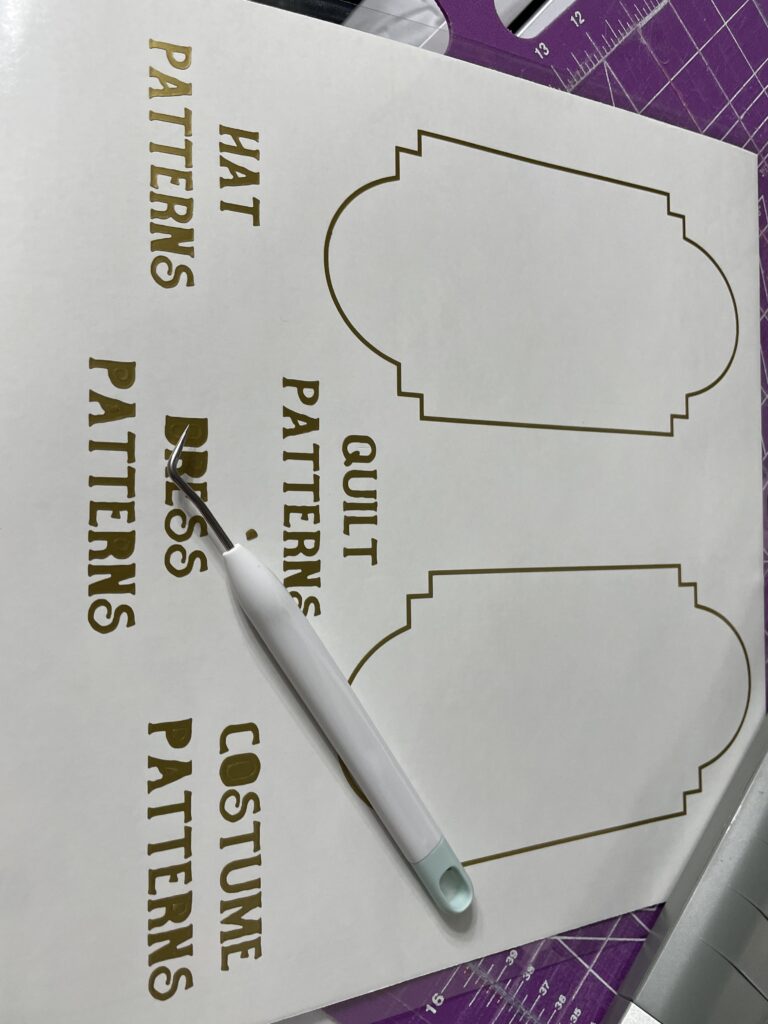
Weeding the gold vinyl 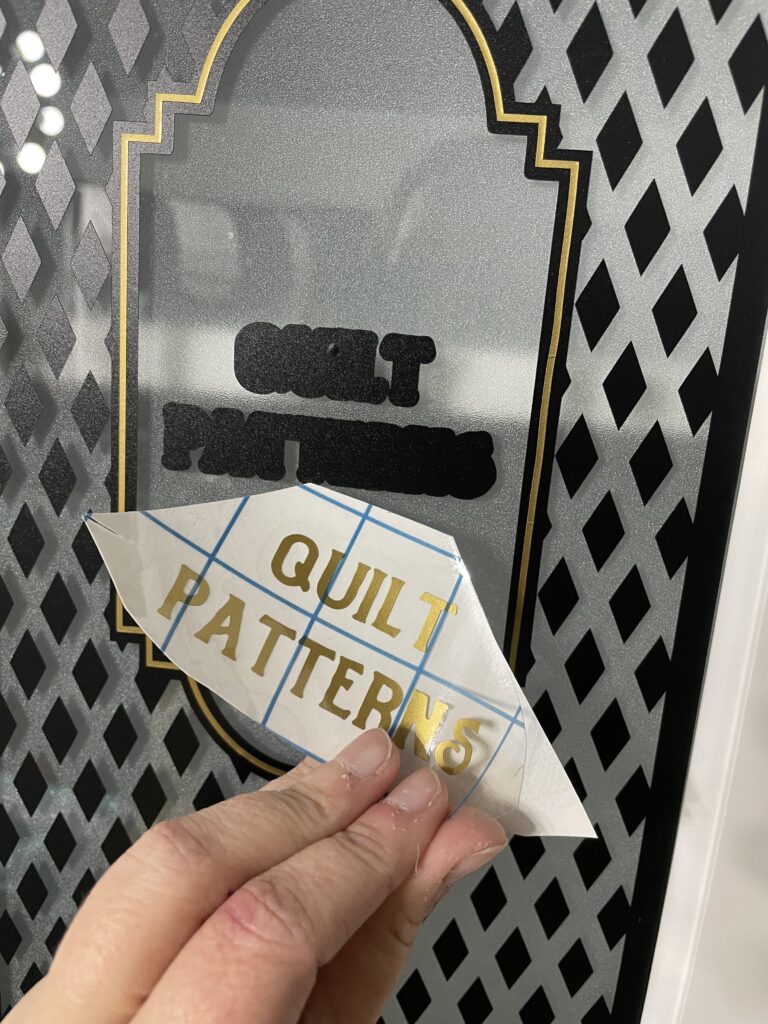
Attaching the gold layer 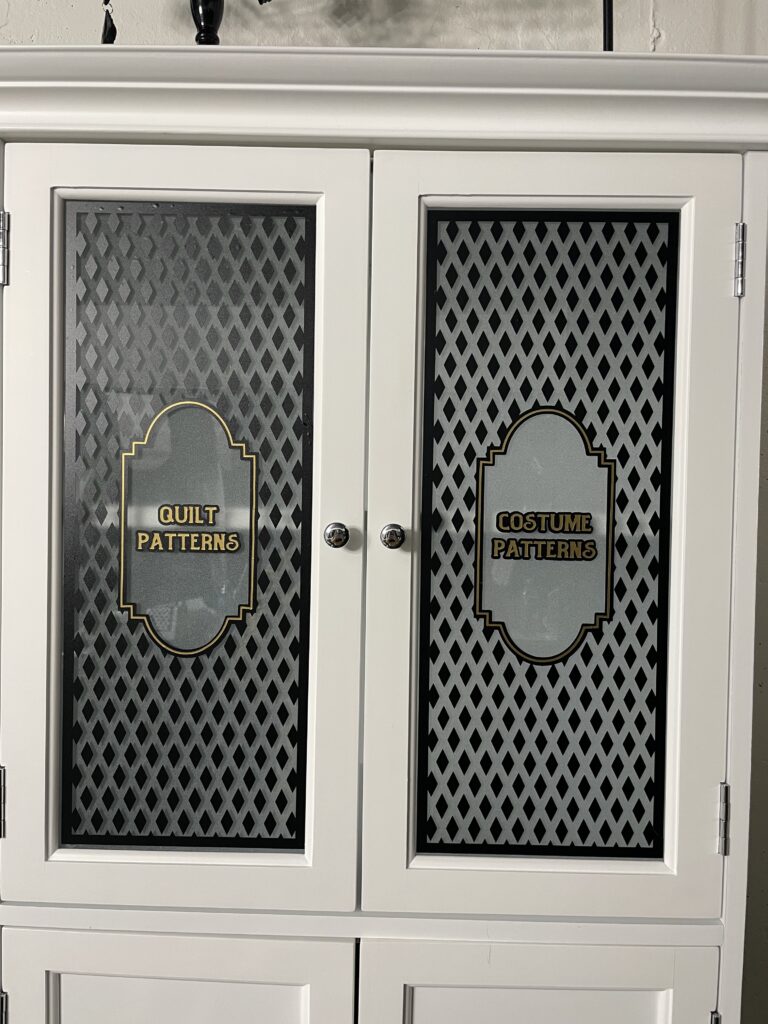
Finished!

I’m so glad I dressed up these cabinets! I’m thrilled how they turned out!


No Comments