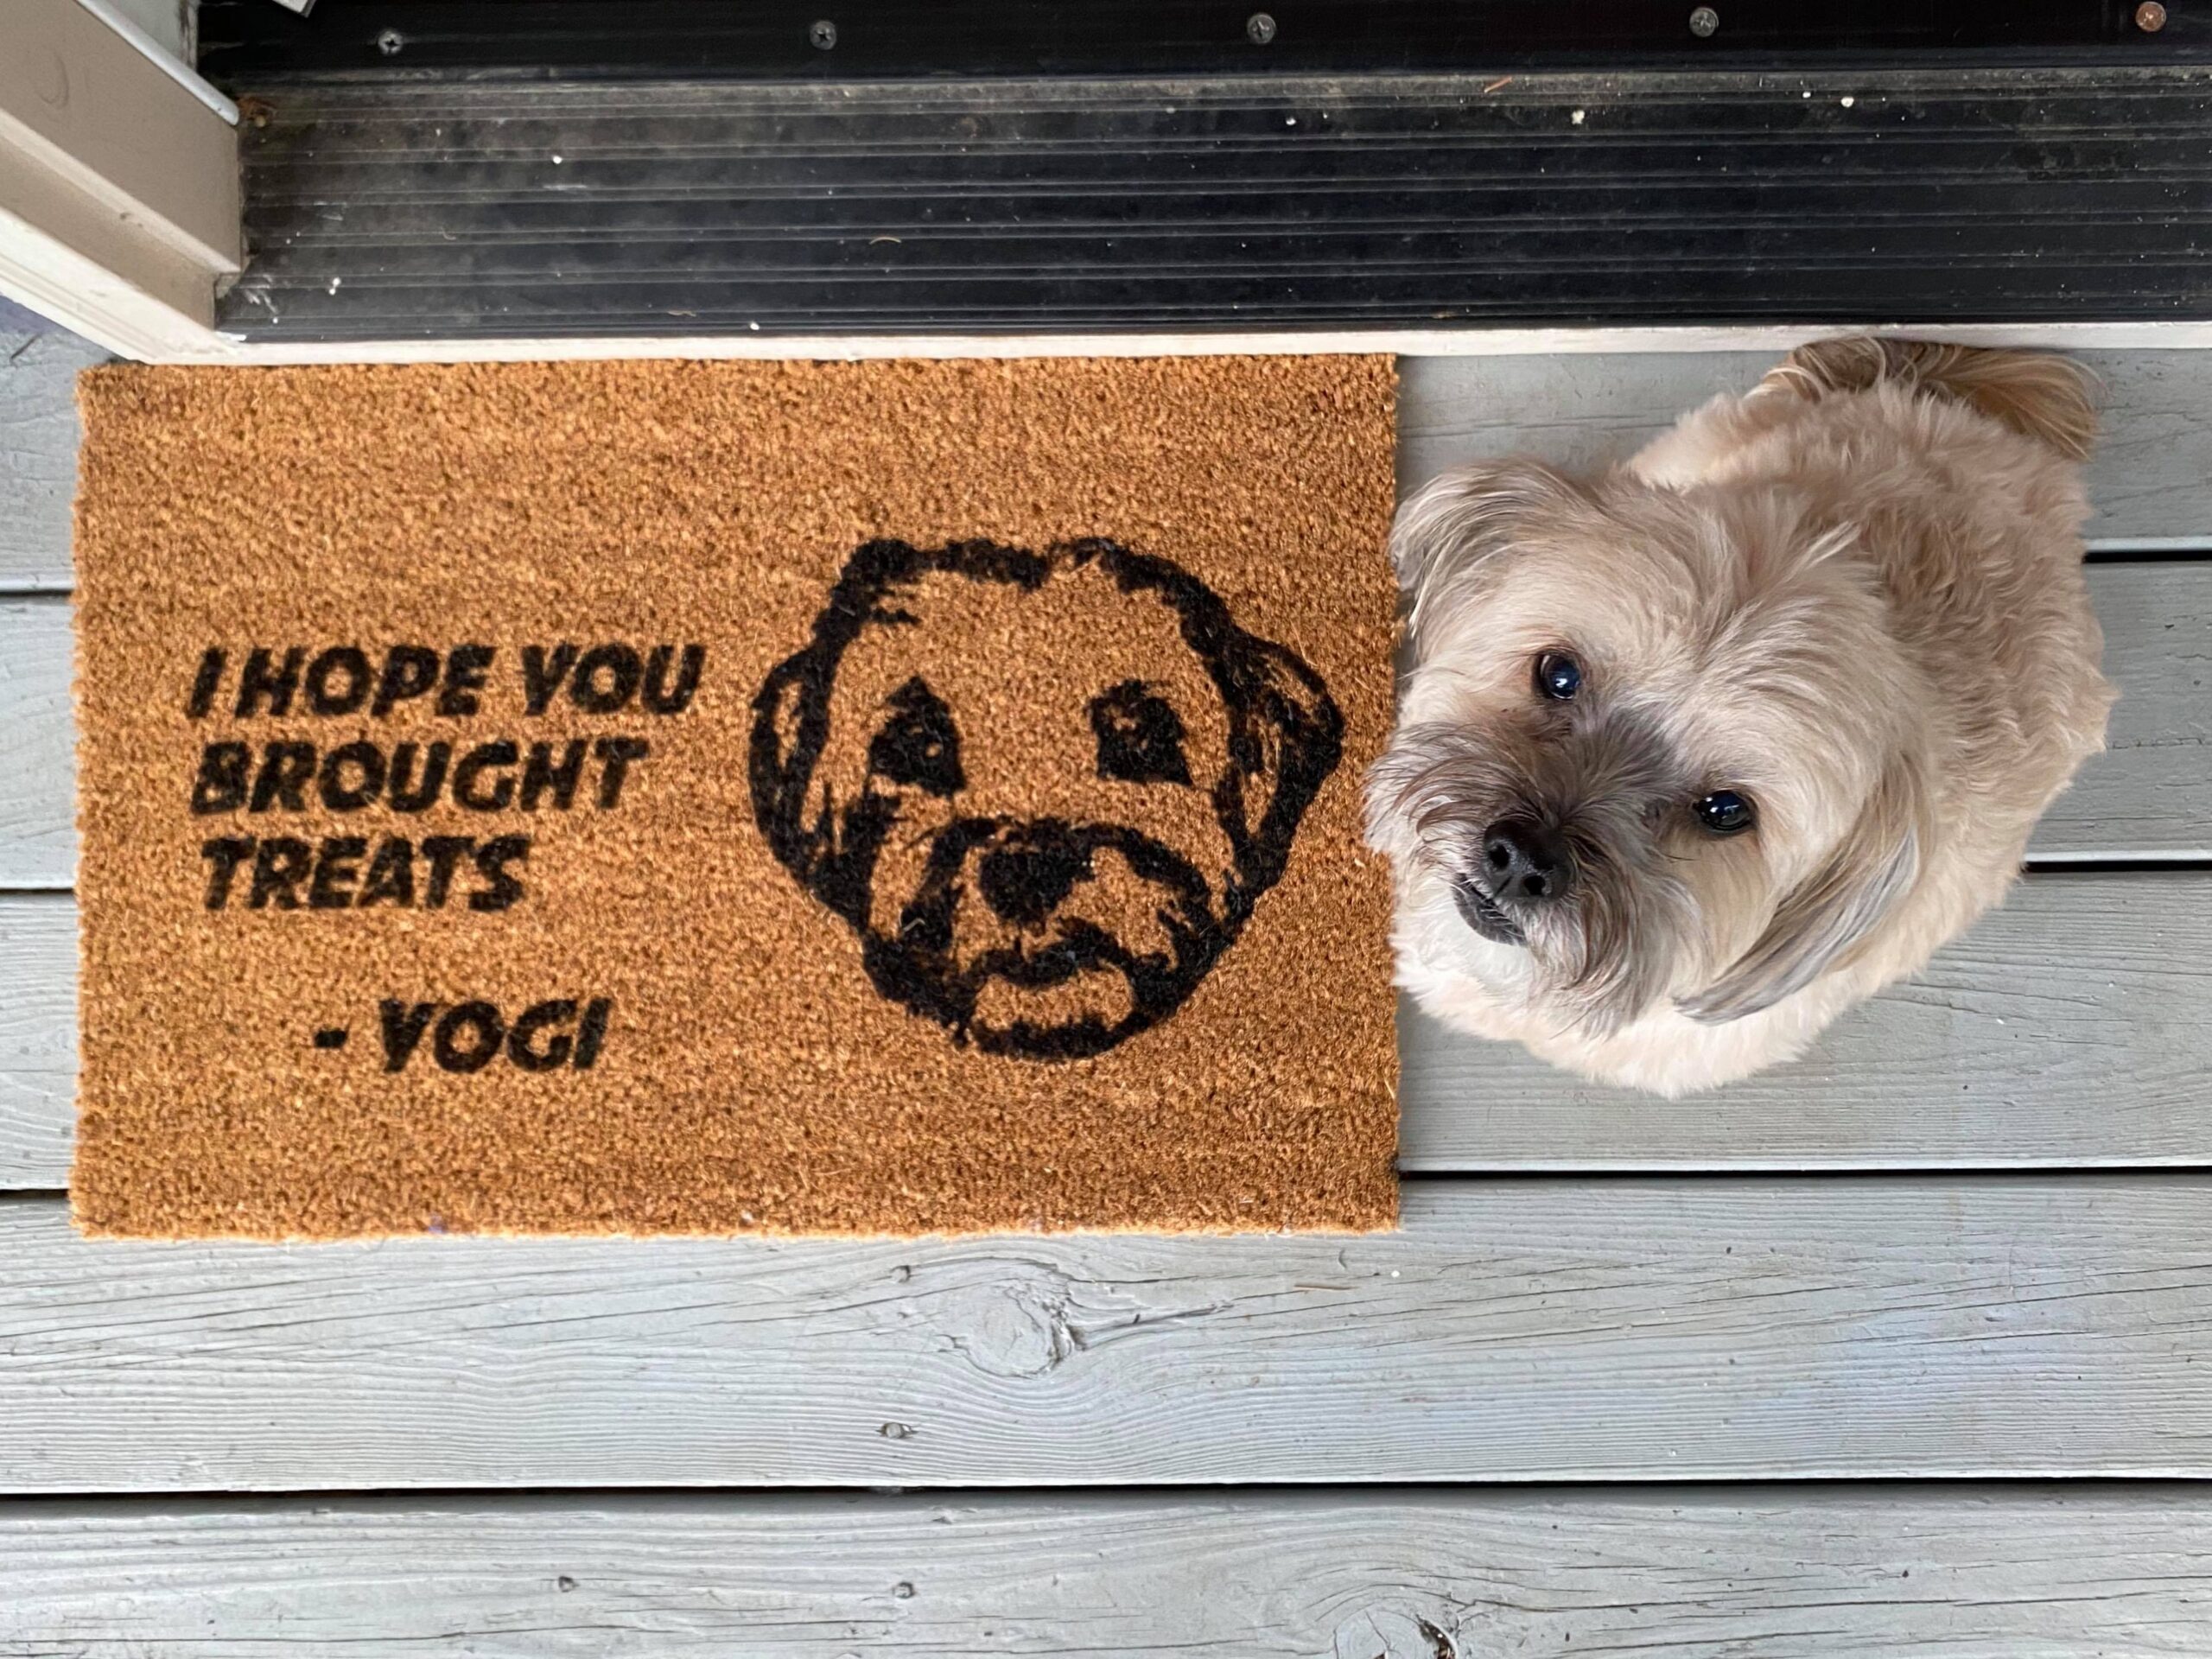
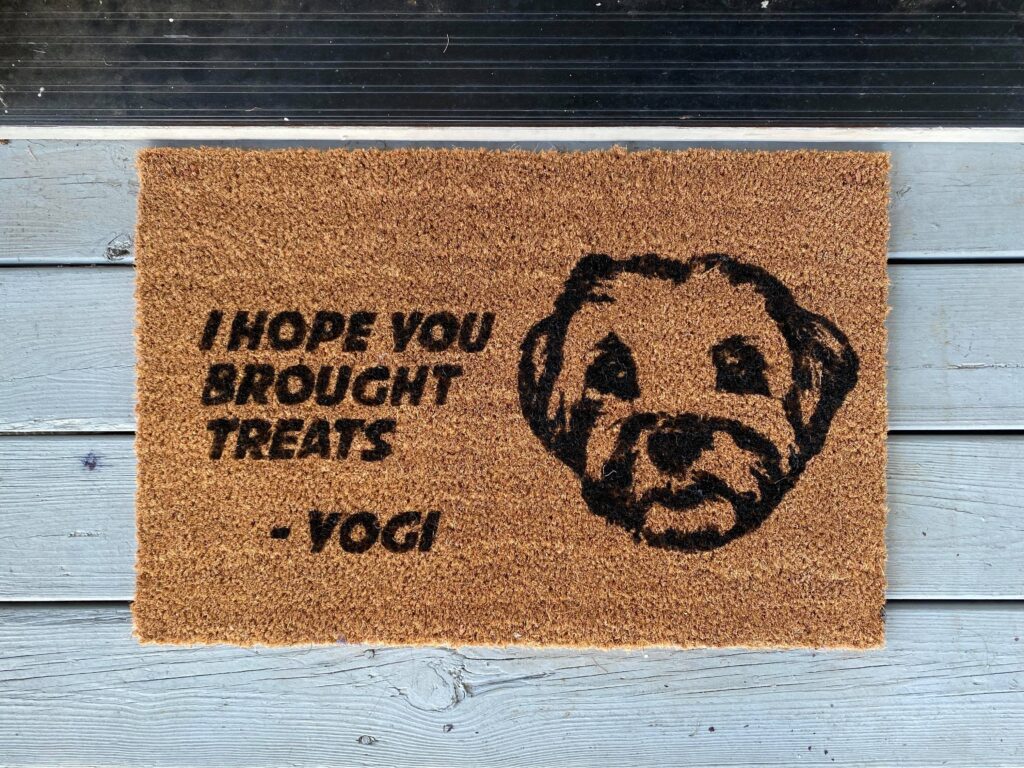
Who doesn’t want a dog to greet you at the door?! This project was surprisingly easy. Special thanks to Yogi, my dog muse for this project. Check him out on Instagram here.
Materials:
– Natural grass doormat from IKEA. Low loft/grass height is better for painting.
– Stencil. I used adhesive vinyl cut from a Silhouette machine
– Vinyl transfer tape or Glad Press N’ Seal plastic wrap.
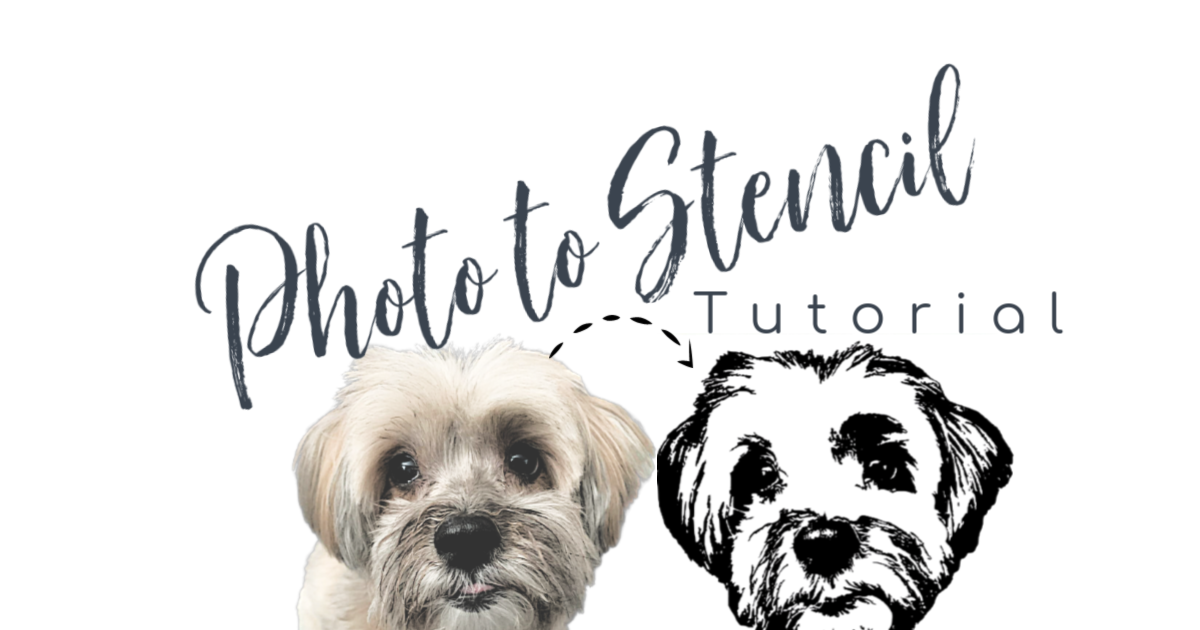
– Photo of dog.
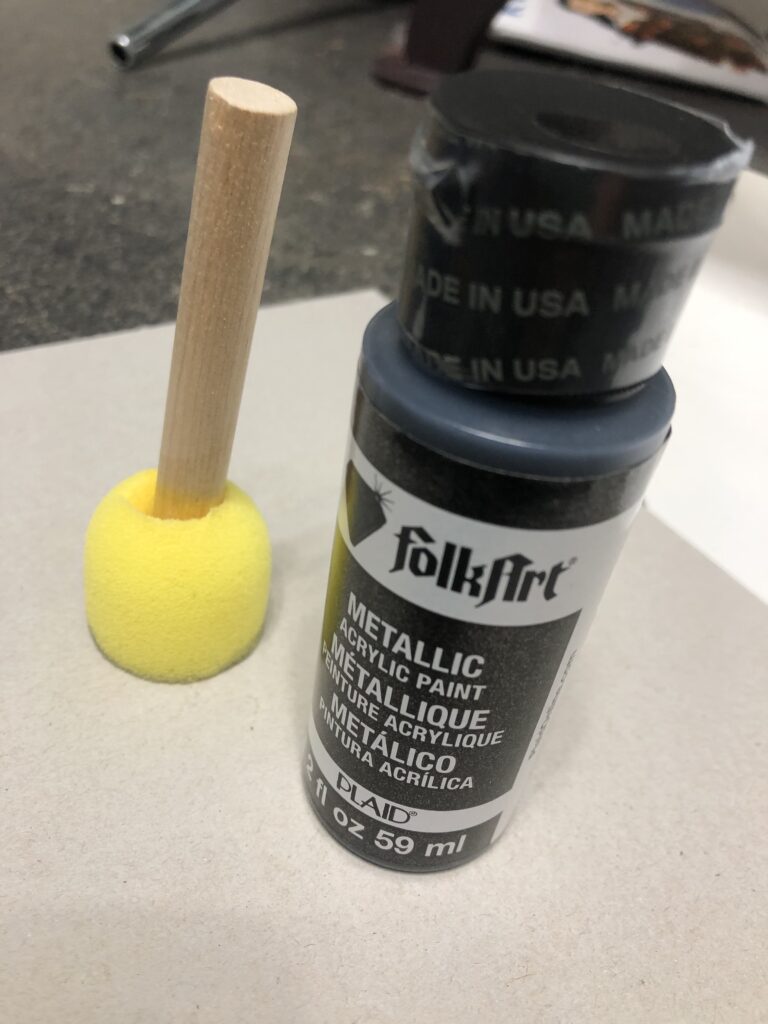
– Black acrylic paint. I use Apple Barrel brand from Amazon.
– Painters tape.
– Sponge brushes.
Steps:
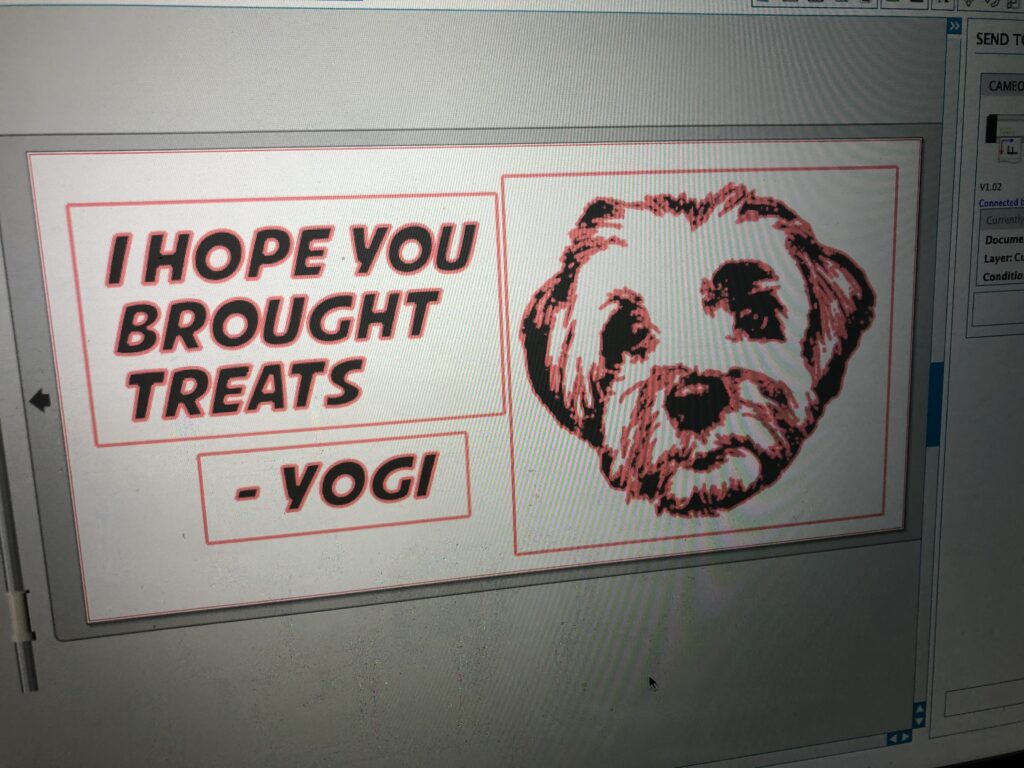
1) First I follow these instructions on how to create a stencil from a photo and create the design I want in the free Silhouette software.
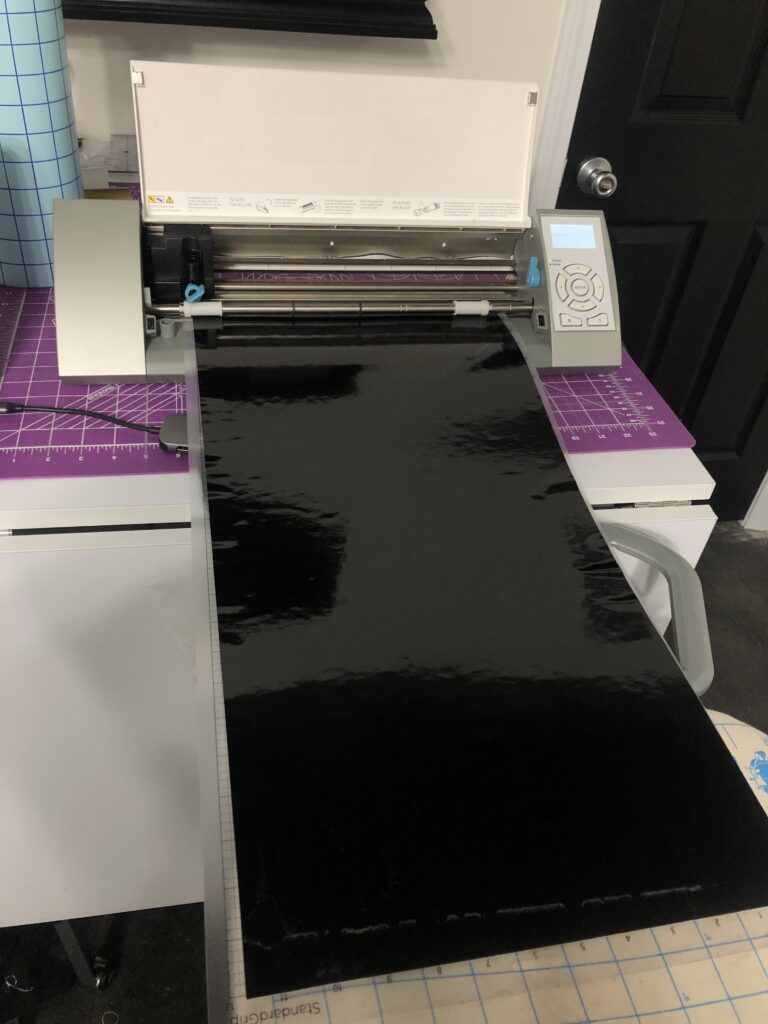
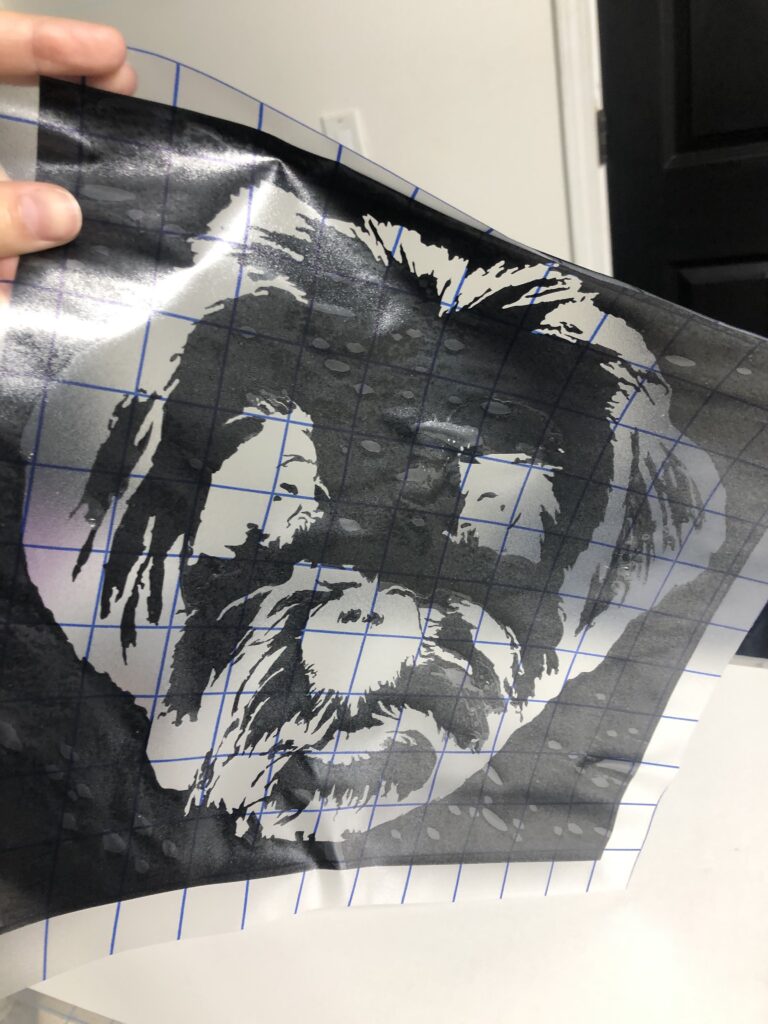
2) Once I have my vinyl stencil design cut out (either by hand or via a cutting machine like a Silhouette or Circuit), I weed the vinyl to remove the areas that will be filled with paint. Be careful to leave the inside of “O’s” and other letters that aren’t intact to the stencil.
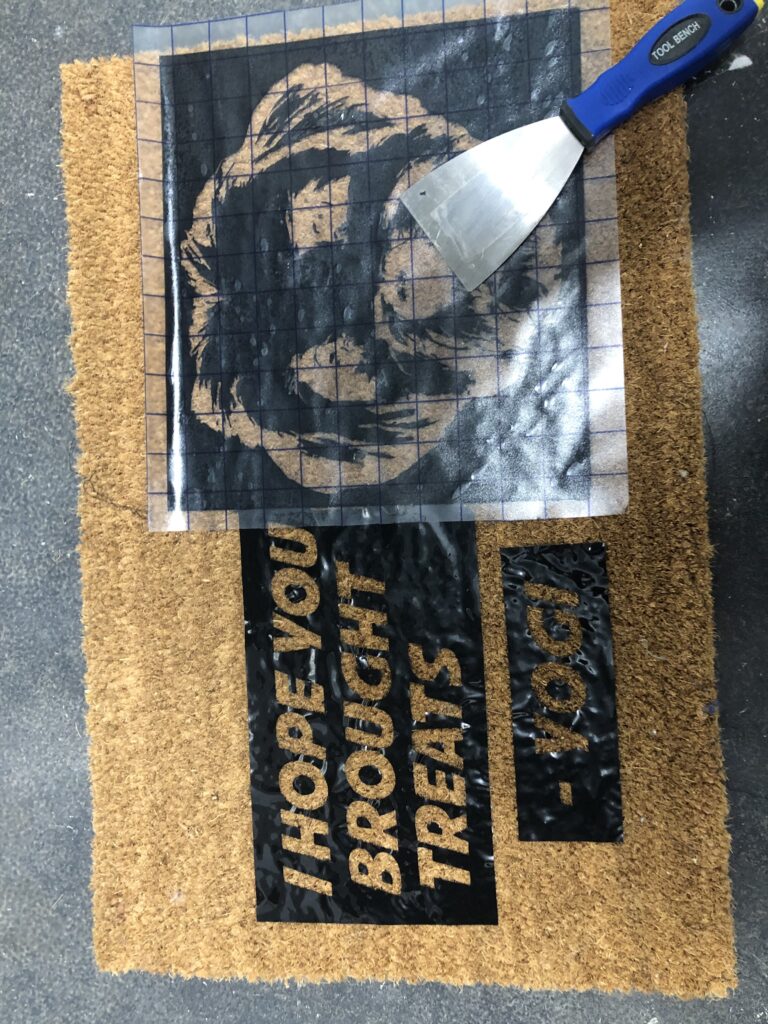
3) For complicated designs, it’s helpful to use transfer tape after you weed the design to keep all of the pieces together. Transfer tape is sticky and will help you lift off your vinyl from the carrier sheet and onto your doormat. If you don’t have transfer tape or if the design is sticking to the tape and not the doormat, you can also use Glad Press N’ Seal since it is a lighter grip than transfer tape.
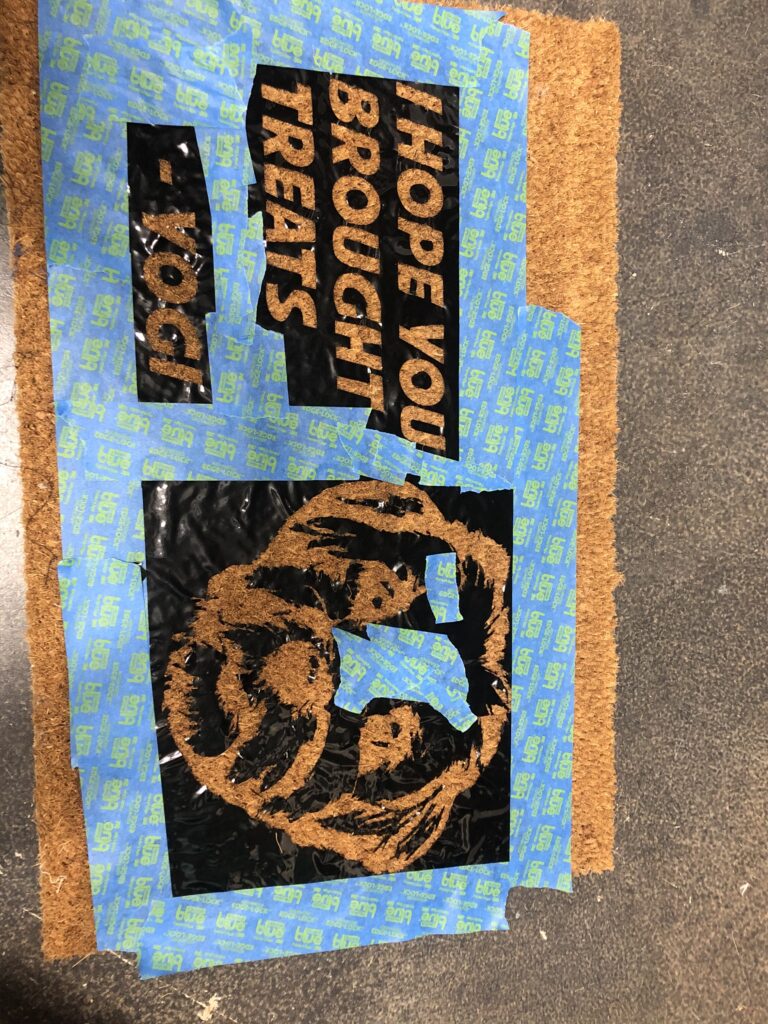
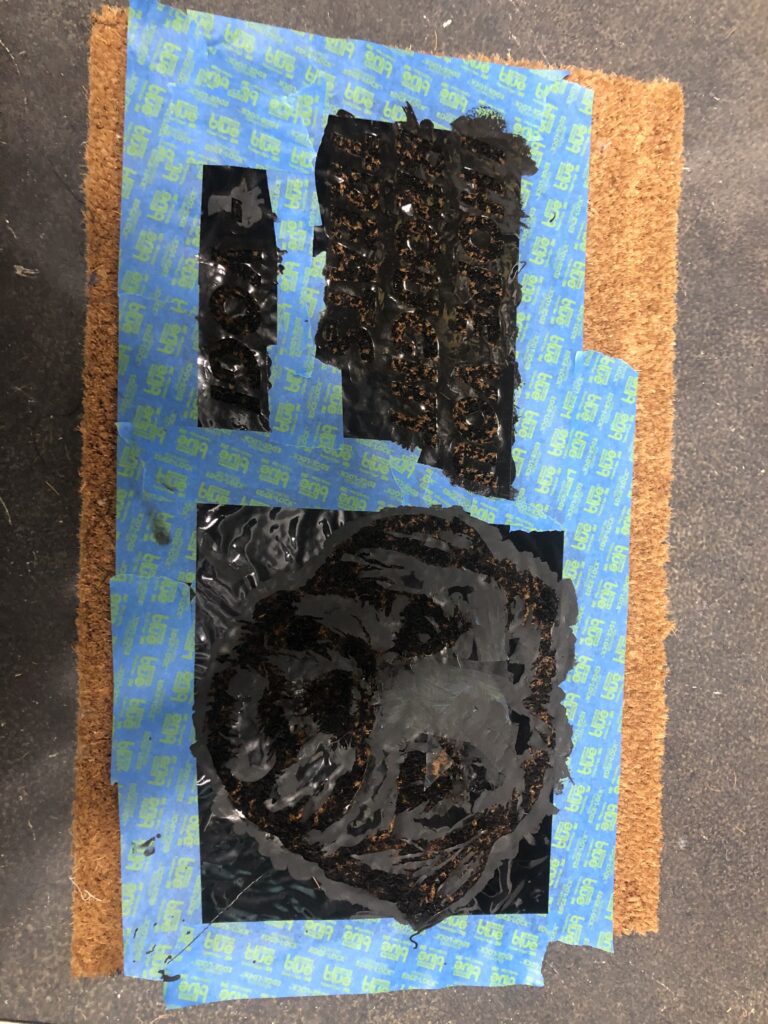
4) Once the stencil is in place, I like to cover the edges with painter tape for extra security and to protect it from stray paint.
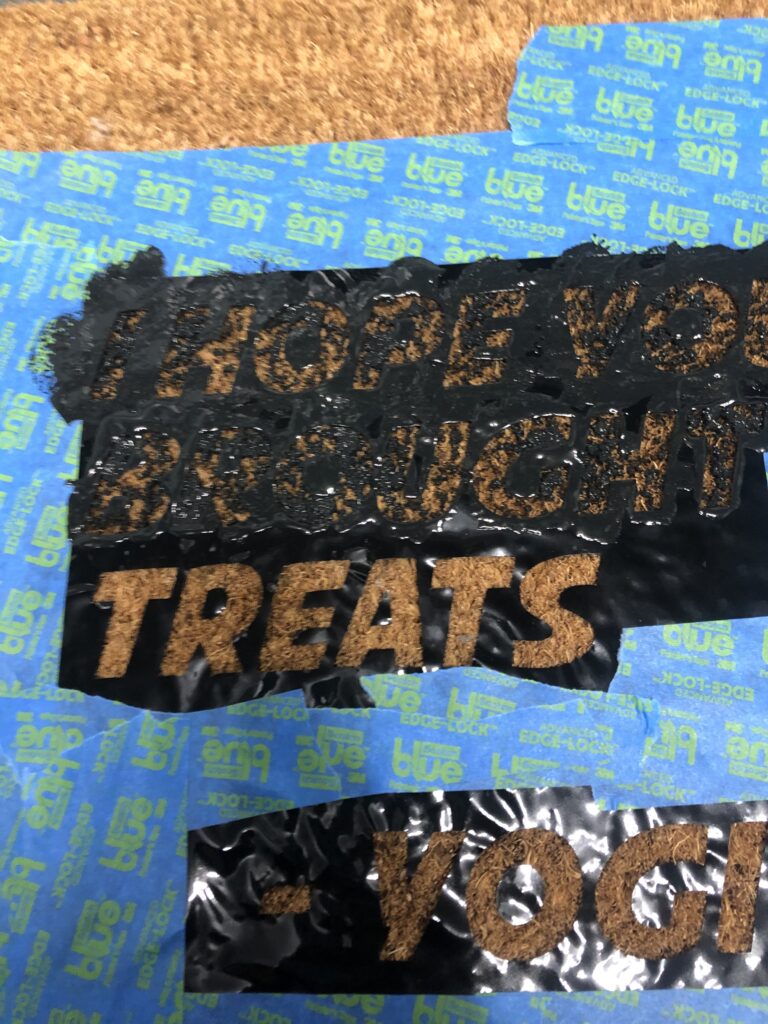
5) It’s paint time! I use acrylic paint and a sponge brush to carefully dab paint directly onto the mat in an up and down motion. I’m careful to not disturb the edges of the stencil or “brush” it on since that may lift off the stencil. I do at least two coats.
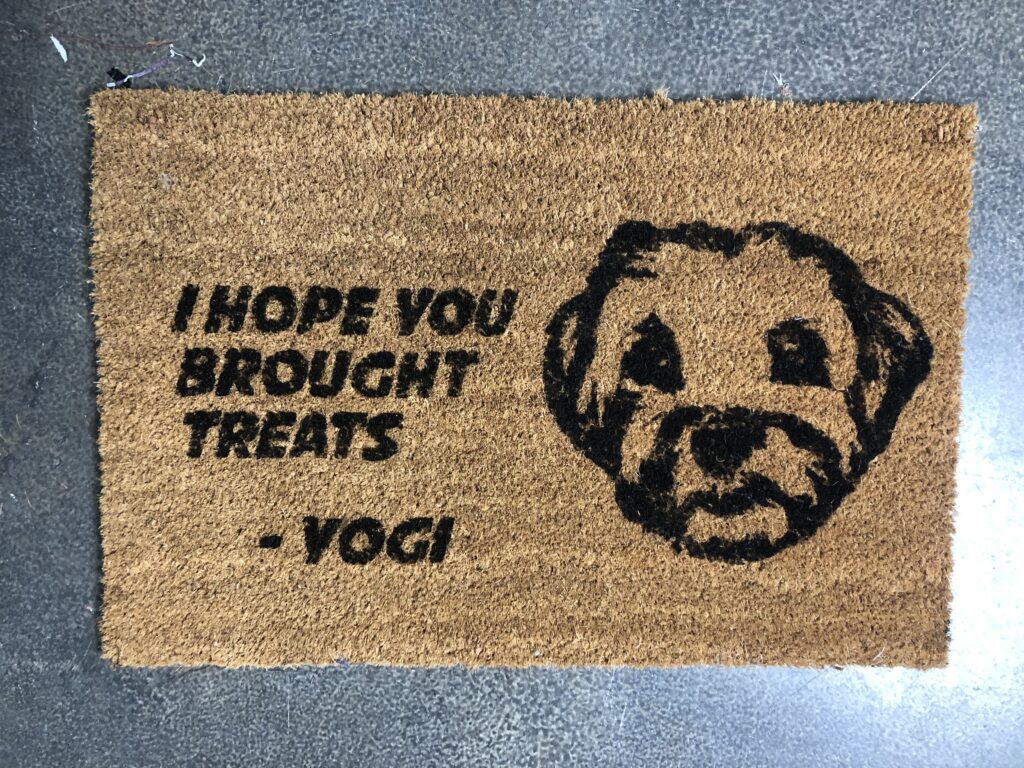
6) My favorite part. Once the paint is fully dry, lift up the stencil to reveal your work.
Visual Steps:

So how long will the paint last? That’s a good question. Without any type of protective sealant, one doormat I painted with acrylic paint is still going strong on my porch after three years of daily use.
If you use this tutorial, I’d love to see your finished projects! Post them to Facebook or tag @HomeAndGeek on Instagram.


No Comments