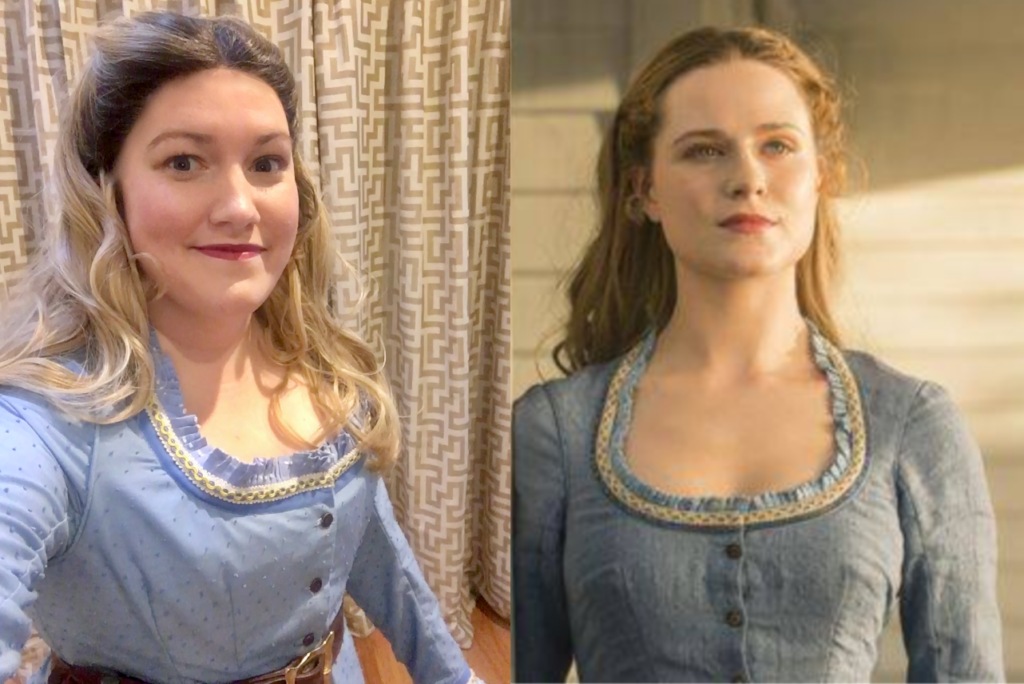
Delores Abernathy was time consuming. She’s a complicated woman. The hardest part was sourcing materials to be as screen accurate as I could find in two months before the final episode of Season 2. This took a ton of computer time and the help of the Westworld Costuming Group on Facebook to track down the needed materials. Thanks Delores ladies! It takes a team!
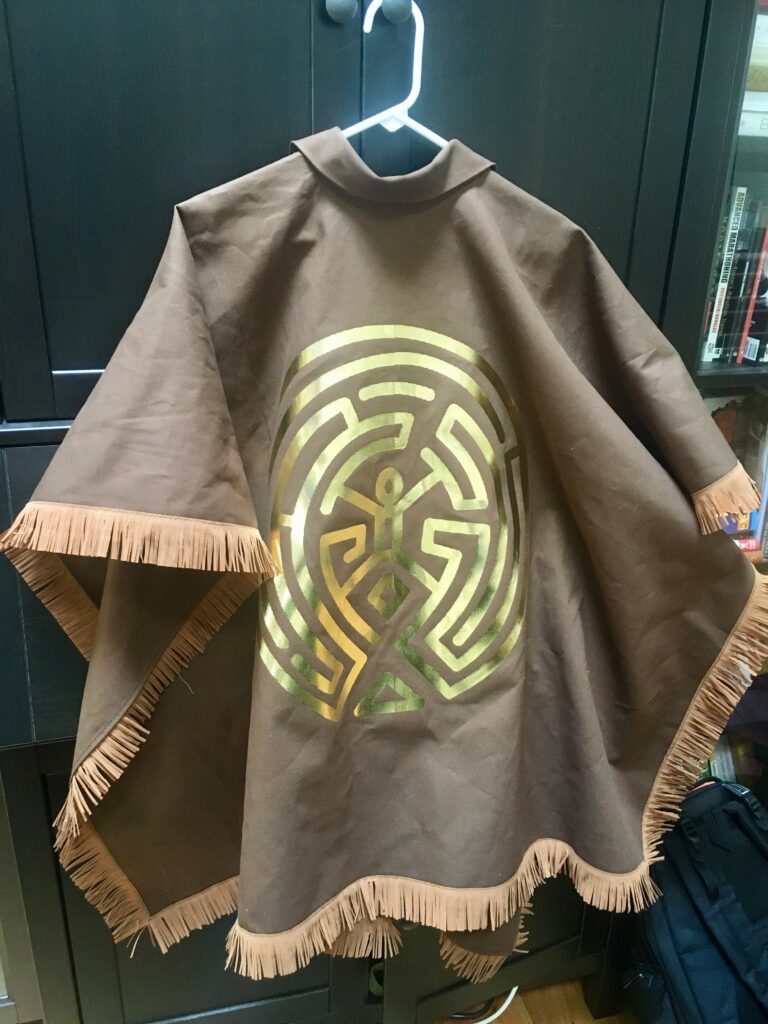
The Delores costume is going to require several weeks of material procurement plus dying of fabric and construction. If you are looking for an easier costume, I created a poncho of The Maze! The tutorial on this fast and easy Maze costume can be found here.
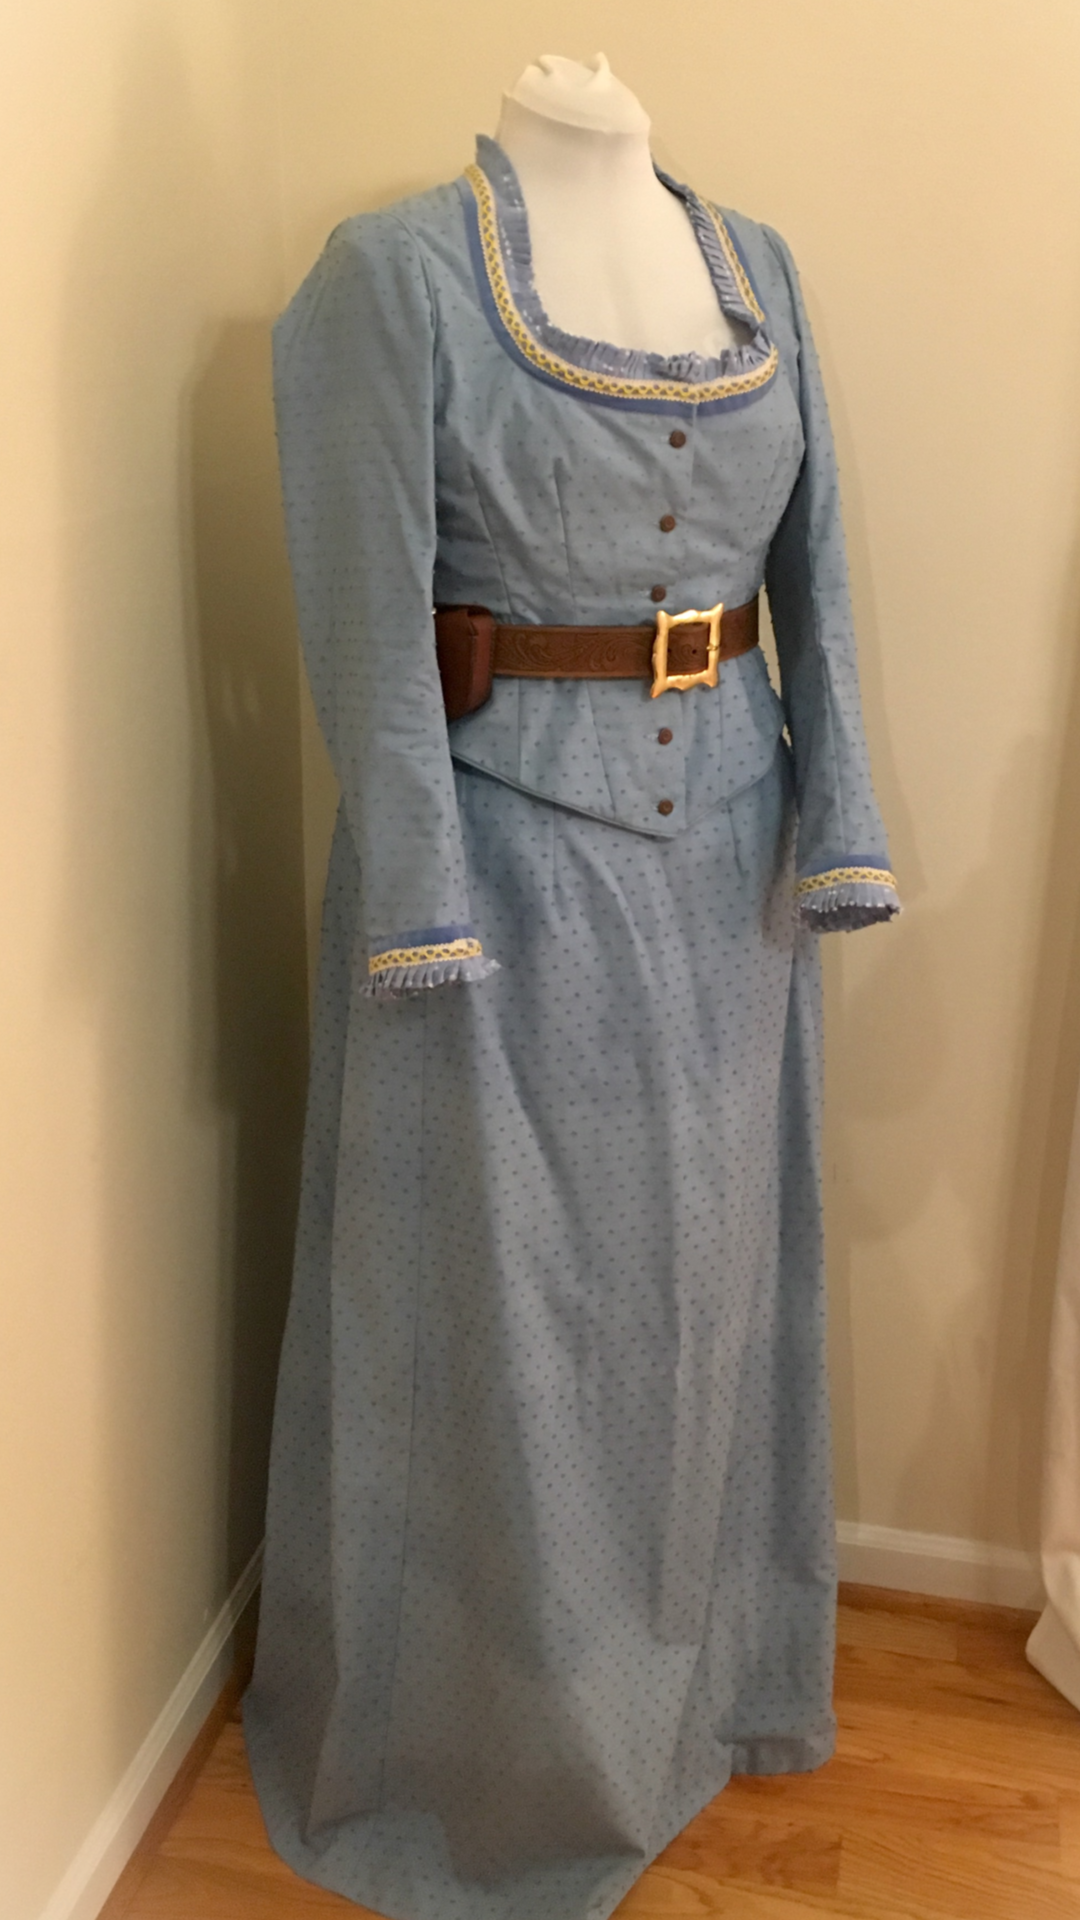
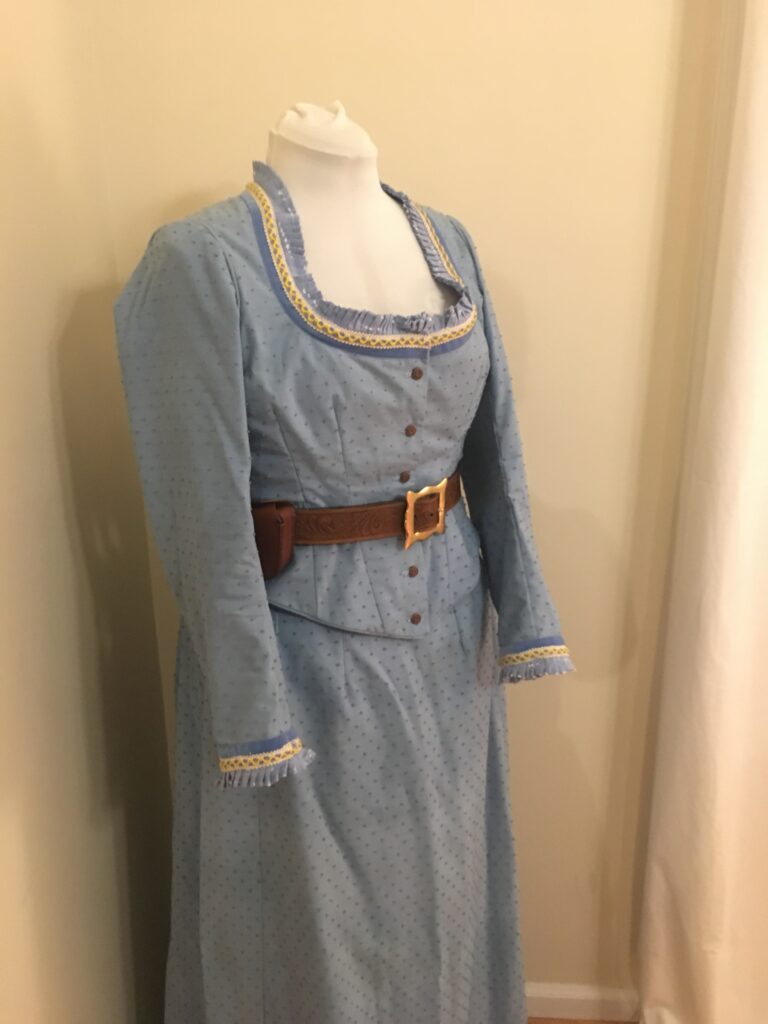
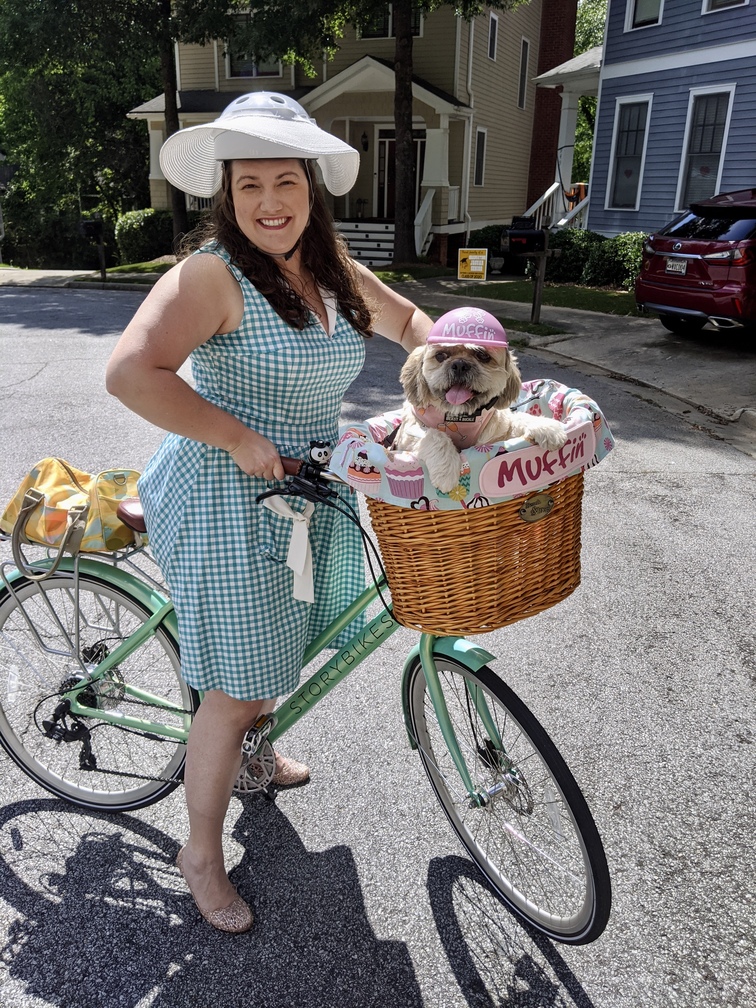
Are you up for a challenge? Then let’s create a semi-historical rancher’s daughter costume from the 1880’s!
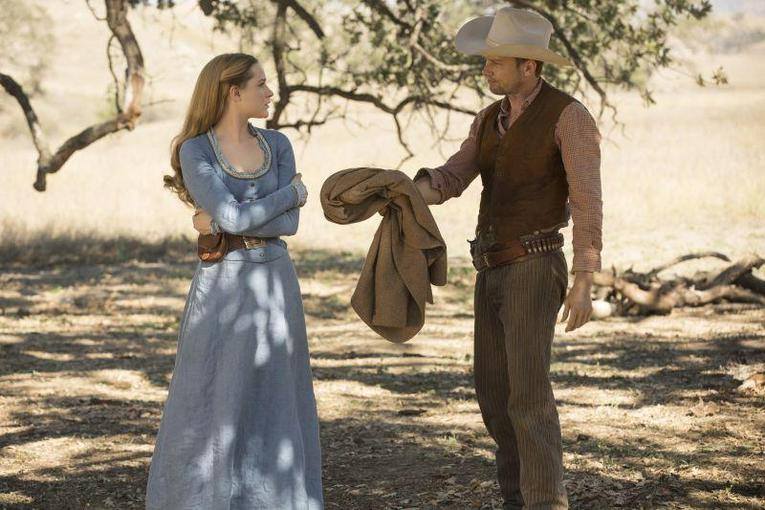
Materials for the blue rancher’s daughter costume worn by Delores Abernathy in Westworld Season 1 and 2:
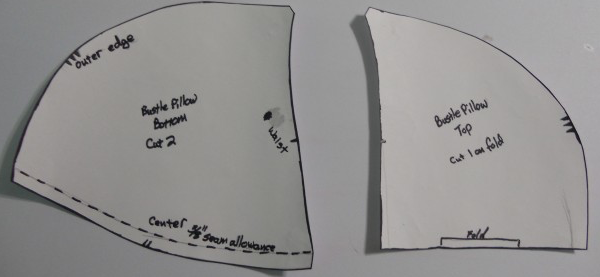
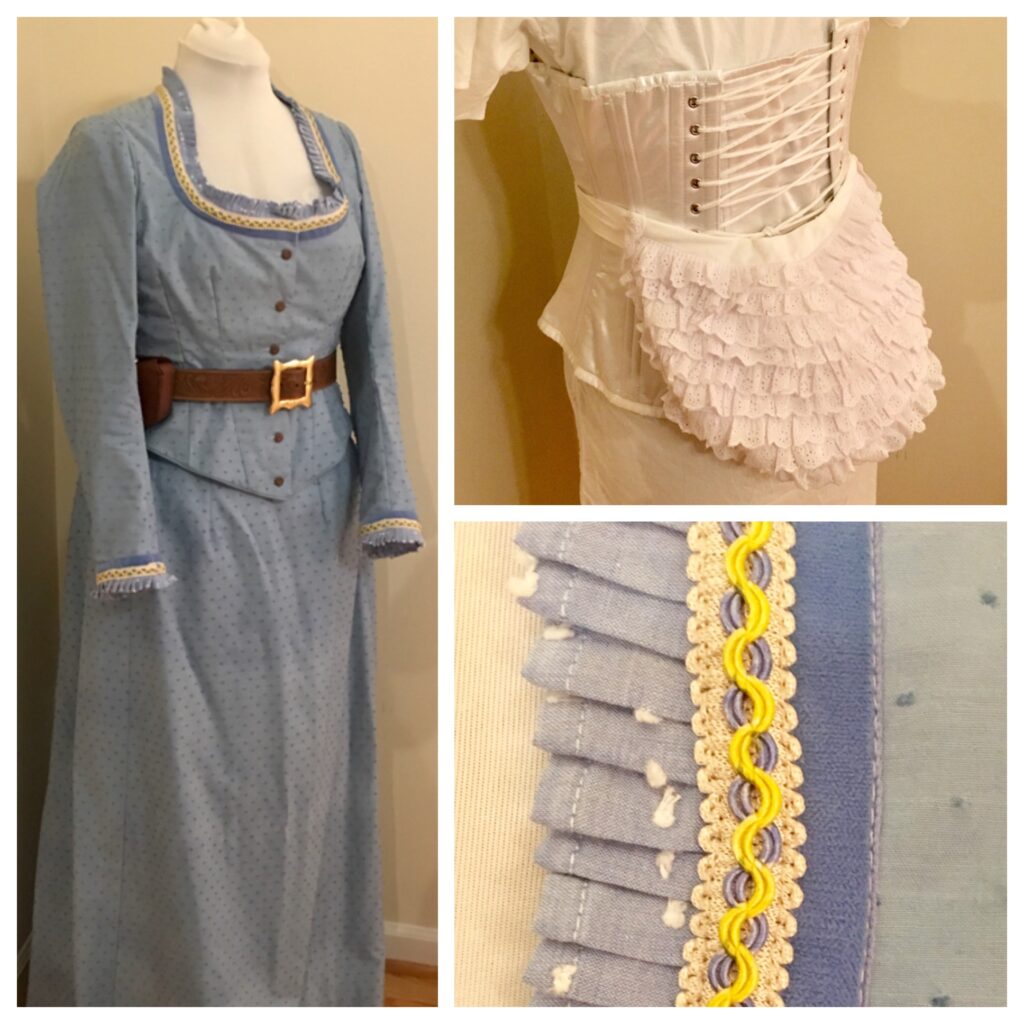
- Victorian foundation garments. These are key to a well fitting dress. I used a Truly Victorian petticoat pattern, my trusted 1860’s corset from Blockade Runner (10 years old and still going strong) for support. I also made my own bum pad for the skirt shape. I wanted to make my own chemise like the show but ran out of time. This one from Amazon worked in a pinch and didn’t show under the corset and dress.
- 1885 Four Gore Skirt Pattern by Truly Victorian (only change was to move the closure to the front side)
- 1885 Cuirass Bodice Pattern by Truly Victorian (some re-drafting needed but a great starting pattern)
- Lining and canvas/duck fabric as needed by the pattern. The bodice and the skirt is fully lined so I needed around 10 yards of white cotton for lining. I dyed this as I dyed the outer fabrics.
- 10 yards of Telio Swiss Dot Blue in White from Fabric.com. $6 per yard on sale
- 1 yard of blue/white swiss dot fabric to make the ruffle trim along the neckline and sleeves.
- Fabric Shaver. My swiss dot “dots” were too tall on my fabric. I shaved them down with this tool.
- Rit Dye in Evening Blue and Denim Blue. This takes trial and error but the color formulas from ritdye.com helped.
- 2 packs of iron-on piping tape. This was a great time saver instead of making your own piping.
- 10 Yards Velvet Ribbon Fabric Vintage Taffeta Back Made in France (5/8″, Bleuet Blue) from Amazon. The color was fantastic!
- 1/2″ Rayon Guimp or gimp Knit Braid. I found mine from a UK store that is now out of business but M&J Trimming has a similar version.
- Country/light blue sharpie. I used a blue sharpie and yellow sharpie to paint the 1/2 braid trim. The blue and yellow in this pack worked great.
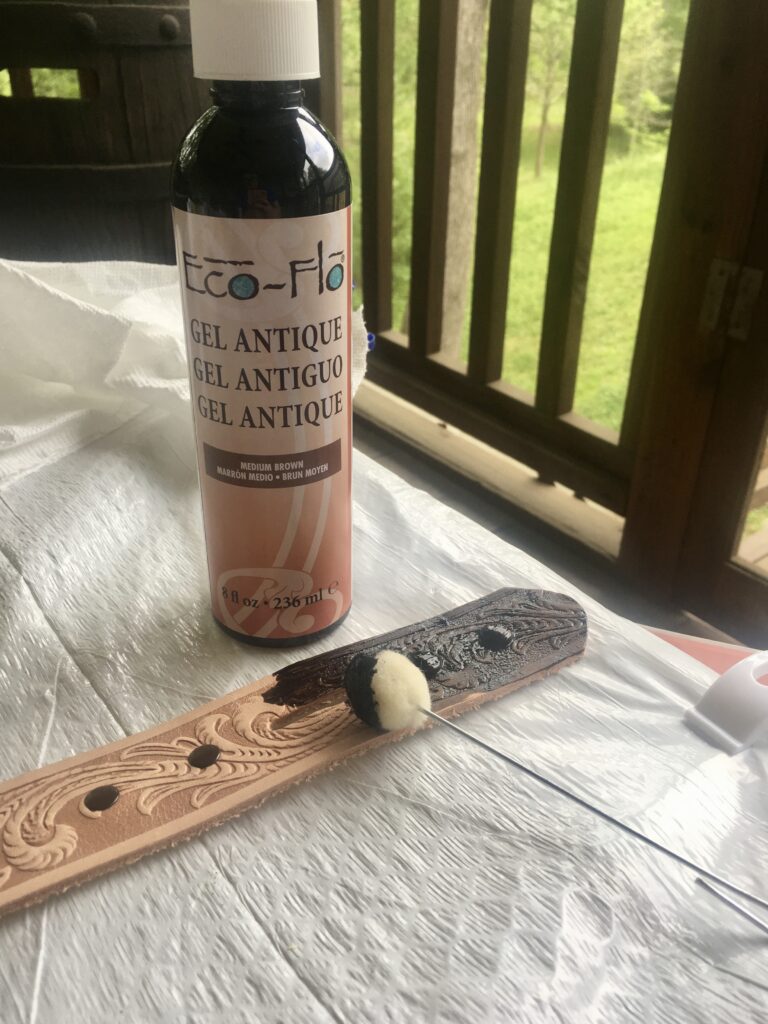
- Embossed Floral Vine Belt Blank 1-1/2″ (38 mm) from Tandy Leather. I also needed supplies to dye and seal it.
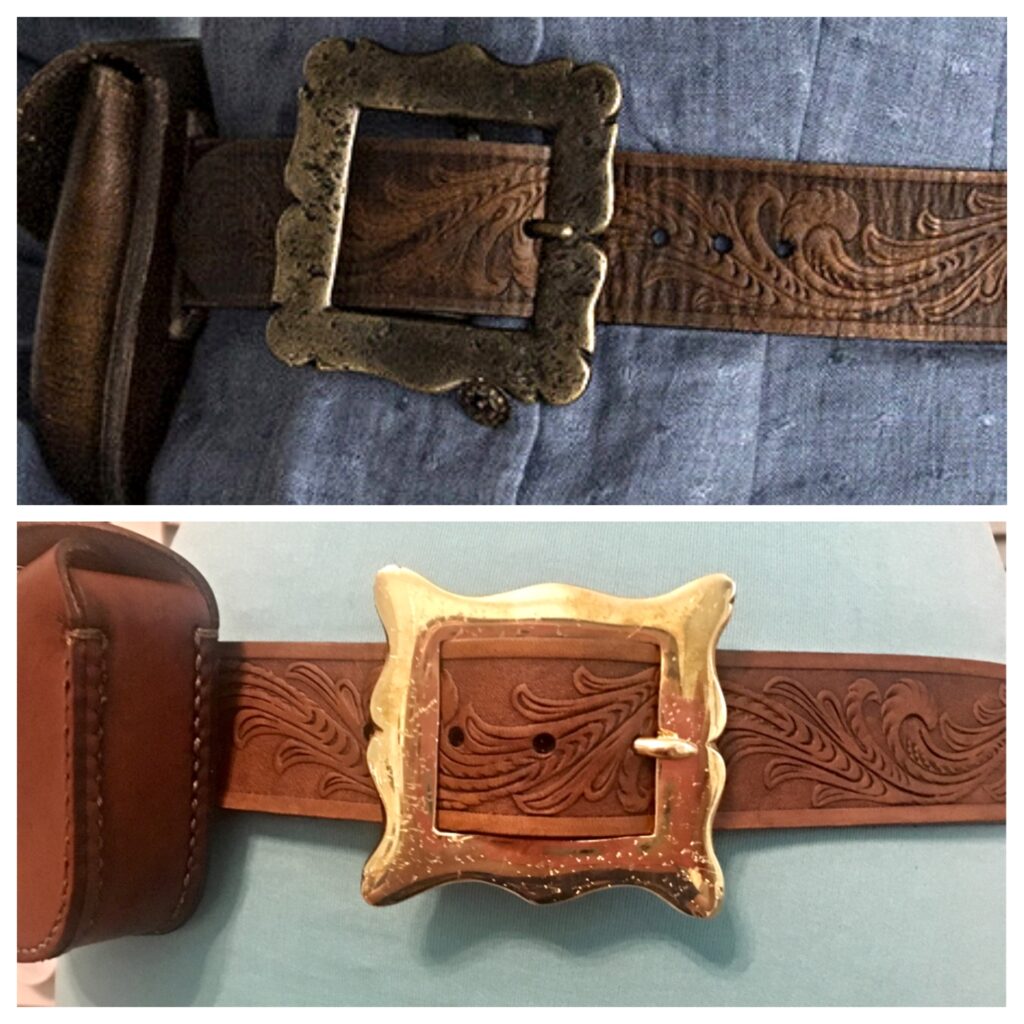
- Square brass belt buckle No 5 size 38mm from Abby England. This was pricy and it’s cheaper to get a group order to save on shipping. This buckle isn’t exact but much cheaper than the screen accurate version for $99.
- Leather pouch. I didn’t have time to make one but found one that is a similar shape on Amazon. I re-dyed it to match the belt.
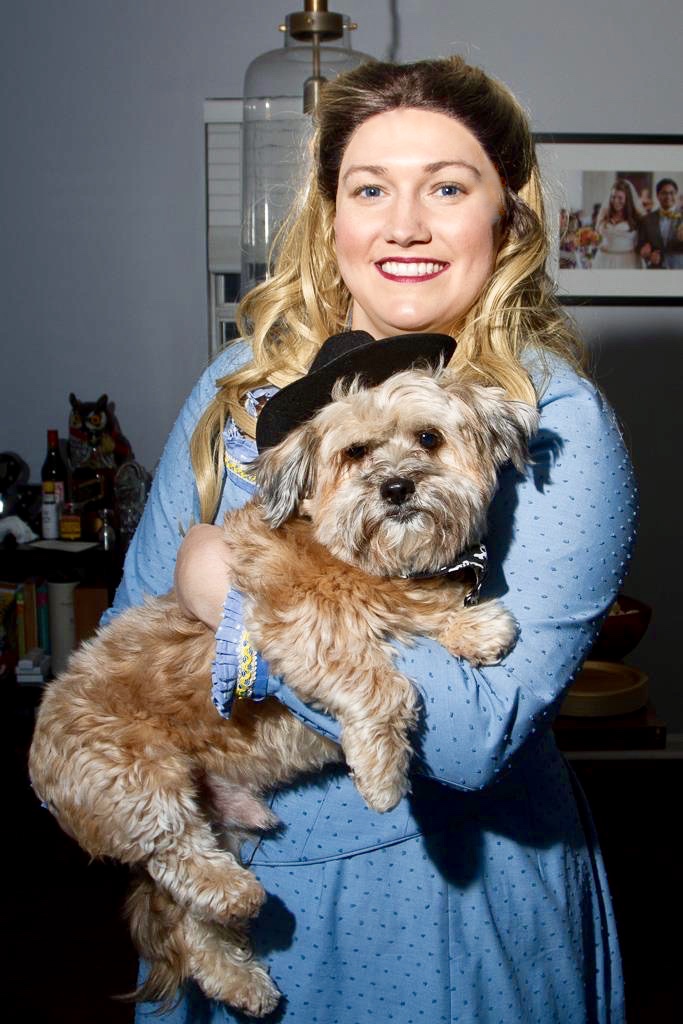
- Blonde wig with roots found on Amazon.
- Blue contact lenses from my eye doctor.
The Process:
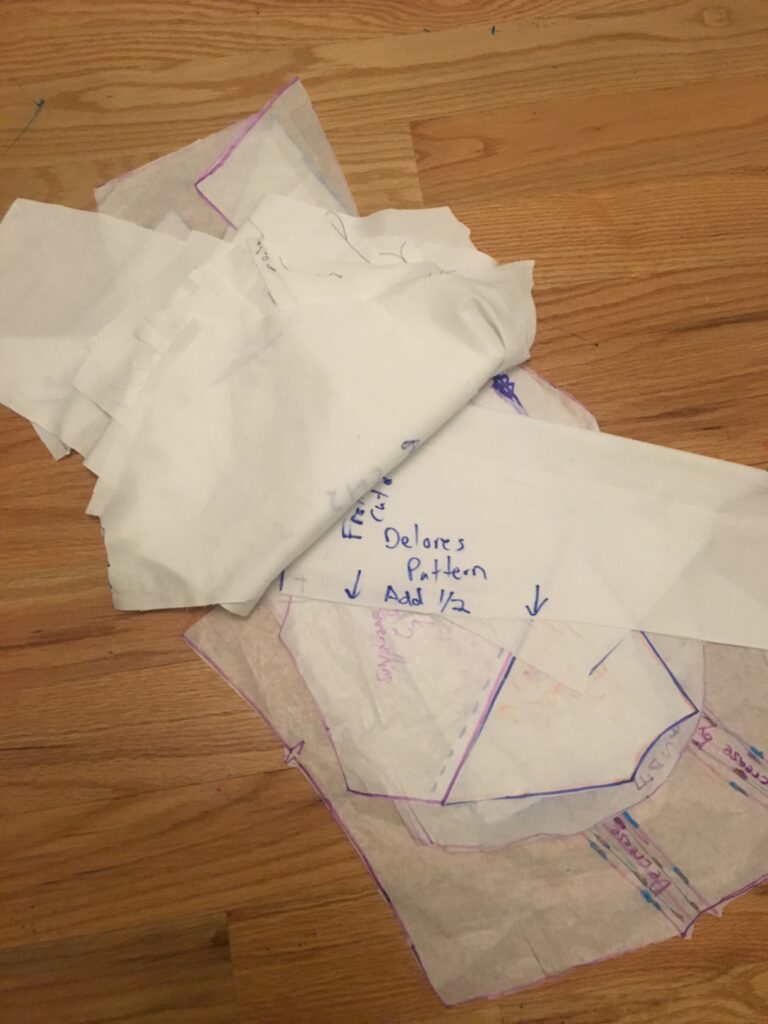
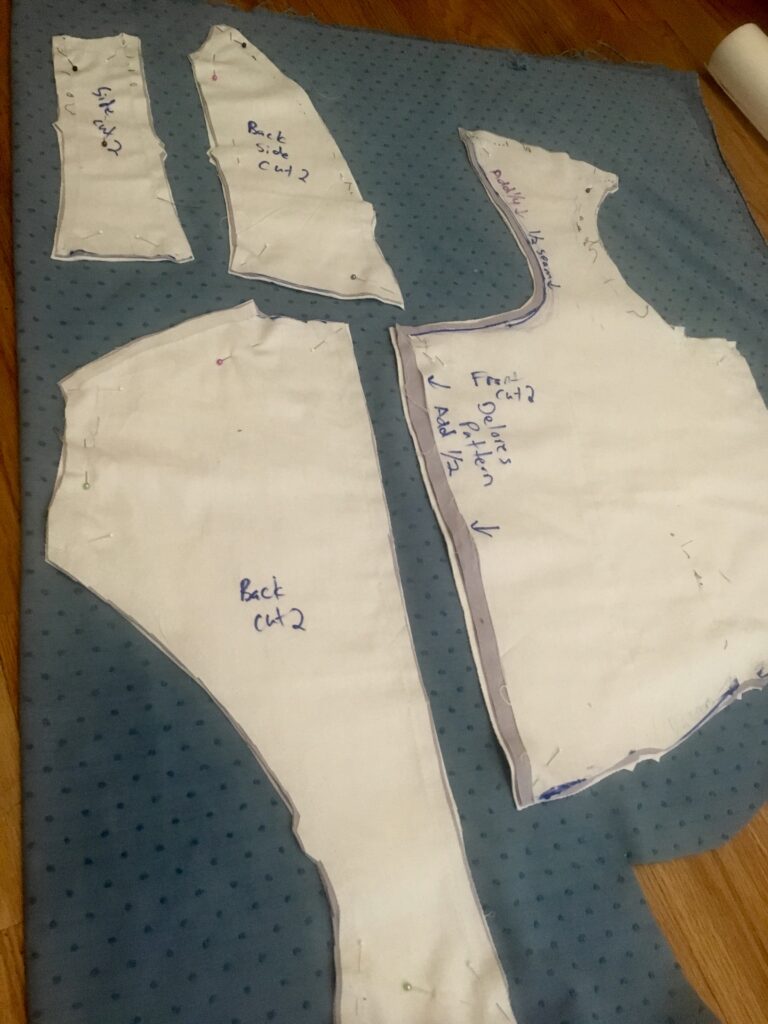
Pattern-making and drafting: I adore the Truly Victorian patterns. They are historically accurate, easy to follow and simple to alter. I didn’t want to cut the pattern so I transferred the pattern to wax paper. I like using wax paper because it is cheap and easy to see through. I also made a mockup with extra lining fabric. The bodice pattern required a reshaping of the neckline and some fit adjustments around the armhole. The skirt pattern just needed the opening flap moved to the side front area. Special Note: I’m around 5ft 7in and the skirt was almost too short for me if you follow the pattern exactly. Add an extra inch or two to the hemline of the skirt pattern just in case.
The Fabric. The swiss dot fabric needs to be dyed and this takes trial and error. I used ritdye.com to help guide my first test. I was aiming for the “Blue Yonder” color. Once I was happy with the color, I used the same proportions of dye in my washing machine. I also dyed the lining the same color.
Sewing/Construction: I used the instructions on the pattern as a guide. The seams of the bodice are “piped” so I used this iron-on piping and strips of my outer fabric to create the piping and basted them on my bodice armhole before attaching the sleeve. I tried to avoid the dots when cutting my fabric for the piping.

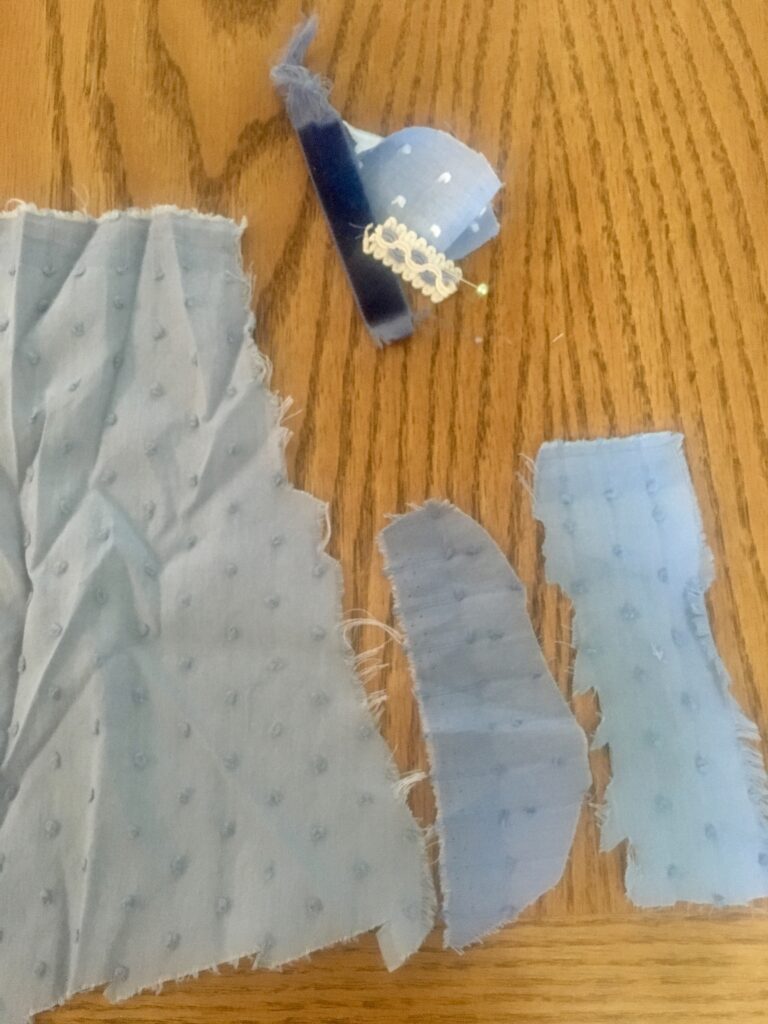
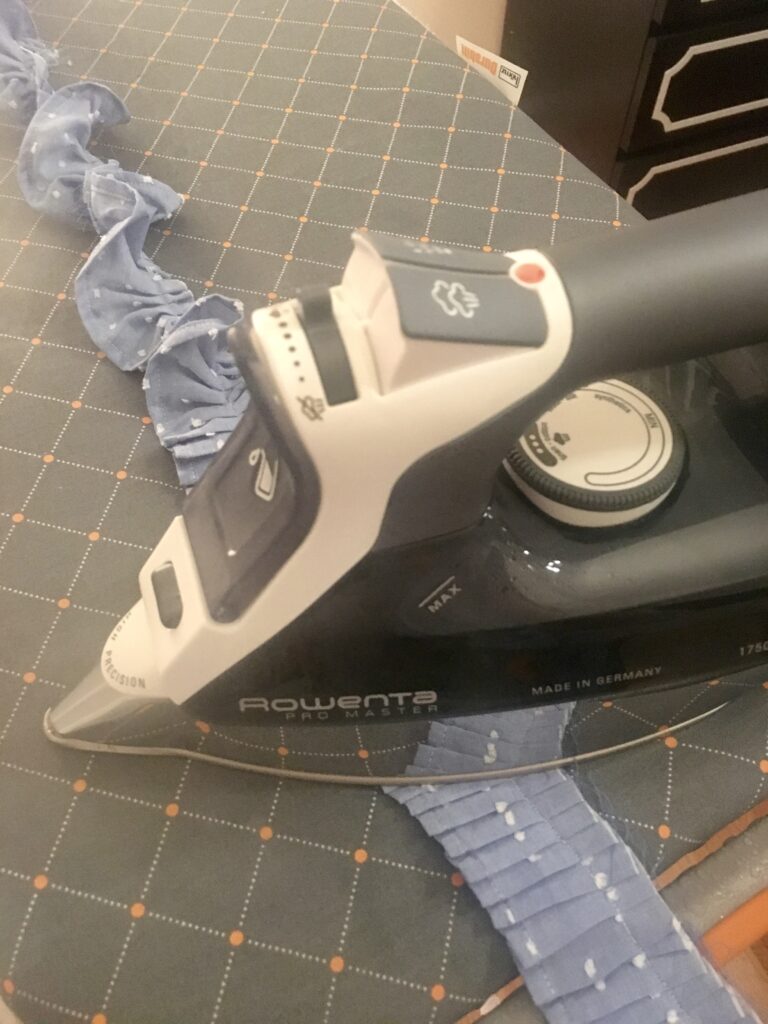
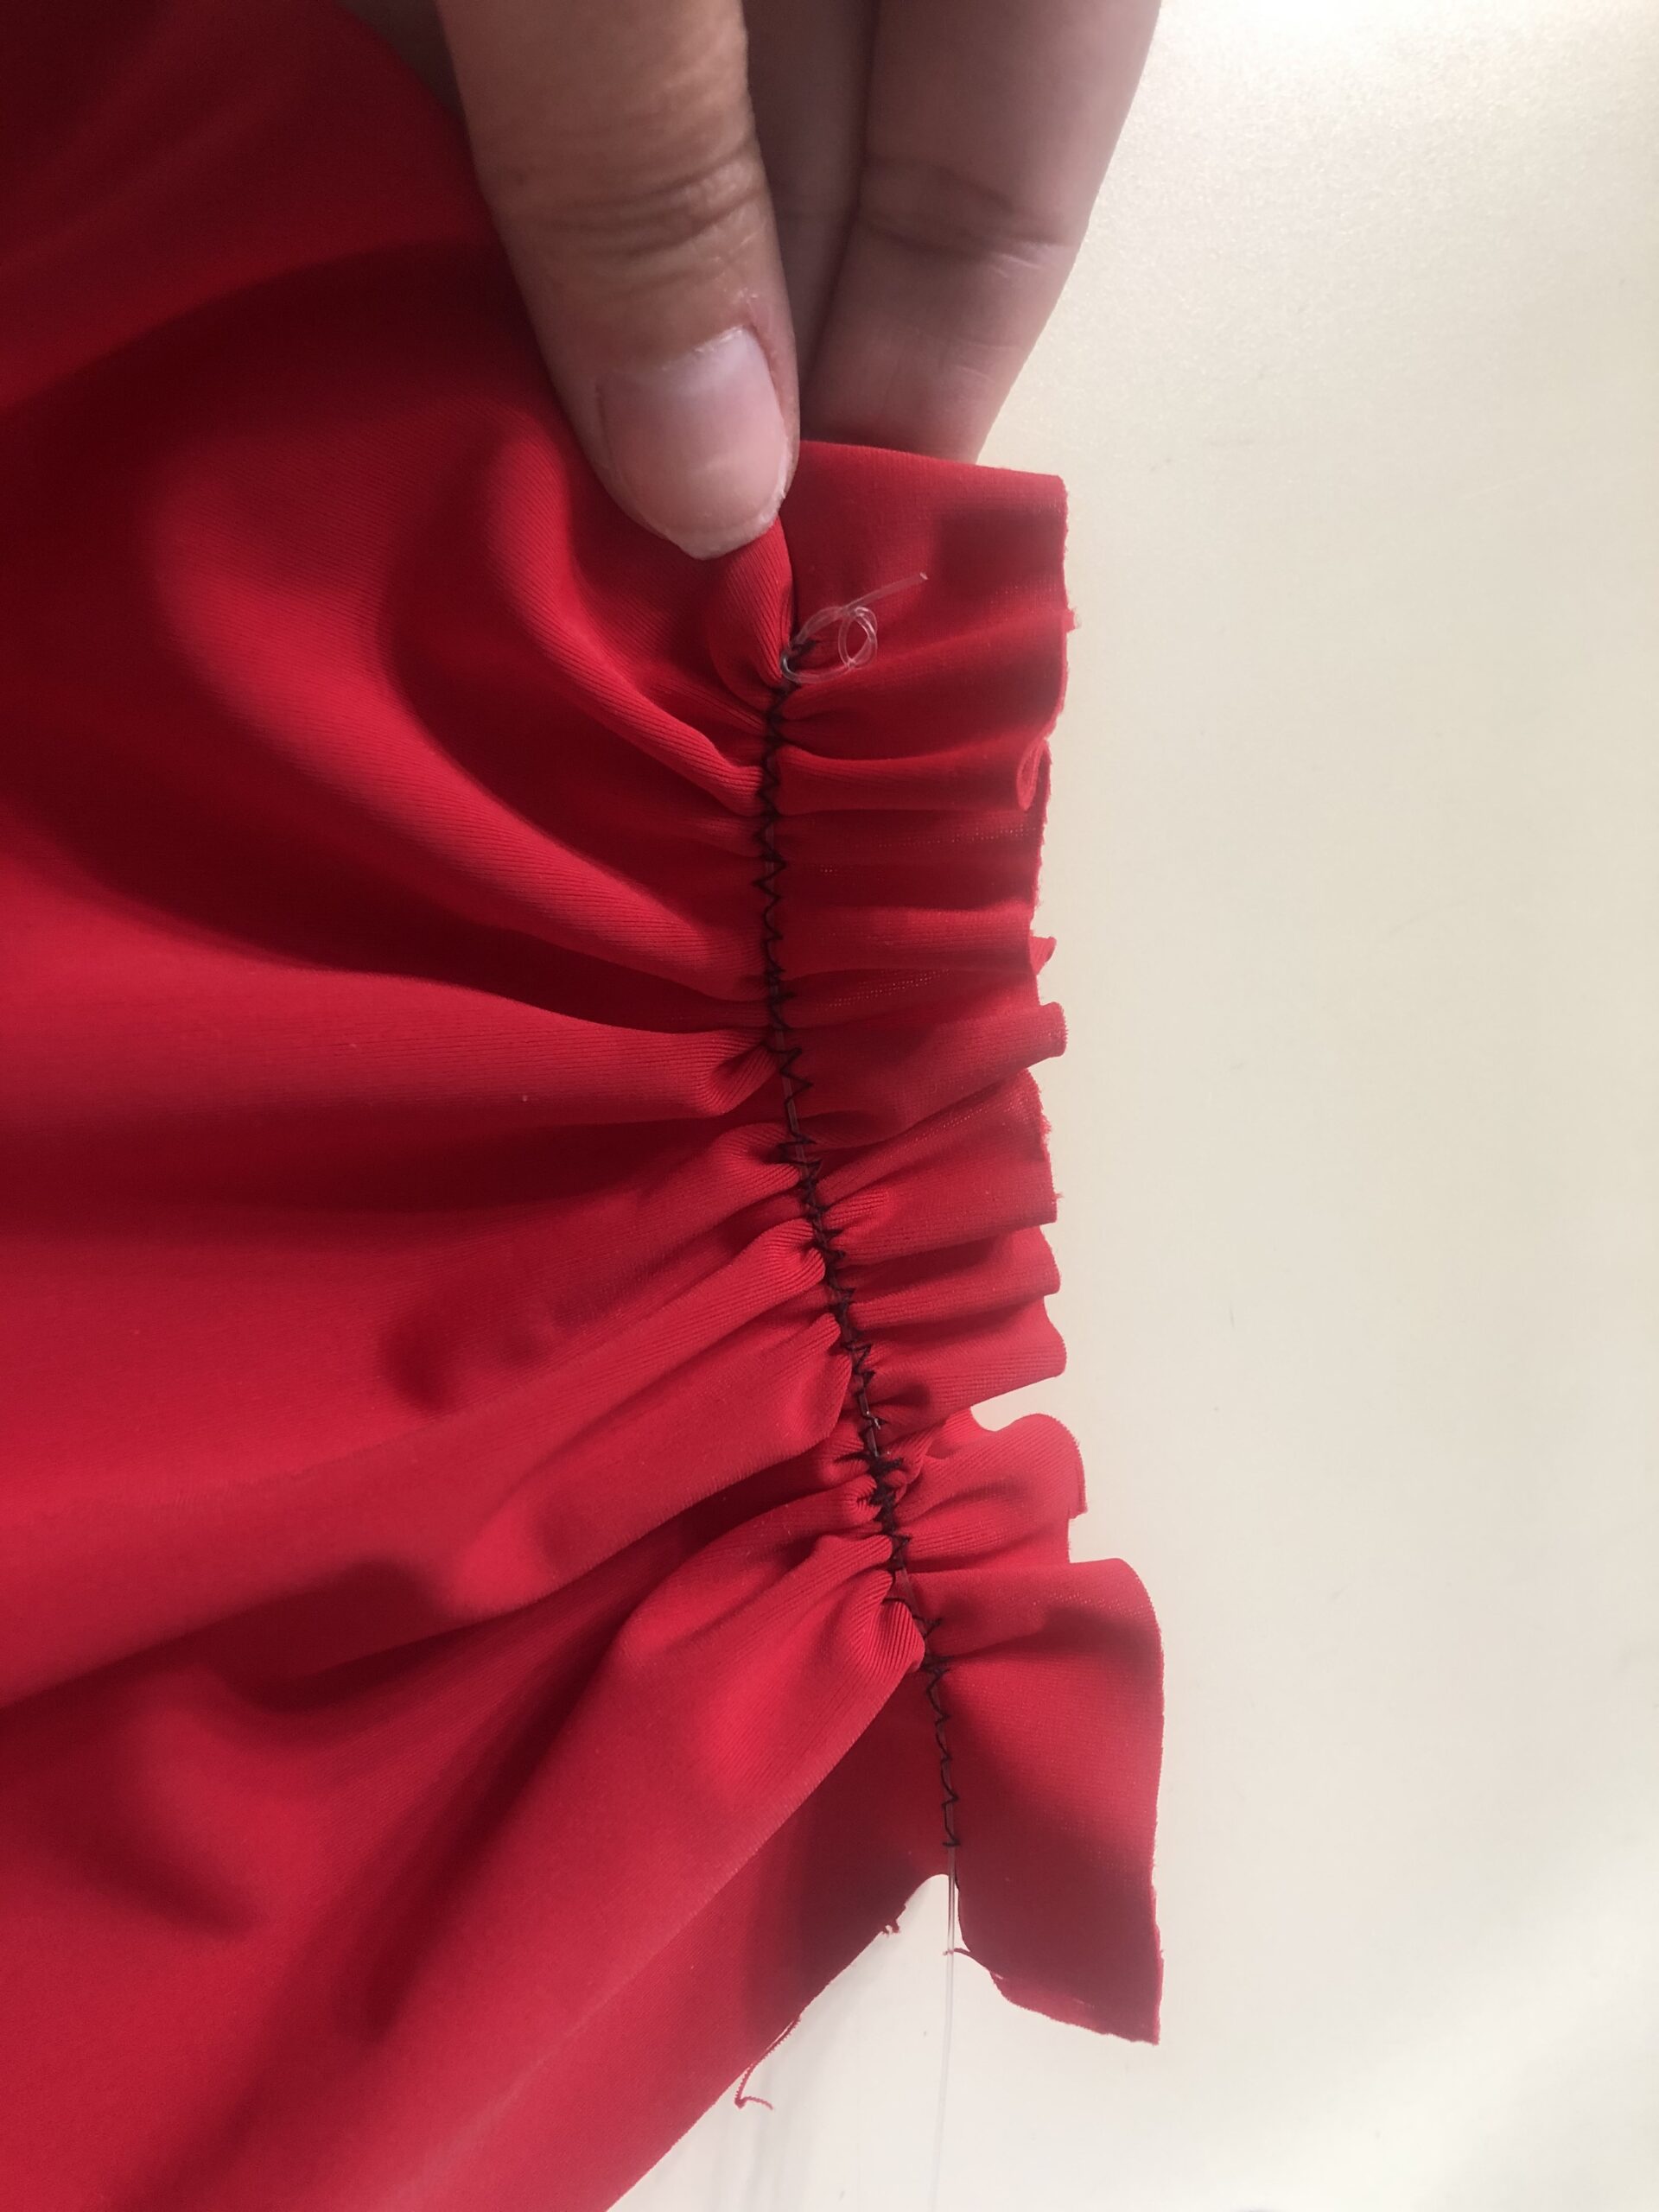
The Trim: The trim was tricky. For the ruffle trim around the neck, I cut strips of the blue/white swiss dot and narrow hemmed one side. I then used my Ultimate Ruffler Foot for my Janome 6600P sewing machine to create the ruffles. It worked great, but I needed to really press the ruffles flat before using.

The Belt: This was my first project working with real leather. I’ve never dyed leather before but it was fun. The wonderful folks at Tandy Leather helped to find the right tools to brush on the dye and seal it. They are such a fantastic resource and a great store!


No Comments